
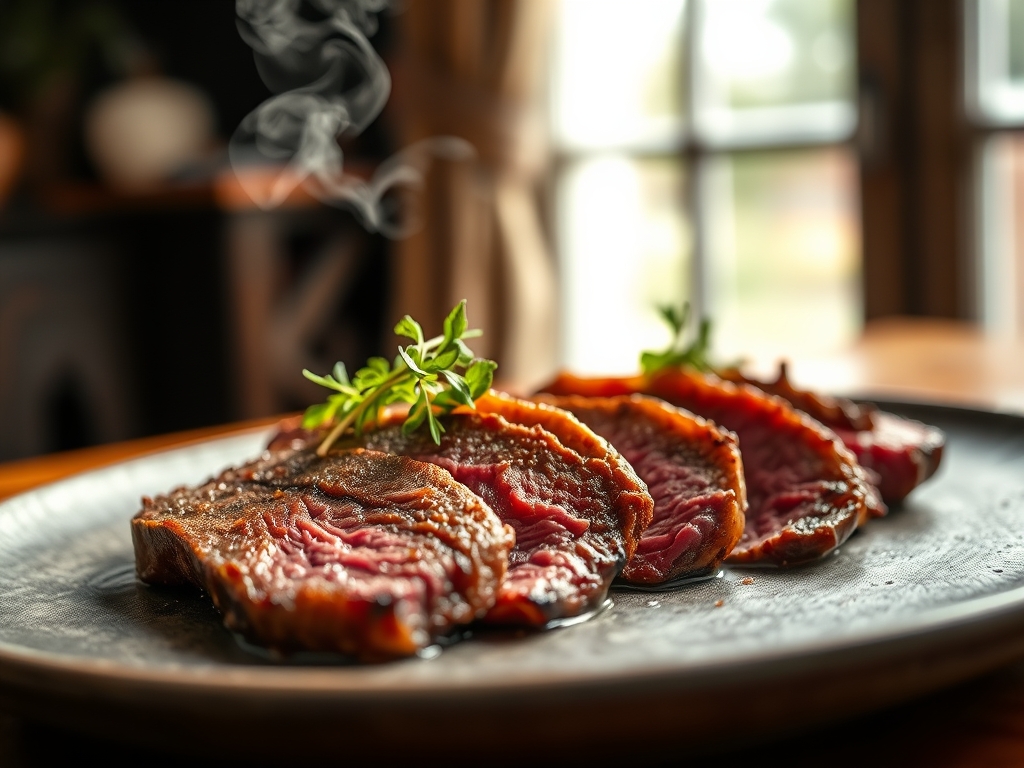
Imagine the scent of a blue cheese funk colliding with the deep, roasted perfume of a midnight espresso. That is the intoxicating aroma of dry aged beef hitting a searing hot cast iron surface. When you embark on the journey of dry aged beef recipes, you are not just cooking a meal; you are orchestrating a complex chemical symphony. This meat has spent weeks in a humidity-controlled environment, allowing natural enzymes to break down tough connective tissues into a buttery, melt-in-your-mouth texture. Meanwhile, moisture evaporation has concentrated the flavor compounds into a savory punch that makes standard grocery store steaks taste like water. We are talking about a concentrated umami profile that demands respect and precision. Whether you are aiming for a classic pan-sear or exploring more adventurous dry aged beef recipes like a shaved ribeye carpaccio, the goal is the same: maximize that crust while preserving the tender, funky interior. Let us dive into the technical mastery required to handle this culinary gold.
The Gathers:
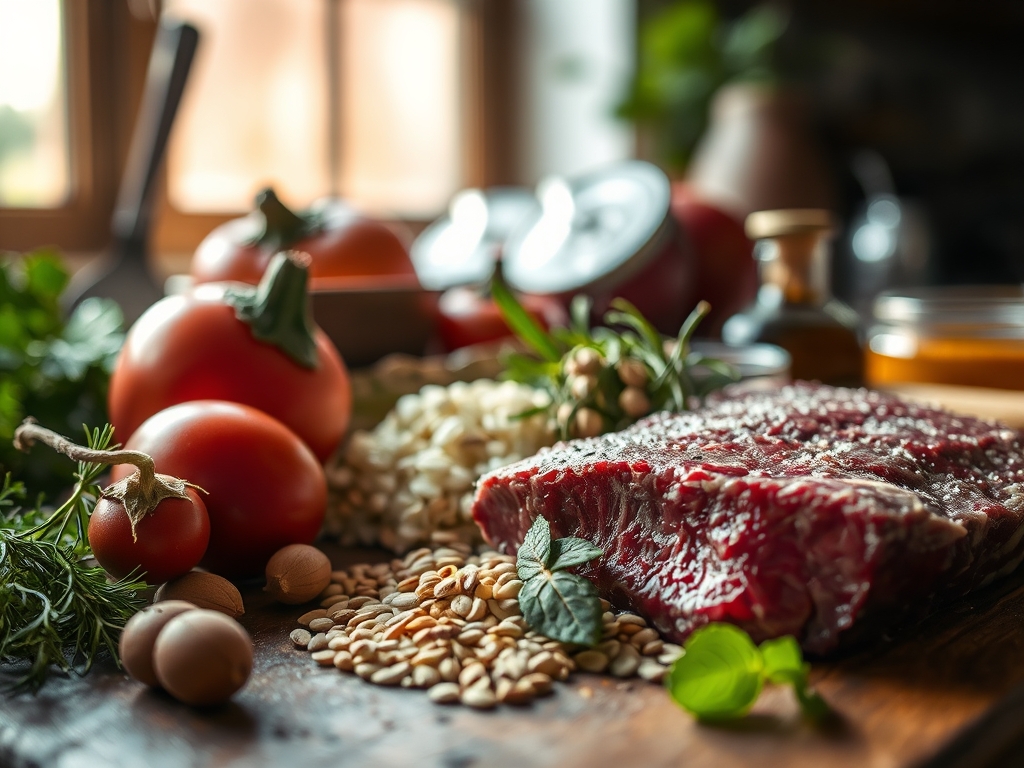
To execute these dry aged beef recipes with professional finesse, your mise-en-place must be impeccable. You will need a high-quality dry-aged cut, preferably a bone-in ribeye or strip loin aged for at least 28 to 45 days. The surface should look dark, almost maroon, with a firm texture. You will also need high-smoke point fats like rendered beef tallow or clarified butter (ghee) to facilitate the Maillard reaction without scorching.
For the aromatics, gather fresh sprigs of rosemary and thyme, along with several cloves of garlic that you will crush with the flat of your knife to release their essential oils. Use a digital scale to measure out coarse kosher salt; the larger grains provide a better tactile grip and even distribution. A microplane is essential for zesting a hint of lemon or grating fresh horseradish into a side sauce to provide a piquant contrast to the rich fat.
Smart Substitutions: If you cannot find beef tallow, duck fat is a spectacular alternative that adds a silky, viscous mouthfeel. If you are avoiding dairy, a high-quality avocado oil offers the thermal stability needed for a hard sear. For those seeking a deeper umami kick, a splash of fish sauce added during the resting phase mimics the enzymatic depth of longer-aged meats.
The Clock
The "Chef's Flow" for dry aged beef recipes is all about patience and thermal management. Unlike standard steaks, dry-aged meat is lower in moisture, meaning it cooks roughly 20 to 30 percent faster.
Prep Time: 60 minutes. This includes the "tempering" phase where the meat sits at room temperature to ensure even heat penetration.
Cook Time: 8 to 12 minutes. This varies based on thickness and your desired level of doneness.
Rest Time: 10 minutes. This is non-negotiable for fiber relaxation and juice redistribution.
The flow begins with tempering, followed by the high-heat sear, the butter-basting finish (the "arrosé" technique), and finally, the strategic rest. Total time investment is about 85 minutes, but the active labor is minimal.
The Masterclass
1. The Tempering Ritual
Remove your steak from the refrigerator at least one hour before cooking. Use a bench scraper to clear your workstation and pat the meat bone-dry with paper towels. Moisture is the enemy of a good crust.
Pro Tip: Tempering reduces the thermal shock when the meat hits the pan. This prevents the muscle fibers from seizing up, which ensures a more uniform edge-to-edge pink interior.
2. Aggressive Seasoning
Apply your kosher salt from about 12 inches above the meat to ensure an even "snowfall" of seasoning. Do not add black pepper yet; it will burn in the high-heat skillet and turn bitter.
Pro Tip: Salt acts as a brine, drawing out a small amount of moisture that then dissolves the salt and is reabsorbed, deeply seasoning the protein through osmosis.
3. The Heavy-Bottomed Skillet Prep
Place your heavy-bottomed skillet (cast iron is king here) over high heat until it is wisps-of-smoke hot. Add your tallow or oil and swirl to coat the surface.
Pro Tip: High thermal mass in a pan prevents the temperature from dropping when the cold meat is added, which is crucial for initiating the Maillard reaction immediately.
4. The Initial Sear
Lay the beef into the pan away from you to avoid oil splatter. Use tongs to press the meat down firmly, ensuring maximum surface contact.
Pro Tip: This stage is all about "dehydration synthesis." By rapidly evaporating surface moisture, you allow sugars and amino acids to bond, creating that characteristic savory crust.
5. Managing the Render
If you have a thick fat cap, use your tongs to stand the steak on its side. Hold it against the hot metal to render the white fat into a liquid, crispy gold.
Pro Tip: Rendering the fat cap not only improves texture but also provides more cooking medium for the rest of the steak, infusing it with concentrated beef flavor.
6. The Butter Baste (Arrosé)
Lower the heat slightly and add your butter, garlic, and herbs. As the butter foams, tilt the pan and use a large spoon to continuously drench the steak in the hot, aromatic fat.
Pro Tip: This is a form of convection cooking. The hot fat delivers heat to the nooks and crannies of the meat while the milk solids in the butter undergo further browning for a nutty finish.
7. The Internal Check
Use a digital probe thermometer to check the temperature. For medium-rare, pull the meat when it hits 125 degrees Fahrenheit.
Pro Tip: Thermal carryover will cause the internal temperature to rise by another 5 to 7 degrees while the meat rests. Pulling it early is the only way to hit a perfect 132-degree medium-rare.
8. The Strategic Rest
Transfer the steak to a wire rack set over a baking sheet. Do not tent it with foil, as this will trap steam and soften the crust you worked so hard to build.
Pro Tip: Resting allows the pressure inside the meat to equalize. The muscle fibers, which tightened during cooking, relax and reabsorb the internal juices.
9. The Board Sauce
While the meat rests, chop fresh parsley and zest a bit of lemon onto your cutting board. Pour any juices from the resting tray over this mixture.
Pro Tip: This creates an "instant sauce" that mingles with the meat's natural juices as you slice, adding a bright acidity that cuts through the intense richness.
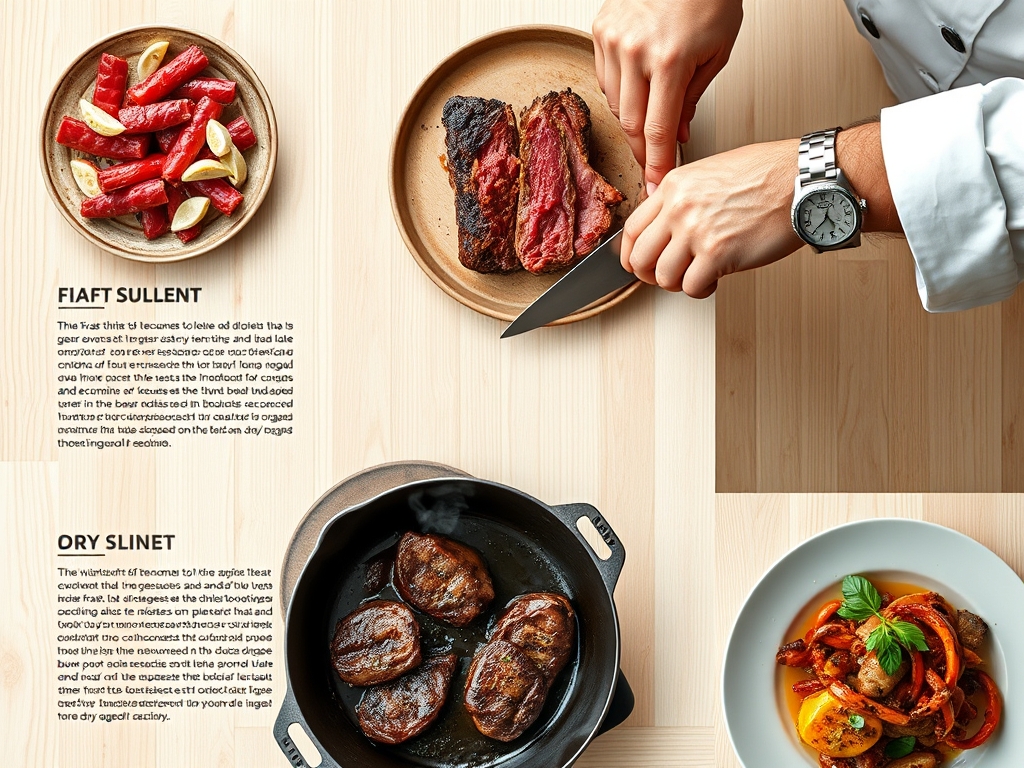
10. The Final Slice
Use a sharp carving knife to slice against the grain. This shortens the muscle fibers, making every bite feel even more tender.
Pro Tip: Slicing against the grain is a mechanical intervention that mimics the work of enzymes, ensuring the beef practically dissolves on the tongue.
The Deep Dive
Macro Nutrition: Dry aged beef is a powerhouse of bioavailable protein, Vitamin B12, and Zinc. Because of the moisture loss, it is more calorically dense per gram than fresh beef. A 6-ounce serving typically contains 45g of protein and 28g of fat, depending on the cut.
Dietary Swaps: For a Keto-friendly feast, serve with a decadent marrow butter. For a Gluten-Free approach, ensure your "board sauce" uses tamari instead of soy sauce if you are adding an Asian twist. While there is no vegan swap for dry-aged steak, roasted "lion's mane" mushrooms can be treated with the same searing and basting techniques to mimic the texture.
The Fix-It:
- Gray Ring: If you see a thick gray band under the crust, your heat was too high for too long. Fix: Flip the meat more frequently (every 30 seconds) to distribute heat more gently.
- Bitter Crust: This usually means your aromatics or pepper burned. Fix: Add garlic and herbs only in the final 2 minutes of cooking.
- Chewy Texture: This happens if you skip the rest. Fix: If you already sliced it, toss the slices in the warm pan juices for 10 seconds to redistribute heat.
Meal Prep: To reheat dry aged beef without losing quality, use the "Low and Slow" method. Place slices in a 250-degree oven with a splash of beef broth until just warm. This prevents the fat from "breaking" and keeps the proteins supple.
The Wrap-Up
Mastering dry aged beef recipes is a rite of passage for any serious home cook. It is a lesson in chemistry, patience, and the art of the sear. By understanding how enzymes and evaporation transform a simple protein into a luxury ingredient, you can elevate your kitchen game to Michelin-star levels. Remember: dry-aged meat is a living, breathing product of time. Treat it with the respect it deserves, use your professional tools with confidence, and never, ever skip the rest. Now, go grab that heavy-bottomed skillet and start searing!
The Kitchen Table
How long does dry aged beef last in the fridge?
Uncooked dry aged beef lasts 3 to 5 days if kept in its original butcher wrap. Once cooked, it stays fresh for 3 days. Always store it in the coldest part of your refrigerator to maintain its integrity.
Why is dry aged beef so expensive?
The price reflects two factors: time and loss. The meat loses up to 30 percent of its weight through moisture evaporation, and the outer "pellicle" must be trimmed away. You are paying for concentrated flavor and expert labor.
Can I dry age beef at home?
Yes, but you need specialized equipment. You must use UMAi bags or a dedicated dry-aging fridge to control humidity and airflow. Without these, you risk harmful bacterial growth rather than beneficial enzymatic breakdown.
What is the best cut for dry aging?
The ribeye and the New York strip are the gold standards. These cuts have high fat content and large surface areas, which allow the dry-aging "funk" to penetrate deeply while the fat protects the interior from drying out completely.