
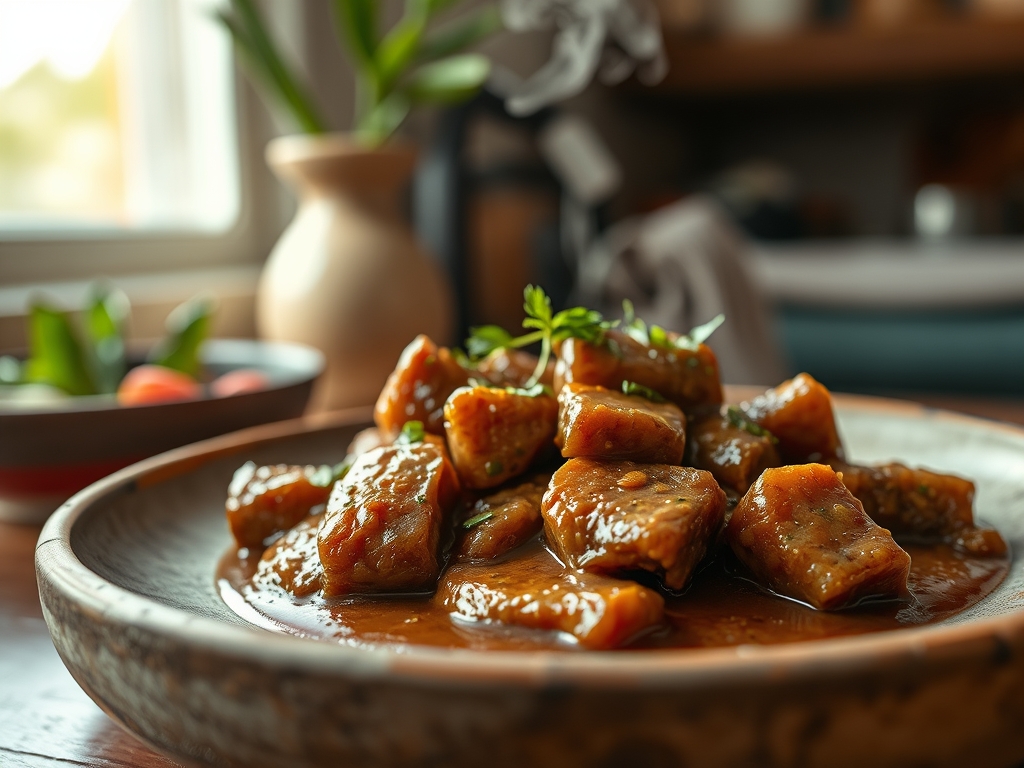
Imagine the scent of slow-simmered onions and toasted peppercorns swirling through your kitchen as a heavy-bottomed skillet works its magic. We are talking about that deep, mahogany richness that only comes from patience and the right technique. Mastering easy gravy beef recipes is not just about following a list; it is about understanding how collagen transforms into silk.
Most people see a tough cut of chuck or blade and think of it as a chore. I see it as a scientific opportunity. When you apply low, consistent heat, you are essentially performing a molecular magic trick. You are breaking down tough connective tissues into gelatin, which gives your sauce that luxurious, lip-smacking mouthfeel. We are going to take those humble cuts and turn them into something so sophisticated that your guests will swear you spent forty-eight hours hovering over a saucier. Whether you are craving a classic French-inspired stew or a piquant peppered ragu, these hacks will elevate your weeknight game from basic to brilliant. Let us get your mise-en-place ready and dive into the chemistry of comfort.
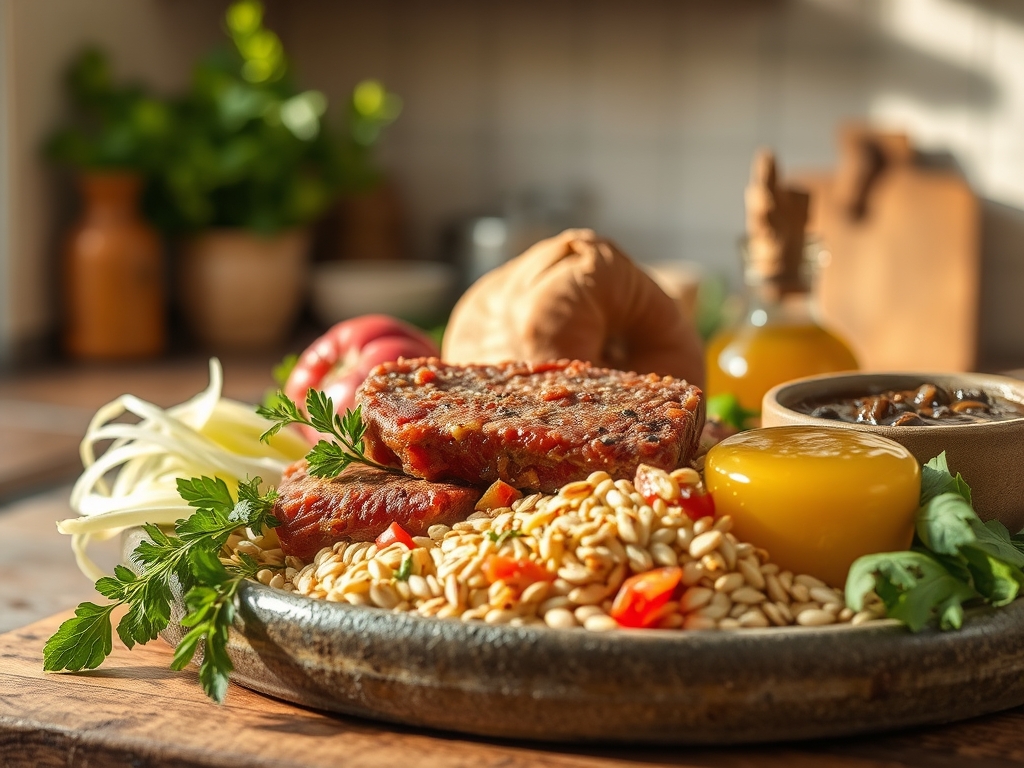
The Gathers:
To achieve the perfect result, your mise-en-place must be precise. Start with 1.5 kilograms of high-quality beef chuck or gravy beef, cubed into uniform three-centimeter pieces to ensure even heat distribution. You will need a high-smoke-point fat, such as avocado oil or clarified butter, to facilitate the Maillard reaction without burning. For the aromatic base, gather finely diced mirepoix: carrots, celery, and onions. Use a microplane to zest a bit of garlic and ginger for an aromatic punch that cuts through the fat.
Smart Substitutions:
If you lack dry red wine for deglazing, use a combination of beef stock and a tablespoon of balsamic vinegar to mimic the acidity and depth. For a gluten-free thickener, swap all-purpose flour for arrowroot powder or a cornstarch slurry, but remember that arrowroot provides a more translucent, glossy finish. If you want to boost the umami profile without adding salt, a teaspoon of tomato paste or a splash of Worcestershire sauce works wonders. Always have a digital scale nearby; measuring your aromatics by weight ensures consistent flavor profiles every time you cook.
The Clock
Efficiency in the kitchen is all about the Chef's Flow. Total preparation time should take no more than twenty minutes if your knife skills are sharp. The cooking time is where the transformation happens; expect a duration of two and a half to three hours.
The Flow Breakdown:
Minutes 0-20: Focus on the prep. Use a sharp chef's knife to cube the beef and a bench scraper to clear your board.
Minutes 20-40: This is the active searing phase. Do not rush this. You need to develop a deep crust on the meat.
Minutes 40-180: The passive phase. This is when the beef simmers in a low-oven or on a low-flame.
The final 10 minutes: This is for the finish. You will adjust the seasoning, emulsify the sauce, and let the meat rest to allow for thermal carryover, ensuring the juices redistribute throughout the fibers.
The Masterclass
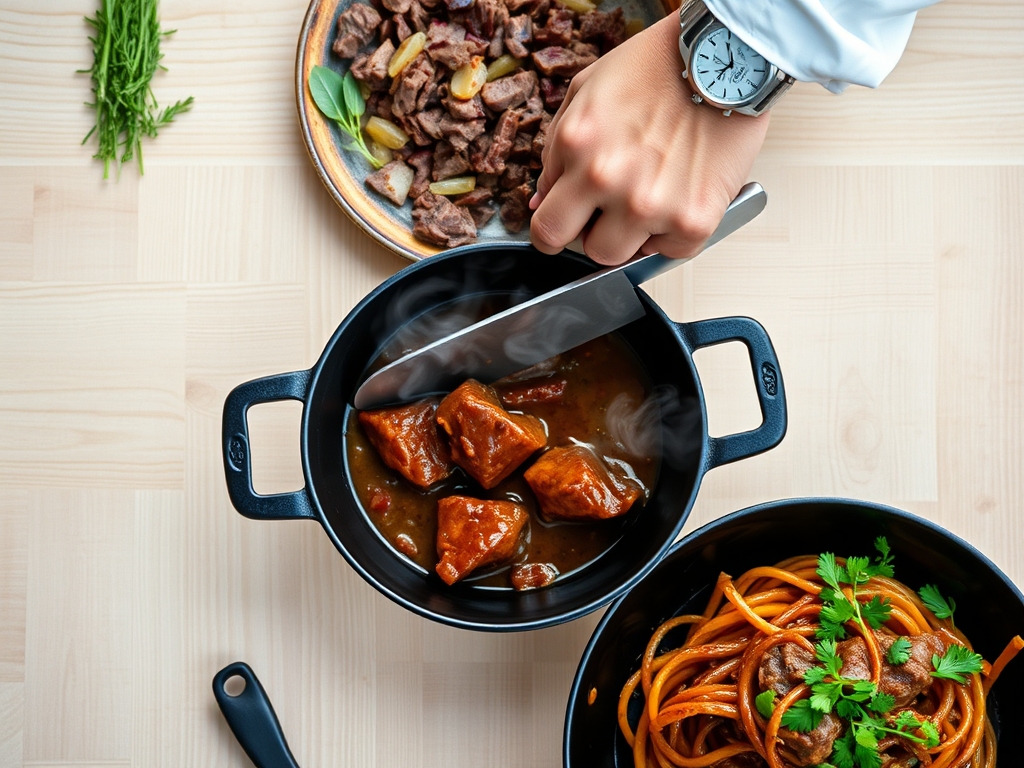
1. The Sear and the Fond
Pat your beef dry with paper towels before hitting the pan. Moisture is the enemy of browning. Use a heavy-bottomed skillet to sear the meat in batches, ensuring you do not crowd the pan. This creates a fond, those brown bits stuck to the bottom, which are concentrated flavor bombs.
Pro Tip: This is the Maillard reaction in action. By keeping the surface dry, you allow the amino acids and reducing sugars to rearrange, creating hundreds of different flavor compounds that boiled meat simply cannot achieve.
2. Deglazing the Saucier
Once the meat is removed, add your aromatics. Once they soften, pour in your liquid of choice. Use a wooden spoon to scrape up the fond. This process, known as deglazing, incorporates all that toasted protein back into the liquid base.
Pro Tip: Deglazing releases the caramelized sugars from the bottom of the pan. The alcohol in wine acts as a solvent, extracting flavors that water or stock alone cannot reach, leading to a more complex sauce.
3. The Low and Slow Simmer
Return the beef to the pot and cover it with just enough liquid to submerge it. Bring it to a gentle simmer, then turn the heat to the lowest setting. You want tiny bubbles, not a rolling boil.
Pro Tip: Maintaining a temperature between 160 and 180 degrees Fahrenheit is crucial. This is the sweet spot where collagen denatures into gelatin. If the temperature goes too high, the muscle fibers will tighten and squeeze out all the moisture, leaving the meat dry.
4. Infusing the Aromatics
Halfway through the cook, add your hard herbs like rosemary or thyme. Using a piece of kitchen twine to bundle them makes for easy removal later. This ensures the oils infuse slowly without the leaves disintegrating into the sauce.
Pro Tip: Volatile oils in herbs are fat-soluble. By adding them mid-way, you allow the rendered beef fat to extract the aromatic compounds without losing the delicate top notes to prolonged evaporation.
5. Emulsifying the Sauce
If your gravy looks thin, you can use a roux or a slurry. However, for a modern touch, take a ladle of the cooking liquid and whisk in a cold knob of butter right before serving. This is called monter au beurre.
Pro Tip: Cold butter creates a stable emulsion. The milk solids and fats suspend within the liquid, creating a glossy, viscous texture that coats the back of a spoon perfectly.
6. The Acid Balance
Before serving, taste your sauce. If it feels "heavy" or one-note, add a teaspoon of lemon juice or apple cider vinegar. This brightens the entire dish instantly.
Pro Tip: Acidity acts as a palate cleanser. It breaks through the richness of the rendered fat and gelatin, making the savory notes of the beef pop more vibrantly.
7. The Resting Phase
Never serve straight from the stove. Let the pot sit, covered, for at least fifteen minutes. This allows the meat to relax.
Pro Tip: Thermal carryover means the internal temperature continues to rise slightly after the heat is off. Resting allows the protein structures to reabsorb some of the surrounding liquid, ensuring every bite is succulent.
The Deep Dive
Macro Nutrition:
A standard serving of gravy beef provides approximately 35 grams of protein and 12 grams of fat. It is an excellent source of bioavailable iron and Vitamin B12. To keep it lean, trim excess external fat before searing, though keep the internal marbling for flavor.
Dietary Swaps:
- Vegan: Swap beef for king oyster mushrooms or seitan. Use vegetable demi-glace and coconut aminos for depth.
- Keto: Avoid flour thickeners. Use heavy cream or xanthan gum to reach the desired viscosity.
- GF: Ensure your beef stock is certified gluten-free and use tamari instead of soy sauce.
The Fix-It:
- Too Salty: Add a peeled, halved potato to the pot for 20 minutes; it will absorb excess salt. Alternatively, add a splash of cream to dilute the intensity.
- Too Thin: Simmer with the lid off to reduce the volume, concentrating the flavors and thickening the liquid through evaporation.
- Tough Meat: Usually, this means it hasn't cooked long enough. Add a splash of water and give it another thirty minutes.
Meal Prep Science:
Gravy beef actually tastes better on day two. As the dish cools, the flavors continue to meld and the gelatin sets. When reheating, do so slowly on the stovetop with a splash of water to prevent the sauce from breaking. Avoid the microwave, as it can cause the proteins to become rubbery through uneven heating.
The Wrap-Up
There you have it; the ultimate guide to turning a budget-friendly cut into a five-star masterpiece. By focusing on the science of the sear and the patience of the simmer, you have unlocked the secret to easy gravy beef recipes that never fail. Remember, cooking is a conversation between you and your ingredients. Listen to the sizzle, smell the caramelization, and trust the process. Now, grab your favorite heavy pot and go make something legendary!
The Kitchen Table
Why is my gravy beef still tough after two hours?
Toughness usually indicates that the collagen hasn't fully converted to gelatin. Every cut of meat is different. Continue simmering on low heat for another thirty to forty-five minutes until the fibers easily pull apart with a fork.
Can I cook these recipes in a slow cooker?
Yes, but you must sear the beef in a skillet first. The slow cooker lacks the high heat necessary for the Maillard reaction. Transfer the seared meat and deglazed liquid to the slow cooker for six to eight hours.
What is the best way to thicken the sauce without flour?
Use a vegetable puree or a cornstarch slurry. Alternatively, simply reduce the liquid by simmering it uncovered. This concentrates the natural gelatin released from the beef, creating a rich, thick consistency without adding extra starches.
How do I prevent my sauce from becoming too greasy?
Use a spoon to skim the rendered fat off the surface during the simmering process. Alternatively, chill the dish overnight; the fat will solidify at the top, making it incredibly easy to lift off and discard before reheating.