
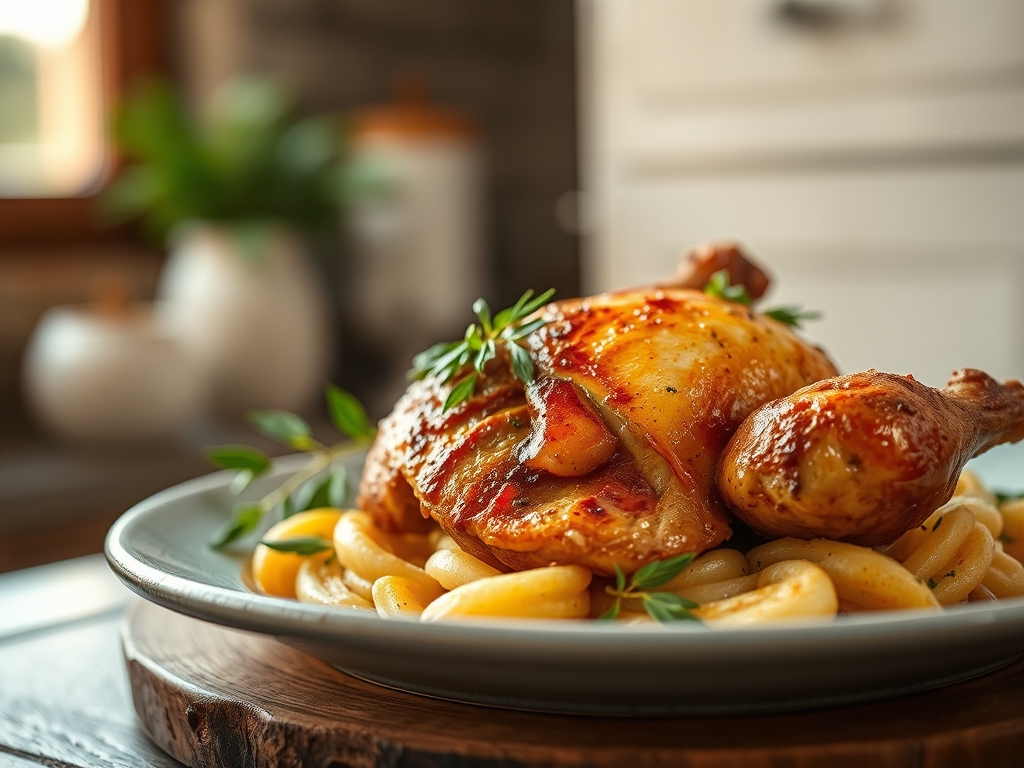
Picture this: you are walking through the sliding glass doors of the grocery store, and that specific, savory perfume hits you immediately. It is the scent of salt, skin, and slow-roasting fat. You grab that plastic dome of gold because you know the secret. These rotisserie chicken recipes casserole variations are the ultimate kitchen cheat code; they provide pre-rendered fat and perfectly seasoned protein that would otherwise take hours to achieve in a home oven. We are not just tossing leftovers into a dish. We are engineering comfort. By utilizing a bird that has already undergone the Maillard reaction, we bypass the tedious browning phase and jump straight into the flavor-building process. This is where science meets convenience. We are going to transform that humble bird into eight distinct, bubbling masterpieces that feel like a warm hug from a professional chef.
The Gathers:
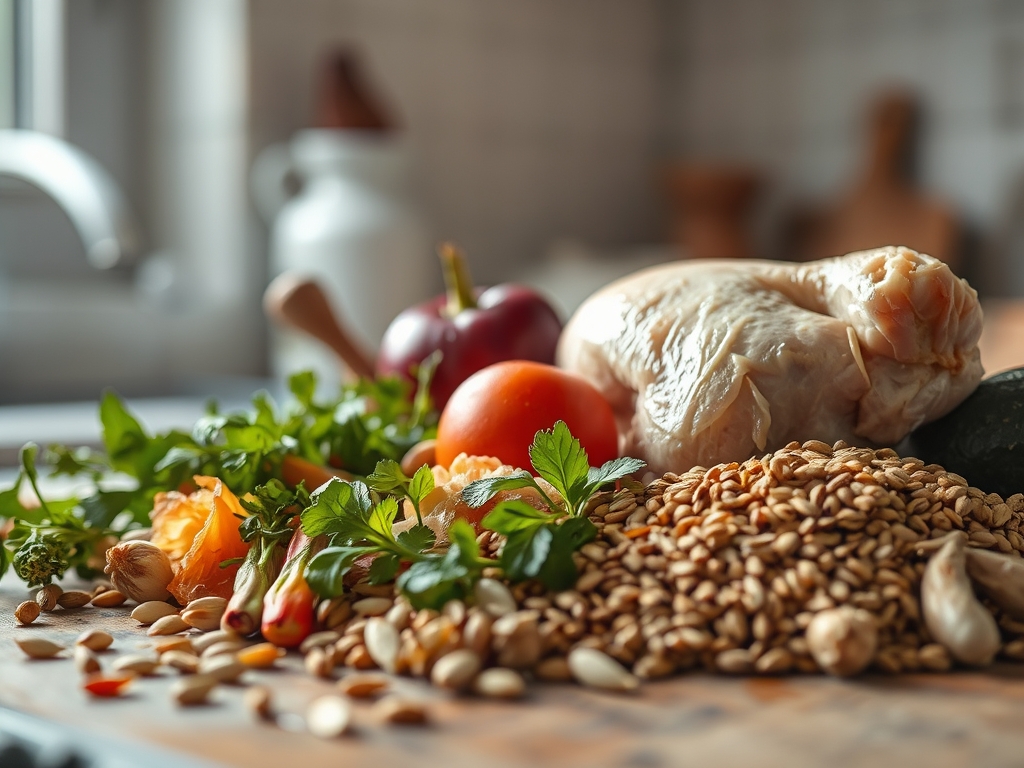
Before we touch the stove, we must respect the mise-en-place. To maximize the structural integrity of your casserole, you need a balance of viscous binders and structural aromatics. Your primary protein is, of course, the hand-shredded rotisserie chicken. Use your tongs to pull the meat while it is still slightly warm; the connective tissue is more pliable, allowing for cleaner shreds. You will also need a high-quality fat like unsalted European butter or a neutral avocado oil to sauté your base.
For the aromatics, reach for the "holy trinity" of onions, celery, and carrots, but do not forget the piquant punch of garlic processed through a microplane for maximum surface area. Your binder is often a roux-based sauce or a tempered sour cream mixture. If you want to elevate the texture, add a handful of panko breadcrumbs or crushed butter crackers.
Smart Substitutions:
If you are looking to lighten the load, swap heavy cream for a Greek yogurt and chicken stock emulsion. To replace traditional noodles, use roasted cauliflower florets or spaghetti squash to maintain that essential toothsome bite without the glycemic spike. For a dairy-free alternative, a cashew-based cream provides the same lip-coating mouthfeel as a traditional bechamel.
The Clock: Timing Your Masterpiece
Efficiency in the kitchen is about the Chef's Flow. Prep time for these casseroles is a brisk 15 minutes because the primary protein is already cooked. The assembly phase takes roughly 10 minutes, focusing on layering and ensuring even distribution of the binder.
The "active" cooking happens in the oven for 25 to 30 minutes at 375 degrees Fahrenheit. This temperature is the sweet spot; it is high enough to caramelize the cheese topping but gentle enough to prevent the internal dairy from breaking or curdling. Always factor in a 10-minute rest period post-bake. This allows the starches to reabsorb moisture, ensuring your slice stays intact rather than slumping into a puddle on the plate.
The Masterclass:
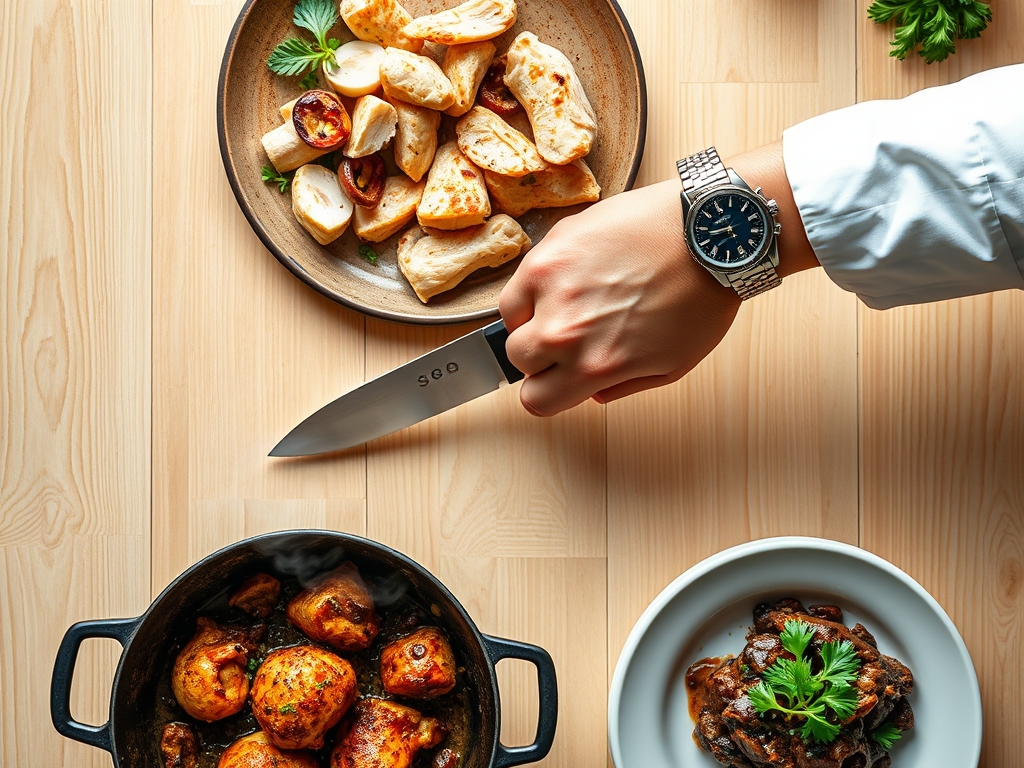
1. Shred and Prep the Protein
Start by deboning the bird. Use a bench scraper to clear your board of skin and bones, keeping only the succulent meat. Aim for bite-sized pieces that will distribute evenly throughout the dish.
Pro Tip: This is about surface area. Smaller shreds allow the sauce to coat every fiber, preventing dry pockets. Thermal energy moves faster through smaller pieces, ensuring the chicken reaches a safe 165 degrees Fahrenheit without overcooking.
2. Sauté the Aromatics
In a heavy-bottomed skillet, melt your fat and add your diced vegetables. Cook until the onions are translucent, which indicates the cell walls have broken down, releasing natural sugars.
Pro Tip: This process is called sweating. By keeping the heat medium-low, you avoid the bitter notes of scorched garlic. The goal is to infuse the fat with aromatic oils before adding your liquid base.
3. Build the Emulsion
Sprinkle flour over your vegetables to create a light roux, then slowly whisk in your stock or cream. Use a saucier if you have one; the rounded bottom prevents flour from clumping in the corners.
Pro Tip: You are creating a stable emulsion. Adding liquid in small increments allows the starch granules to swell uniformly, preventing a grainy texture. This ensures a silky, luxurious sauce that clings to the chicken.
4. Layer and Assemble
Combine the chicken, vegetables, and sauce in a large bowl before transferring to your baking dish. If you are adding pasta or rice, ensure they are slightly undercooked (al dente) as they will finish absorbing liquid in the oven.
Pro Tip: This is the hydration phase. The starch in the pasta will continue to pull moisture from the sauce. If you overcook the pasta initially, it will become mushy and lose its structural integrity during the bake.
5. The Golden Gratin
Top your creation with a generous layer of cheese or breadcrumbs. Use a digital scale to ensure you have at least 4 ounces of cheese for a standard 9×13 dish to achieve full coverage.
Pro Tip: This stage utilizes convection heat to trigger the Maillard reaction on the surface. The proteins and sugars in the cheese brown to create a complex, nutty flavor profile that contrasts with the creamy interior.
The Deep Dive: Science and Solutions
Macro Nutrition:
A standard serving of rotisserie chicken casserole provides a balanced profile of roughly 30g of protein, 20g of carbohydrates, and 15g of healthy fats. By focusing on the breast meat and increasing vegetable volume, you can easily shift these ratios toward a higher protein density.
Dietary Swaps:
- Keto: Replace grains with riced broccoli and use a heavy cream and cream cheese base.
- Vegan: Use "chick'n" strips, coconut milk, and nutritional yeast for that savory "umami" kick.
- Gluten-Free: Opt for a cornstarch slurry instead of a flour roux and use certified GF crackers for the topping.
The Fix-It: Troubleshooting Common Pitfalls
- The Runny Mess: If your casserole is watery, it is likely because your vegetables released too much moisture. Fix: Pre-sauté watery veggies like mushrooms or zucchini to evaporate excess water before assembly.
- The Broken Sauce: If the sauce looks oily or curdled, the heat was too high. Fix: Next time, temper your dairy by adding a bit of hot sauce to the cold cream before mixing it into the main dish.
- Dry Chicken: This happens when the casserole is baked too long. Fix: Ensure your sauce-to-protein ratio is high enough to provide a protective moisture barrier during the bake.
Meal Prep and Reheating:
To maintain "day-one" quality, reheat your casserole in the oven at 325 degrees Fahrenheit covered with foil. This creates a steam chamber that rehydrates the proteins. Avoid the microwave if possible, as it vibrates water molecules too violently, often leading to rubbery chicken and separated fats.
The Wrap-Up: Your New Weeknight Hero
There you have it! You are now equipped with the technical prowess to turn a simple store-bought bird into a culinary triumph. These rotisserie chicken recipes casserole techniques are designed to save you time without sacrificing the complex flavor profiles of a slow-cooked meal. Remember, the kitchen is your laboratory. Do not be afraid to experiment with different cheeses or spices to make these recipes your own. Now, go grab that chicken and start creating some kitchen magic!
The Kitchen Table:
How do I stop my chicken casserole from being dry?
Ensure your sauce-to-filling ratio is sufficient. Use a saucier to create a thick, stable emulsion that coats the meat. Covering the dish with foil for the first half of baking also prevents essential moisture from evaporating.
Can I freeze rotisserie chicken casserole before baking?
Yes, you can. Assemble the casserole in a freezer-safe dish, wrap it tightly in plastic and foil to prevent sublimation (freezer burn), and store for up to three months. Thaw completely in the refrigerator before baking.
What is the best way to shred rotisserie chicken?
Shred the chicken while it is still warm using two forks or your hands. Warm meat has more flexible collagen, making it easier to pull apart into uniform pieces that will absorb the sauce more effectively.
Why is my casserole topping not getting crispy?
Your oven might not be hot enough to trigger the Maillard reaction. Try moving the dish to the top rack during the last five minutes of baking or briefly using the broiler setting to achieve that golden-brown crust.