
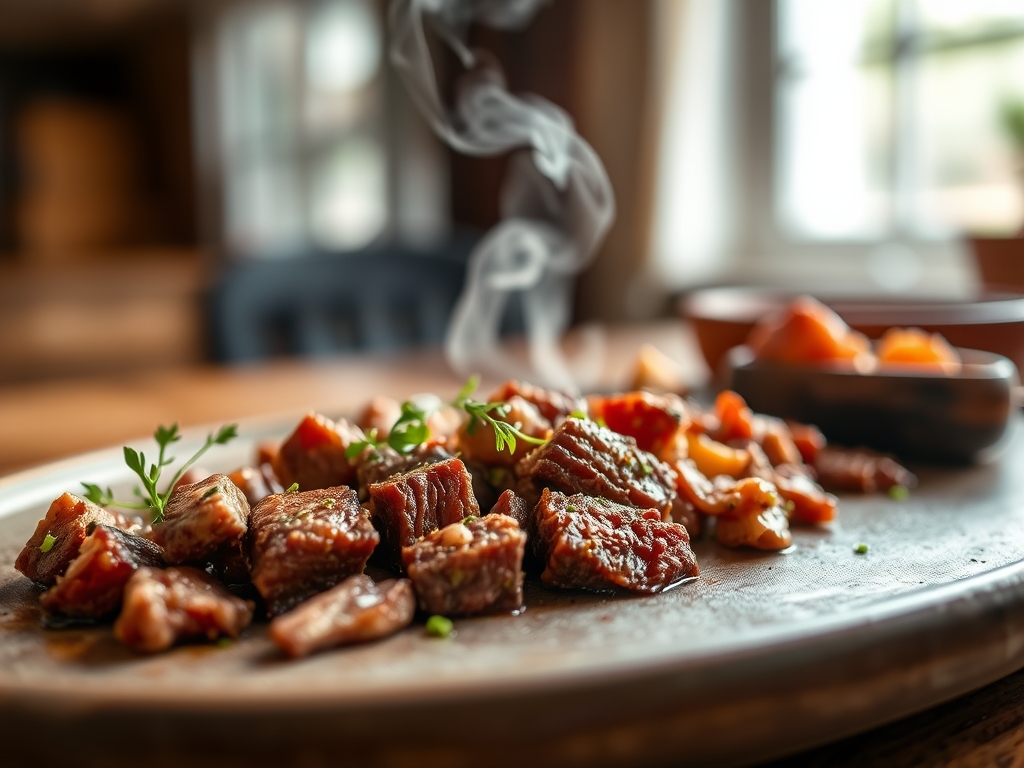
Picture the steam rising from a heavy bottomed skillet as the fat begins to render into a shimmering, liquid gold. That sound is the overture to your new favorite meal. When you master chopped beef recipes, you are not just making dinner; you are orchestrating a symphony of texture and deep, umami richness that ground beef simply cannot replicate.
The secret lies in the irregular surface area of hand cut cubes. Unlike the uniform extrusion of a grinder, hand chopped beef offers varied edges that catch the heat differently. This creates a mosaic of textures: some edges become crisp and lacquered through the Maillard reaction, while the centers remain succulent and tender. Whether you are tucking this beef into a toasted brioche bun or tossing it with a piquant chimichurri, the structural integrity of the meat is the star. We are moving beyond the mushy consistency of standard meat sauces and into a world where every bite has a distinct, satisfying chew. Grab your sharpest chef knife; we are about to transform a humble chuck roast into a culinary masterpiece that will make your kitchen smell like the best steakhouse in the city.
The Gathers:
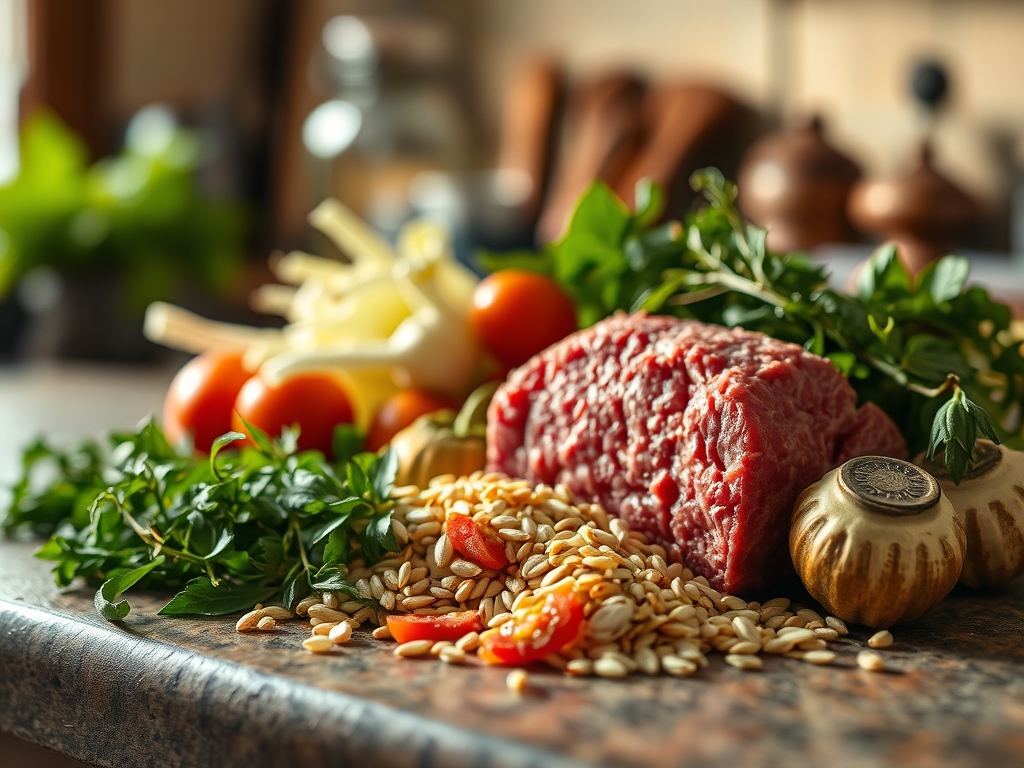
To achieve the perfect results in your chopped beef recipes, your mise-en-place must be precise. Start with a high quality Chuck Roast or Brisket. These cuts contain significant amounts of intramuscular collagen, which breaks down into silky gelatin during the cooking process. You will also need a high smoke point fat, such as Ghee or Tallow, to ensure you can reach the temperatures required for browning without the oil breaking down into acrid compounds.
For the aromatics, gather a head of garlic, three large shallots, and fresh thyme. The shallots provide a more delicate, viscous base than standard yellow onions. You will also need a splash of acid, such as apple cider vinegar or a dry red wine, to deglaze the pan and balance the heavy fats.
Smart Substitutions:
If you are looking for a leaner profile, swap the chuck for a Top Round, though you must be careful not to overcook it as it lacks the fat content of the shoulder. For a plant based alternative that mimics the texture, use King Oyster Mushrooms chopped into half inch cubes; their dense cellular structure provides a remarkably similar "tooth" when seared in a heavy skillet.
The Clock:
The "Chef's Flow" is all about managing thermal energy and time. Total active prep time is approximately 20 minutes, mostly dedicated to the precision chopping of the protein. The cooking phase requires 15 to 25 minutes depending on your desired level of caramelization.
The most important time investment is the Resting Period. You must allow the meat to sit at room temperature for 30 minutes before it touches the pan. If the beef is too cold, the pan temperature will plummet, causing the meat to steam in its own juices rather than sear. This results in a grey, rubbery texture instead of a crisp, brown crust.
The Masterclass:
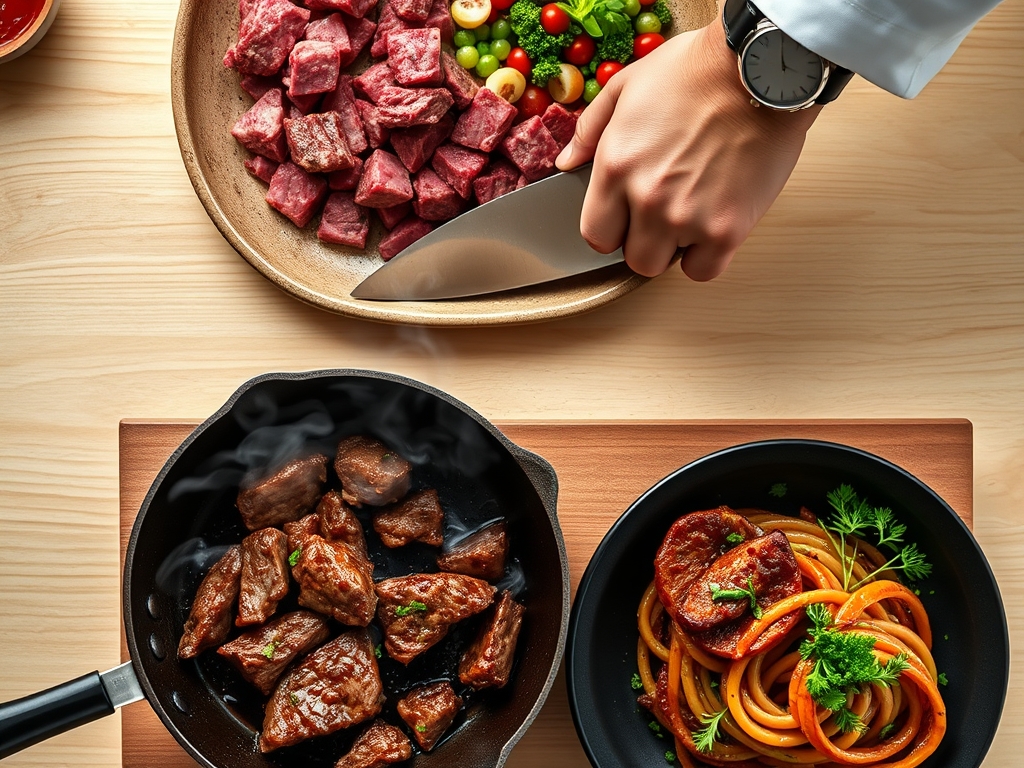
1. The Precision Dice
Using a sharp chef knife or a heavy duty bench scraper, cut your beef into uniform half inch cubes. Consistency is key here; if the pieces vary too much in size, the smaller bits will turn into "beef pebbles" before the larger pieces have reached a safe internal temperature.
Pro Tip: Place the beef in the freezer for 15 minutes before cutting. This firms up the fat and muscle fibers, preventing the meat from sliding under the blade and ensuring clean, sharp edges that maximize surface area for browning.
2. The Tempering Phase
Spread the chopped beef on a baking sheet and pat it dry with paper towels. Moisture is the enemy of the Maillard reaction. If the surface of the meat is wet, the energy of the pan is wasted evaporating water at 212 degrees Fahrenheit rather than browning the meat at 300 degrees Fahrenheit.
Pro Tip: Season with salt during this phase. Salt acts as a denaturant, breaking down tight protein strands and allowing the meat to retain more moisture during the high heat of the sear.
3. The High Heat Sear
Heat your heavy-bottomed skillet until a drop of water flicked onto the surface dances and evaporates instantly. Add your tallow and then the beef in a single layer. Do not crowd the pan; work in batches if necessary.
Pro Tip: This is where enzymatic browning happens. Resist the urge to move the meat for at least three minutes. This allows a continuous crust to form, which prevents the meat from sticking to the stainless steel.
4. The Aromatic Infusion
Once the meat is browned, use tongs to push it to the perimeter of the pan. Drop your minced shallots and garlic into the center "hot zone." Use a microplane to zest in a bit of fresh horseradish or ginger for an unexpected kick.
Pro Tip: The fat in the pan acts as a solvent. Many flavor compounds in garlic and spices are fat soluble, meaning the flavor will infuse more deeply into the meat if toasted in the rendered fat first.
5. The Deglaze and Emulsify
Pour your liquid of choice (stock, wine, or vinegar) into the hot pan. Use a wooden spoon to scrape up the fond, those delicious brown bits stuck to the bottom.
Pro Tip: The fond is a concentrated source of umami. By deglazing, you are creating a pan sauce that emulsifies with the rendered beef fat, coating every cube in a rich, velvety glaze.
6. The Low and Slow Finish
Reduce the heat to medium-low. This allows the internal temperature to rise slowly without burning the exterior. Add a knob of cold butter at the very end to create a glossy finish.
Pro Tip: This technique, known as mounting with butter, adds a layer of fat that creates a luxurious mouthfeel and helps the sauce cling to the meat.
7. The Aeration Rest
Transfer the beef to a warm bowl and let it rest for five minutes. Do not cover it tightly with foil, as this will trap steam and soften the crust you worked so hard to build.
Pro Tip: Thermal carryover will continue to cook the meat by about 5 degrees after it leaves the pan. Pulling the meat just before it hits your target "doneness" ensures it stays succulent.
8. The Final Seasoning
Taste the meat. This is the time to add "finishing" salts or fresh herbs like parsley or chives. The heat of the beef will release the volatile oils in the herbs without wilting them into oblivion.
Pro Tip: Adding acid at the very end (like a squeeze of lemon) brightens the entire dish. It cuts through the heavy fats and resets the palate for the next bite.
The Deep Dive:
From a nutritional standpoint, chopped beef is a powerhouse of Heme Iron and Vitamin B12. A standard 4 ounce serving provides roughly 25 grams of protein. If you are following a Keto lifestyle, this dish is a dream; simply serve it over cauliflower mash. For Vegan guests, the mushroom swap mentioned earlier works perfectly, provided you use a high quality olive oil instead of tallow.
The Fix-It:
- Tough Meat: You likely skipped the tempering or used a cut with too much silver skin. Fix it by simmering the beef in a bit of broth for 10 minutes to further break down the collagen.
- Greasy Finish: The sauce didn't emulsify. Fix it by adding a teaspoon of Dijon mustard; the mucilage in the mustard acts as a natural emulsifier.
- Burnt Garlic: You added the aromatics too early. Next time, wait until the meat is fully seared. To fix a bitter batch, add a pinch of sugar to neutralize the acridity.
Meal Prep: To reheat and maintain "day-one" quality, avoid the microwave. Use a small saucier with a tablespoon of water or stock over medium heat. This creates a gentle steam that rehydrates the protein without toughening the fibers.
The Wrap-Up:
Mastering chopped beef recipes is a total game changer for your weeknight rotation. It is fast, it is technical, and the flavor payoff is astronomical compared to the effort involved. Once you understand the science of the sear and the importance of the fond, you will never look at a chuck roast the same way again. Now, get into that kitchen and start chopping!
The Kitchen Table:
Why is my chopped beef tough?
Toughness usually stems from skipping the resting period or overcrowding the pan. When meat is crowded, it steams instead of searing, which prevents the breakdown of tough connective tissues. Always cook in batches to maintain high pan temperatures.
Can I use a food processor to chop the beef?
It is not recommended. A food processor tears the muscle fibers and creates uneven sizes, leading to a mushy texture. Hand chopping with a sharp knife preserves the structural integrity of the meat for a superior mouthfeel and better browning.
What is the best oil for searing beef?
Use fats with high smoke points like avocado oil, ghee, or beef tallow. Avoid extra virgin olive oil or butter for the initial sear, as they will burn and become bitter at the high temperatures required for the Maillard reaction.
How do I get a better crust on the meat?
Ensure the meat is bone-dry before it hits the pan. Use paper towels to remove all surface moisture. Additionally, do not move the meat once it touches the hot oil; let it sit undisturbed to develop a deep, caramelized exterior.