
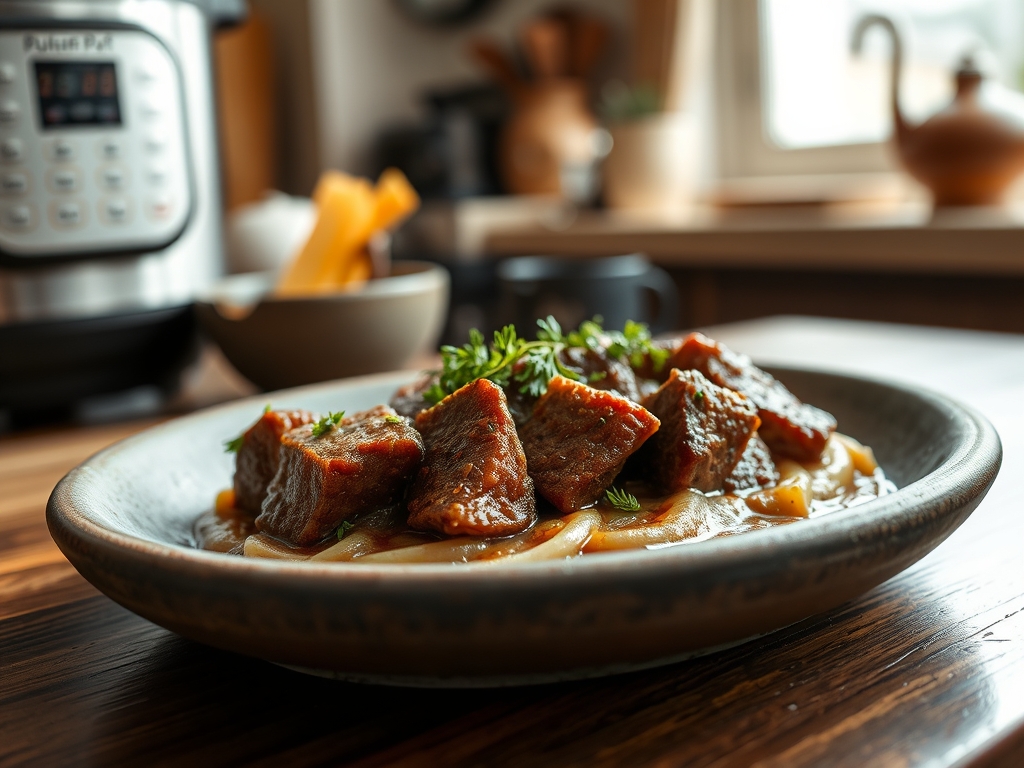
Imagine the scent of slow-simmered rosemary and caramelized onions swirling through your kitchen; it is the ultimate olfactory hug. We have all been there: staring at a beautiful chuck roast and praying the pressure cooker does not turn it into a dry, gray brick. The magic of instant pot roast beef recipes lies in the intersection of high-pressure physics and deep, soulful flavor. We are moving beyond basic "set it and forget it" mentalities. Today, we are mastering the art of high-speed braising to achieve a fork-tender result that rivals a six-hour oven roast. By manipulating steam and surface tension, we can force moisture into the muscle fibers while developing a crust that screams professional kitchen. This is not just dinner; it is a technical triumph wrapped in a cozy Sunday afternoon vibe. We are going to dive into the molecular mechanics of collagen breakdown and the secrets of the Maillard reaction to ensure every slice is a masterpiece of succulent, savory perfection.
The Gathers:
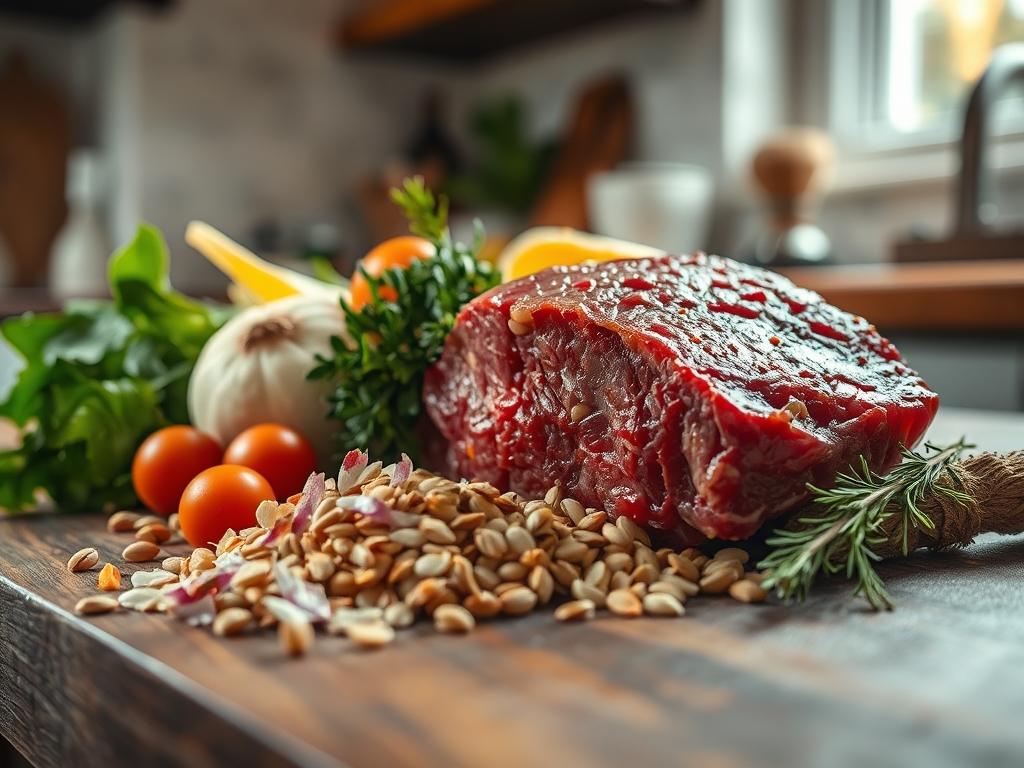
To execute these instant pot roast beef recipes with precision, your mise-en-place must be intentional. Start with a three to four pound chuck roast; this cut is non-negotiable because its high intramuscular fat and connective tissue (collagen) are essential for a moist result under pressure. You will need high-smoke-point oil like avocado oil, kosher salt for osmotic seasoning, and cracked black pepper. For the aromatic base, gather yellow onions, carrots, and celery. The piquant kick comes from a splash of Worcestershire sauce and a tablespoon of tomato paste to provide umami depth.
Your liquid gold is high-quality beef bone broth, which offers more gelatin than standard stock. Fresh herbs like thyme and rosemary are vital to infuse the fat with volatile oils. For a Smart Substitution, if you are out of red wine for deglazing, use two tablespoons of balsamic vinegar mixed with a bit of water; the acidity mimics the wine's role in breaking down tough fibers. If you prefer a thicker sauce without cornstarch, use a microplane to grate a small potato into the liquid; the released starches will thicken the gravy naturally as it cooks.
The Clock
Efficiency in the kitchen is about the Chef's Flow, which is the art of overlapping tasks to minimize downtime. Your active prep time is roughly 20 minutes. This includes trimming excess external silver skin and searing the meat. The actual pressurized cook time is 60 to 70 minutes, depending on the thickness of your cut. However, the "hidden" time is the 20-minute natural pressure release. Never skip this; a quick release causes the muscle fibers to seize and expel their juices, leaving you with "pot roast jerky." Total "door-to-table" time is approximately 1 hour and 50 minutes. While the beef rests, use that 10-minute window to reduce your braising liquid into a viscous demi-glace.
The Masterclass
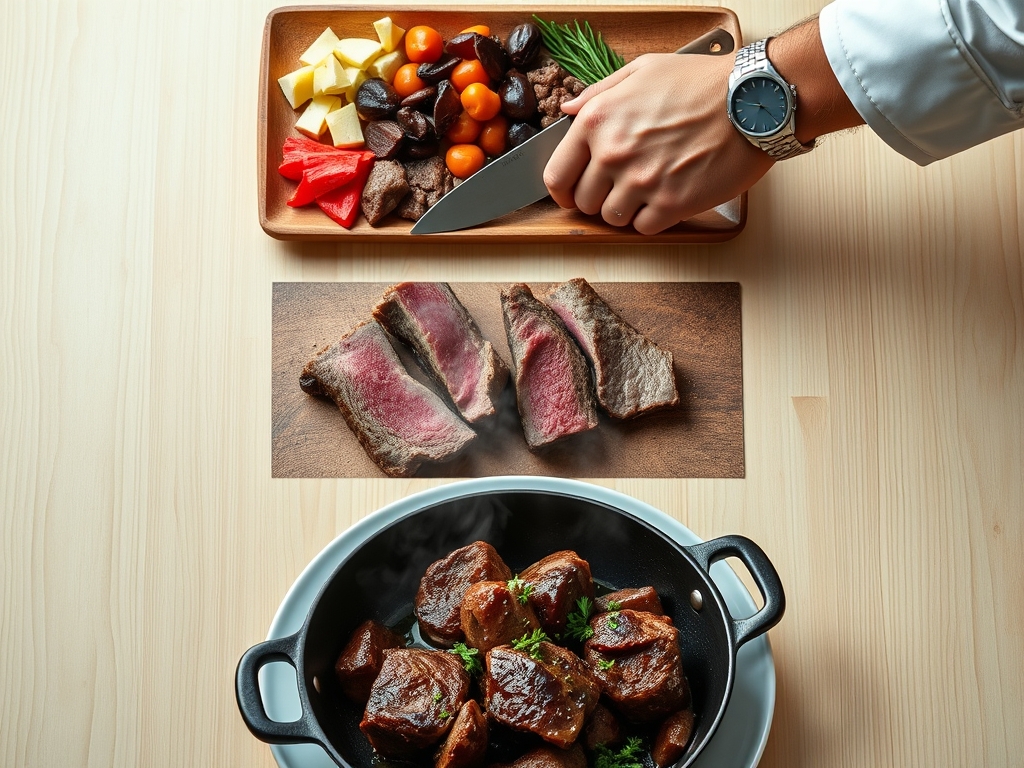
1. The Temper and Sear
Before the meat even touches the pot, let it sit on your counter for 30 minutes to reach room temperature. Pat the surface bone-dry with paper towels. Set your Instant Pot to "Sauté" on the highest setting. Once the display reads "Hot," add your oil and sear the beef for 5 to 7 minutes per side using heavy-duty tongs.
Pro Tip: This step triggers the Maillard reaction, a chemical reaction between amino acids and reducing sugars that creates hundreds of different flavor compounds. If the meat is wet, it will steam rather than sear, robbing you of that deep, savory crust.
2. The Deglaze and Scrape
Remove the beef and set it aside on a plate. Pour in your wine or balsamic mixture. Use a wooden spoon or a bench scraper to aggressively scrape every brown bit (the fond) off the bottom of the pot.
Pro Tip: Leaving fond on the bottom can trigger the dreaded "Burn" notice. More importantly, those bits contain concentrated flavor molecules that, once dissolved, create a complex, multi-layered sauce base through deglazing.
3. The Aromatic Layering
Add your onions, carrots, and celery to the pot. Sauté them for 3 minutes until the onions are translucent. Stir in the tomato paste and garlic, cooking for just 60 seconds to mellow the raw acidity.
Pro Tip: Sautéing aromatics in the rendered beef fat allows the fat-soluble flavor compounds in the garlic and herbs to aerate and distribute evenly throughout the entire dish rather than just floating on top.
4. The Pressure Phase
Return the beef to the pot along with any accumulated juices. Pour the broth in until it covers about two-thirds of the meat. Add your herb sprigs. Lock the lid and set to High Pressure for 65 minutes.
Pro Tip: Pressure cooking raises the boiling point of water, which accelerates the hydrolysis of collagen. This process transforms tough connective tissue into silky gelatin, which is what gives the meat its "melt-in-your-mouth" texture.
5. The Natural Release
Once the timer beeps, walk away. Let the pressure drop naturally for at least 20 minutes. This allows the internal temperature to stabilize and the juices to redistribute within the muscle structure.
Pro Tip: This prevents thermal shock. When pressure is released too quickly, the sudden drop in boiling point causes the moisture inside the meat to boil and escape violently, resulting in a dry, stringy texture.
6. The Sauce Reduction
Remove the meat and vegetables. Switch the pot back to "Sauté." If the sauce is too thin, whisk in a slurry or use a saucier to simmer the liquid until it coats the back of a spoon.
Pro Tip: Reducing the liquid concentrates the solutes, increasing the viscosity and intensifying the flavor profile through evaporation, ensuring the sauce clings to the beef rather than pooling on the plate.
The Deep Dive
From a Macro Nutrition perspective, a standard serving of roast beef is a protein powerhouse, offering roughly 30 grams of protein and 15 grams of fat. To keep it Keto, omit the potatoes and carrots, opting for radishes or turnips which mimic the texture of potatoes with a fraction of the carbs. For a Vegan alternative, this same technique works beautifully with large "steaks" of lion's mane mushrooms or a whole roasted cauliflower head, though you must reduce the pressure time to 5 minutes. For Gluten-Free diners, ensure your Worcestershire sauce is certified and use arrowroot powder instead of flour for thickening.
The Fix-It:
- Tough Meat: If it is still chewy, it simply hasn't cooked long enough to break down the collagen. Put it back under pressure for another 10 to 15 minutes.
- Bland Sauce: This usually means a lack of acidity. Add a teaspoon of apple cider vinegar or lemon juice at the very end to brighten the heavy fats.
- Greasy Gravy: Use a fat separator or a chilled spoon to skim the rendered tallow from the top of the liquid before reducing.
For Meal Prep, reheating is a science. Avoid the microwave, which vibrates water molecules and toughens the proteins. Instead, reheat slices in a pan with a splash of leftover broth over low heat. This gentle thermal carryover keeps the meat moist and "day-one" fresh.
The Wrap-Up
Mastering instant pot roast beef recipes is a total game-changer for your weekly rotation. By focusing on the science of searing and the patience of a natural release, you have transformed a humble cut of meat into a gourmet centerpiece. Remember; the tools you use, from the microplane to the tongs, are extensions of your culinary intuition. Now, go pour yourself a glass of whatever wine you didn't put in the pot and enjoy the most tender roast of your life. You earned it!
The Kitchen Table
Can I cook a frozen roast in the Instant Pot?
Yes, you can cook from frozen by increasing the pressure time by 50 percent. However, you will sacrifice the flavor benefits of the Maillard reaction since you cannot effectively sear a frozen block of meat.
Why is my pot roast always stringy?
Stringy meat is usually the result of using a "Quick Release" or overcooking a lean cut. Stick to chuck roast and always allow a 20-minute natural release to keep the muscle fibers relaxed and hydrated.
Do I need a trivet for the beef?
Using a trivet is optional. Placing the meat directly in the liquid results in a more "braised" texture, while using a trivet steams the meat. For maximum tenderness and flavor infusion, we recommend braising directly in the liquid.
What is the best way to thicken the gravy?
The most professional method is a cornstarch slurry or a butter-flour roux. For a grain-free option, blend some of the cooked carrots and onions back into the sauce to create a thick, flavorful puree.