
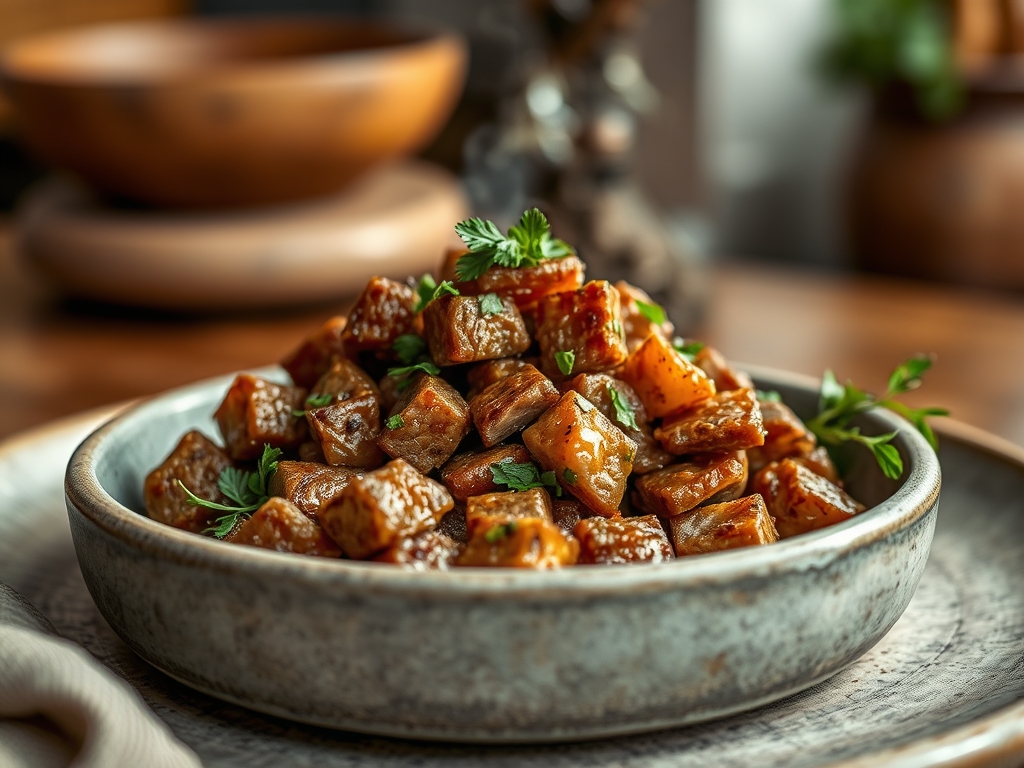
Picture this: the kitchen air is thick with the scent of caramelizing proteins and toasted peppercorns while a heavy-bottomed skillet sizzles with intent. We are moving beyond the basic stew meat mentality to unlock the true potential of diced beef recipes. Whether you are aiming for a high-heat sear or a low-and-slow melt, these cubes are the ultimate canvas for flavor. We are talking about deep, mahogany crusts and interiors so tender they practically dissolve on the tongue. It is time to treat your beef with the scientific respect it deserves, turning a simple grocery haul into a series of culinary triumphs that would make any bistro chef nod in silent approval.
The Gathers:
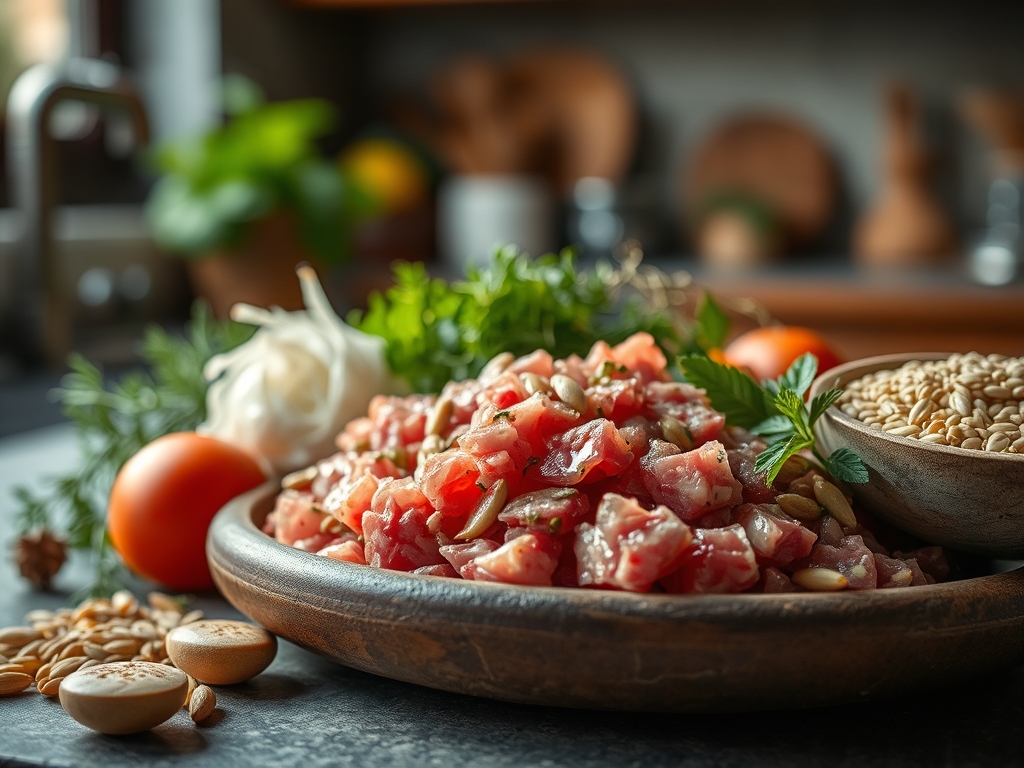
Before we light the burner, we need to curate our mise-en-place. Start with your protein; look for well-marbled chuck or sirloin tips. Use a digital scale to ensure your portions are precise, aiming for one-inch cubes to maintain a consistent surface-area-to-volume ratio. This ensures every piece cooks at the same rate. You will also need a high-smoke-point fat like avocado oil or clarified butter to facilitate the Maillard reaction without acrid smoke.
Gather your aromatic foundation: minced garlic, shallots, and perhaps a sprig of rosemary or thyme. For the liquids, keep a dry red wine or a fortified beef bone broth nearby to deglaze the pan. If you are looking for smart substitutions, swap soy sauce for coconut aminos to keep things gluten-free, or use a splash of balsamic vinegar if you lack wine. The acidity is non-negotiable; it brightens the heavy fats and cuts through the richness of the marrow.
The Clock:
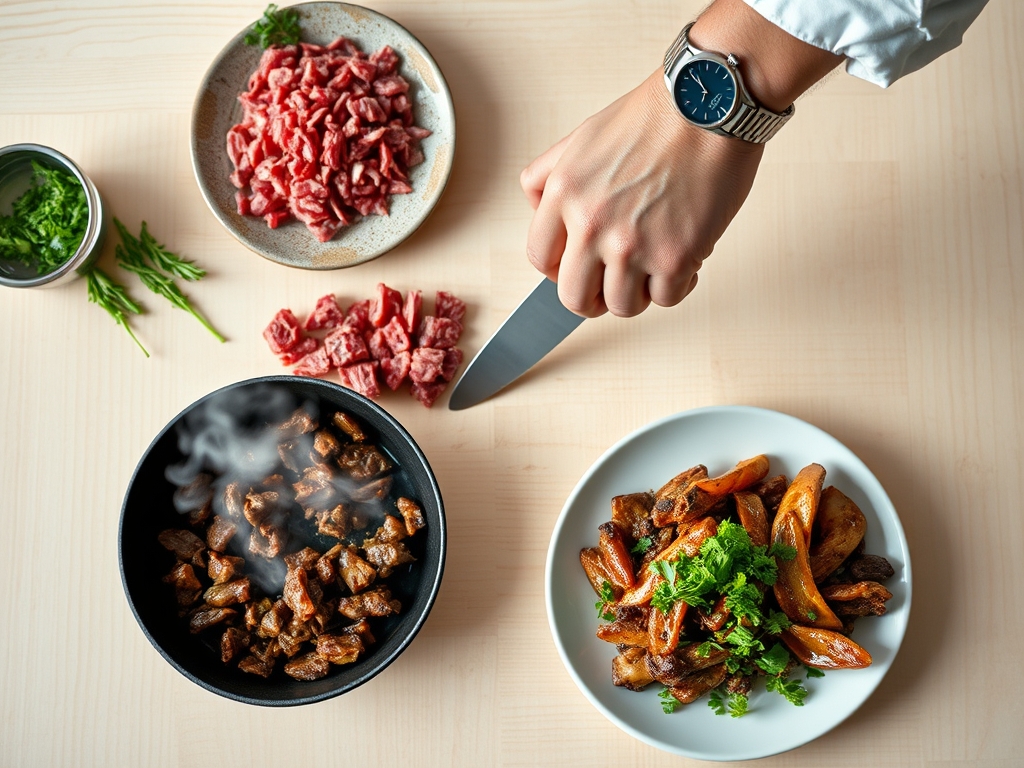
Efficiency in the kitchen is all about the "Chef's Flow." Total preparation time for most diced beef recipes sits at approximately 15 minutes, while active cooking time varies from a lightning-fast 8-minute stir-fry to a 2-hour gentle braise.
The secret to mastering the clock is the "Rest and Prep" method. While your beef is tempering on the counter (never cook meat straight from the fridge), use that 20-minute window to sharpen your knives and execute your vegetable cuts. By the time the meat reaches room temperature, your pan is hot and your aromatics are ready. This synchronized approach prevents the frantic "chopping while scorching" panic that ruins many a dinner.
The Masterclass:
1. The Dry Brine and Temper
Pat your beef cubes bone-dry with paper towels. Moisture is the enemy of a good sear. Sprinkle generously with kosher salt and let them sit for at least 20 minutes.
Pro Tip: This process utilizes osmosis. The salt draws out moisture, dissolves into a brine, and is then reabsorbed into the muscle fibers, seasoning the meat deeply while breaking down tough proteins for a more tender result.
2. The High-Heat Sear
Heat your heavy-bottomed skillet until the oil shimmers. Place the beef in a single layer, ensuring they are not touching. If you crowd the pan, the temperature drops and the meat steams in its own juices rather than browning.
Pro Tip: This is the Maillard reaction in action. By keeping the heat high and the pan uncrowded, you create hundreds of new flavor compounds that simply do not exist in boiled or steamed meat.
3. The Deglaze and Scrape
Once the beef is browned and removed, you will see brown bits stuck to the bottom of the pan. This is called "fond." Pour in your liquid of choice and use a bench scraper or wooden spoon to lift those bits.
Pro Tip: The fond contains highly concentrated savory flavors. By adding a liquid, you create an emulsion of fats and juices that forms the base of a sophisticated, viscous sauce.
4. The Aromatic Infusion
Lower the heat and add your butter, garlic, and herbs. Use a spoon to continuously baste the beef if you have added it back in, or simply let the aromatics perfume the oil.
Pro Tip: Fat is a flavor carrier. Many aromatic compounds in garlic and herbs are fat-soluble, meaning they need a lipid medium to effectively infuse the entire dish with their scent and taste.
5. The Gentle Simmer
If you are going for a braised style, add enough liquid to cover the meat halfway. Cover with a tight-fitting lid and drop the heat to the lowest setting.
Pro Tip: This stage relies on collagen conversion. At temperatures around 160 degrees Fahrenheit, tough connective tissue begins to transform into gelatin, providing that luxurious, mouth-coating texture.
6. The Final Rest
Remove the meat from the heat and let it sit for five to ten minutes before serving.
Pro Tip: This allows for thermal carryover and juice redistribution. During cooking, muscle fibers contract and push moisture to the center. Resting allows those fibers to relax and reabsorb the juices, ensuring they stay on your plate and not on the cutting board.
The Deep Dive:
From a nutritional standpoint, diced beef is a powerhouse of bioavailable iron, B12, and zinc. A standard four-ounce serving provides roughly 30 grams of protein. For those on a Keto path, the high fat-to-protein ratio of chuck is ideal. If you are looking for a Vegan alternative, large chunks of king oyster mushrooms or seitan can mimic the texture, though you will need to add a dash of liquid smoke or Worcestershire to replicate the umami depth.
Every chef hits a snag occasionally. If your beef is "grey and chewy," you likely crowded the pan; fix this next time by searing in batches. If the sauce is too thin, whisk in a "beurre manie" (equal parts flour and butter) to create a viscous finish. If the meat is tough, it simply needs more time; collagen does not care about your hunger, it only cares about heat and duration.
For meal prep, reheating is a science. Avoid the microwave, which turns beef into rubber. Instead, reheat gently in a saucier with a splash of broth over medium-low heat. This prevents the proteins from over-tightening and preserves that "day-one" tenderness.
The Wrap-Up:
Mastering diced beef recipes is about more than just following a list of steps; it is about understanding the physics of the pan and the chemistry of the ingredients. When you treat each cube of beef as a tiny steak, respecting the sear and the rest, you elevate your home cooking to professional heights. Now, grab your tongs, get that skillet screaming hot, and go create something magnificent. Your kitchen is your laboratory, and the results are going to be delicious.
The Kitchen Table:
How do I make diced beef tender?
The key is either a very fast sear at high heat for tender cuts or a long, slow braise for tougher cuts. Use an acidic marinade with lemon or vinegar to help break down tough connective tissues before cooking.
Can I cook diced beef from frozen?
It is not recommended. Cooking from frozen prevents the Maillard reaction because the surface stays wet as it thaws. For the best texture and safety, always thaw your beef completely in the refrigerator and pat it dry before searing.
What is the best cut for diced beef recipes?
Chuck roast is the gold standard for slow cooking because of its high fat and collagen content. For quick stir-fries or steak bites, choose sirloin or ribeye, which are naturally tender and do not require long cook times.
Why did my beef turn grey instead of brown?
This happens when the pan is too cool or too crowded. The moisture escaping the meat creates steam, which "boils" the exterior. To fix this, use a heavy skillet, high heat, and cook the beef in small batches.