
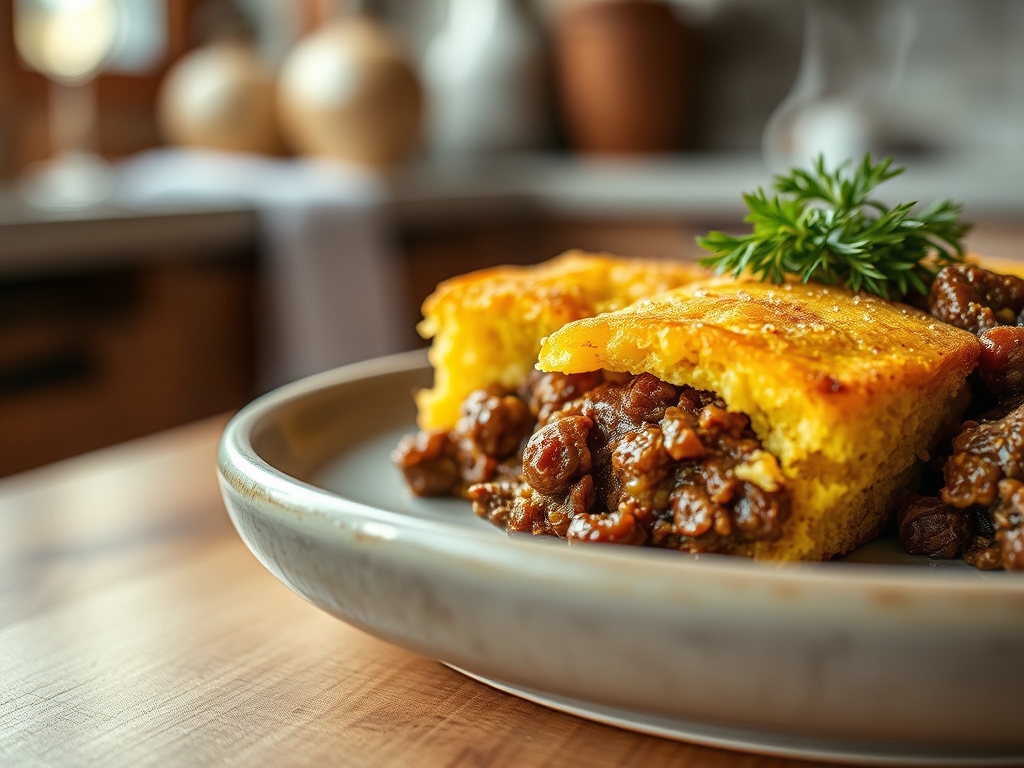
Imagine the scent of sweet, toasted cornmeal colliding with the savory, umami-rich aroma of browning fat. It is the ultimate olfactory hug. When you dive into corn bread and ground beef recipes, you are playing with a classic culinary contrast: the crumbly, aerated texture of the bread against the succulent, seasoned protein. It is pure, unadulterated comfort in a cast-iron skillet.
This isn't just about throwing ingredients in a pan; it is about the chemistry of a perfect crust and the science of a juicy filling. Whether you are craving a spicy tamale pie or a sweet-and-savory sloppy joe bake, these dishes rely on the structural integrity of the cornmeal and the moisture retention of the beef. We are going to elevate these pantry staples into a gourmet experience that feels like a warm embrace from the inside out. Grab your favorite heavy-bottomed skillet and let us get into the grit of what makes these casseroles legendary.
The Gathers:
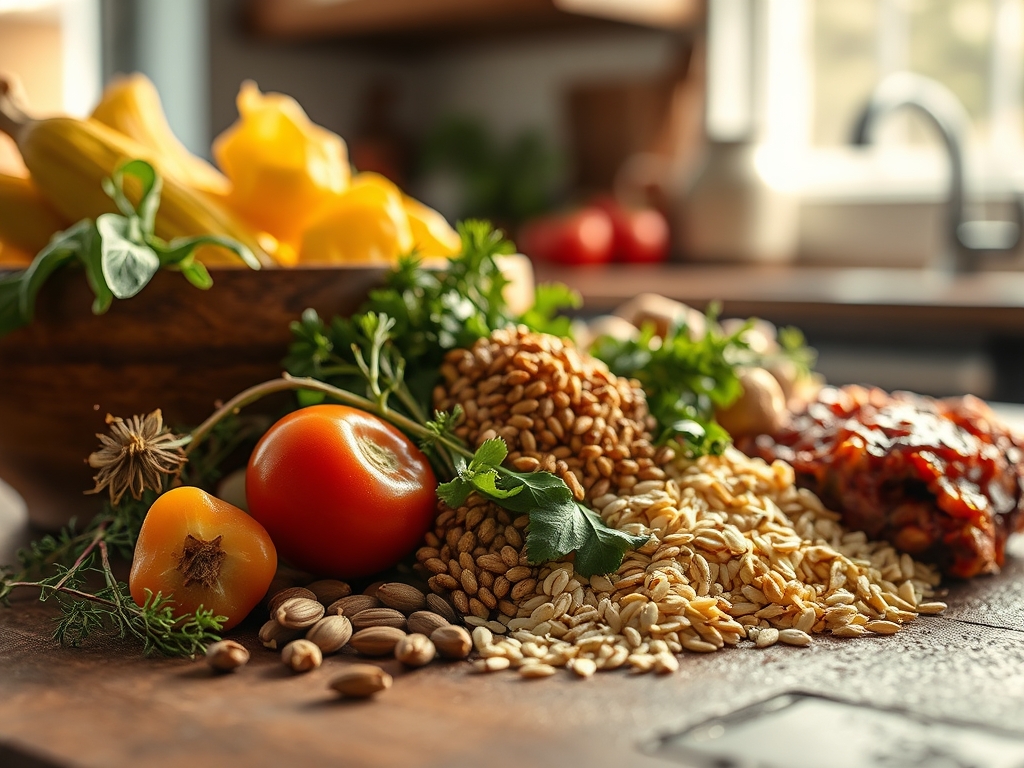
To achieve the perfect results, your mise-en-place must be precise. We start with high-quality ground beef, preferably an 80/20 blend. This ratio ensures enough fat to render and create a viscous sauce base while keeping the meat tender. For the cornmeal, look for stone-ground varieties; the irregular particle size provides a superior "tooth" compared to highly processed, dusty flours.
You will need a microplane for grating fresh sharp cheddar and a digital scale to ensure your dry-to-liquid ratio in the batter is exact. Aromatics like yellow onions, poblano peppers, and garlic provide the piquant backbone of the dish. Don't forget the buttermilk; its acidity reacts with leavening agents to aerate the batter, creating those essential carbon dioxide bubbles for a light, fluffy crumb.
Smart Substitutions:
If you are looking to lighten the profile, ground turkey or bison can replace the beef, though you may need to add a teaspoon of olive oil to compensate for the lower fat content. For a dairy-free version, swap buttermilk for almond milk mixed with a tablespoon of apple cider vinegar. If you find yourself out of cornmeal, a coarse polenta can work in a pinch, though it will result in a more rustic, crunchy texture.
The Clock
Efficiency in the kitchen is all about "Chef's Flow." Expect a total time of 50 to 60 minutes from start to finish. You will spend about 15 minutes on active prep: chopping aromatics with a sharp chef's knife and whisking your batter. The stovetop phase takes another 10 minutes to deglaze the pan and build the base. Finally, the oven does the heavy lifting for 25 to 30 minutes.
The "Flow" dictates that you preheat your oven and your skillet simultaneously. By the time your beef is browned and seasoned, your oven is at a stable temperature, preventing the "soggy bottom" syndrome that plagues amateur casseroles.

The Masterclass
1. The Sear and Render
Place your beef in a cold heavy-bottomed skillet and turn the heat to medium-high. Use a bench scraper or stiff spatula to break the meat into uniform morsels. Allow the meat to sit undisturbed for three minutes to initiate the Maillard reaction.
Pro Tip: Browning creates complex flavor compounds. Avoid overcrowding the pan, which causes the meat to steam in its own juices rather than sear; this ensures maximum enzymatic browning.
2. Aromatic Infusion
Once the fat has rendered, toss in your diced onions and peppers. Use the moisture from the vegetables to deglaze any brown bits (fond) stuck to the bottom of the pan. Stir frequently until the onions are translucent and the peppers are softened.
Pro Tip: Adding salt to the onions early draws out moisture through osmosis, allowing them to soften faster without burning.
3. Creating the Sauce Base
Incorporate tomato paste and spices, stirring for two minutes until the paste turns a deep brick red. This "blooms" the fat-soluble flavors in your spices, making them more vibrant. Add a splash of beef stock or beer to create a thick, viscous sauce that clings to the meat.
Pro Tip: The sauce acts as a thermal barrier. If it is too thin, the corn bread batter will sink; if it is too thick, the dish will be dry. Aim for the consistency of heavy cream.
4. Aerating the Batter
In a separate bowl, whisk your dry ingredients before folding in the buttermilk and melted butter. Use a light hand; over-mixing develops gluten, which leads to a tough, rubbery corn bread rather than a delicate crumb.
Pro Tip: Let the batter rest for five minutes. This allows the cornmeal to hydrate, ensuring a uniform texture and preventing a gritty mouthfeel.
5. The Layered Assembly
Gently spoon the batter over the beef mixture. Start from the edges and work your way toward the center. This creates a seal that prevents the filling from bubbling up and over the crust.
Pro Tip: Use a saucier or small ladle to drop the batter in dollops. This preserves the air bubbles you worked so hard to create during the whisking phase.
6. The Final Bake and Rest
Slide the skillet into the oven. Bake until the top is golden brown and a toothpick inserted into the center of the bread comes out clean. Once removed, let the dish sit for ten minutes before serving.
Pro Tip: Thermal carryover continues to cook the center of the dish even after it leaves the oven. Resting allows the starches to set, making the casserole easier to slice.
The Deep Dive
Macro Nutrition:
A standard serving provides a balanced profile of protein (from the beef), complex carbohydrates (from the cornmeal), and fats. To increase fiber, consider adding black beans or corn kernels to the beef mixture.
Dietary Swaps:
- Vegan: Use a plant-based crumble and a flax-egg substitute in the corn bread.
- Keto: Replace cornmeal with almond flour and crushed pork rinds for a "corn-free" breading.
- Gluten-Free: Ensure your cornmeal is certified GF and use a 1:1 gluten-free flour blend for the binder.
The Fix-It:
- Soggy Middle: Your filling was too watery. Next time, simmer the sauce longer to reduce the liquid volume.
- Dry Bread: You likely overbaked it. Use a digital thermometer; the internal temperature of the bread should be 200 degrees Fahrenheit.
- Bland Meat: You didn't season in layers. Add salt and pepper at every stage: the raw meat, the aromatics, and the final sauce.
Meal Prep & Reheating:
To maintain "day-one" quality, reheat slices in an air fryer at 320 degrees Fahrenheit for five minutes. This restores the crispness of the corn bread without drying out the beef. Avoid the microwave, which can make the breading spongy.
The Wrap-Up
Mastering corn bread and ground beef recipes is about understanding the harmony between moisture and structure. When you respect the sear of the meat and the aeration of the batter, you create a dish that is far more than the sum of its parts. It is a technical feat wrapped in a cozy, golden blanket. Now, get into that kitchen and show that skillet who is boss!
The Kitchen Table
How do I prevent the corn bread from sinking?
Ensure your beef mixture is thick and slightly cooled before adding the batter. A viscous sauce provides the structural support needed to keep the aerated batter afloat until the heat sets the proteins and starches.
Can I make this in a slow cooker?
Yes, but you will lose the crispy edges. Cook the beef mixture on low for 6 hours, then spread the batter on top for the final hour. For better results, finish it under a broiler for three minutes.
Why is my corn bread crumbly?
Crumbly bread often results from a lack of fat or over-mixing. Ensure you use the full amount of butter or oil specified, and fold the ingredients together just until no dry streaks remain to preserve the crumb.
What is the best beef-to-corn-bread ratio?
A 1:1 ratio by volume is standard for a balanced bite. Use approximately one pound of ground beef for every nine-inch skillet of corn bread batter to ensure every forkful contains both savory meat and sweet bread.