
Picture the scent of deep umami and caramelized onions drifting from your kitchen as a heavy Dutch oven works its magic. When you master oven roasted brisket beef recipes, you are not just cooking; you are performing a slow motion chemical transformation. It is the ultimate comfort food that turns a tough cut into a buttery masterpiece.
The secret to a world class brisket lies in the intersection of heat and patience. We are moving beyond the basic pot roast and into the realm of professional culinary science. Whether you are hosting a holiday dinner or prepping for a week of gourmet meals, this brisket will be your new signature. It is rich, savory, and deeply satisfying.
Let us get one thing straight: brisket is a stubborn muscle. It is packed with connective tissue that requires precise thermal management to break down. But do not worry; I have spent years perfecting the ratios so you do not have to. Grab your favorite apron and a glass of wine. We are about to turn your kitchen into the best steakhouse in town.
The Gathers:
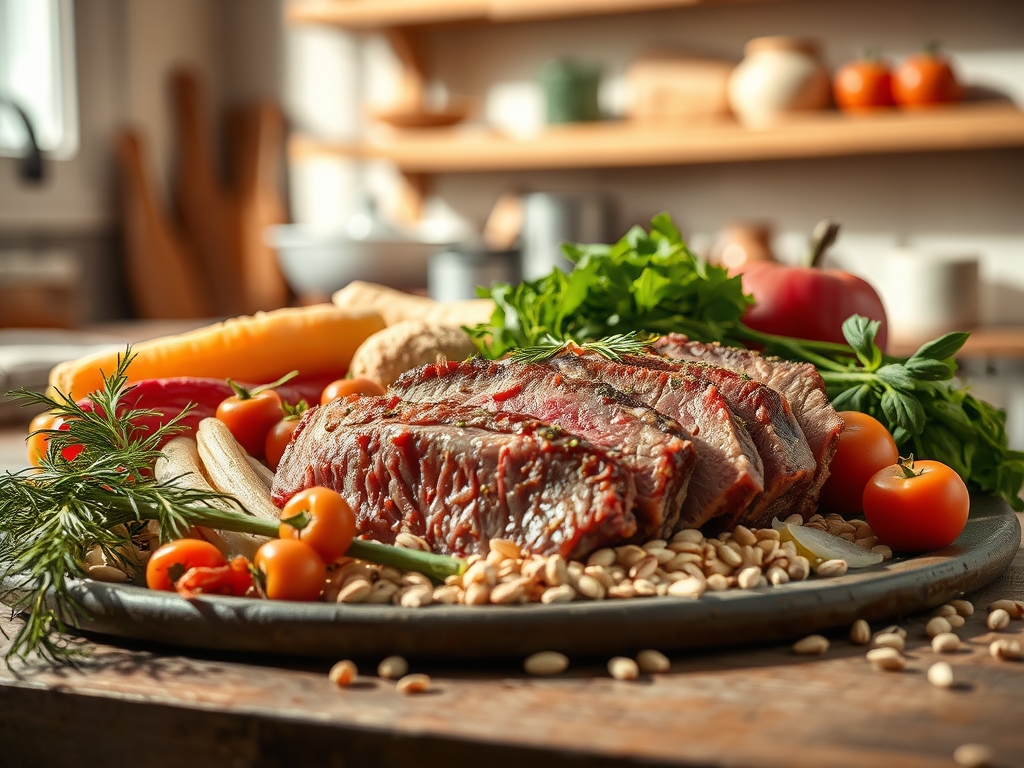
To achieve a professional result, your mise-en-place must be impeccable. Start with a five to six pound packer brisket or a flat cut with a significant fat cap. You will need high quality kosher salt to facilitate denaturation and freshly cracked black pepper for a piquant bite.
The aromatics are non negotiable. Gather four large yellow onions, a head of garlic, and a bouquet garni of thyme and rosemary. For the braising liquid, you need a viscous beef bone broth, a splash of Worcestershire sauce, and a dry red wine like Cabernet Sauvignon to infuse the meat with acidity.
Smart Substitutions: If you are avoiding alcohol, swap the wine for an equal amount of beef broth mixed with two tablespoons of balsamic vinegar. For a smoky profile without a smoker, add a teaspoon of high quality liquid smoke or smoked paprika to your dry rub. Always use a digital scale to measure your spices if you want consistent, repeatable results every single time.
The Clock:
The "Chef's Flow" for this recipe is all about front loading the effort. Your active prep time is roughly 45 minutes. This includes trimming the fat, searing the meat, and sautéing your aromatics. Once the brisket enters the oven, your job is largely done.
Expect a total cook time of four to five hours depending on the weight of your beef. You are looking for an internal temperature of 202 degrees Fahrenheit. However, the most critical part of the clock is the resting phase. You must allow the meat to rest for at least 30 to 45 minutes before slicing. This allows the internal juices to redistribute and settle.
The Masterclass:
1. The Dry Brine and Prep
Pat the brisket bone dry with paper towels. Use a sharp boning knife to trim the fat cap to about a quarter inch thickness. Generously coat every inch of the meat with salt and pepper. Let it sit at room temperature for 40 minutes.
Pro Tip: This process utilizes osmosis. Salt initially draws moisture out, but given enough time, the brine is reabsorbed into the muscle fibers. This seasons the meat deeply and alters the protein structure for a more tender bite.
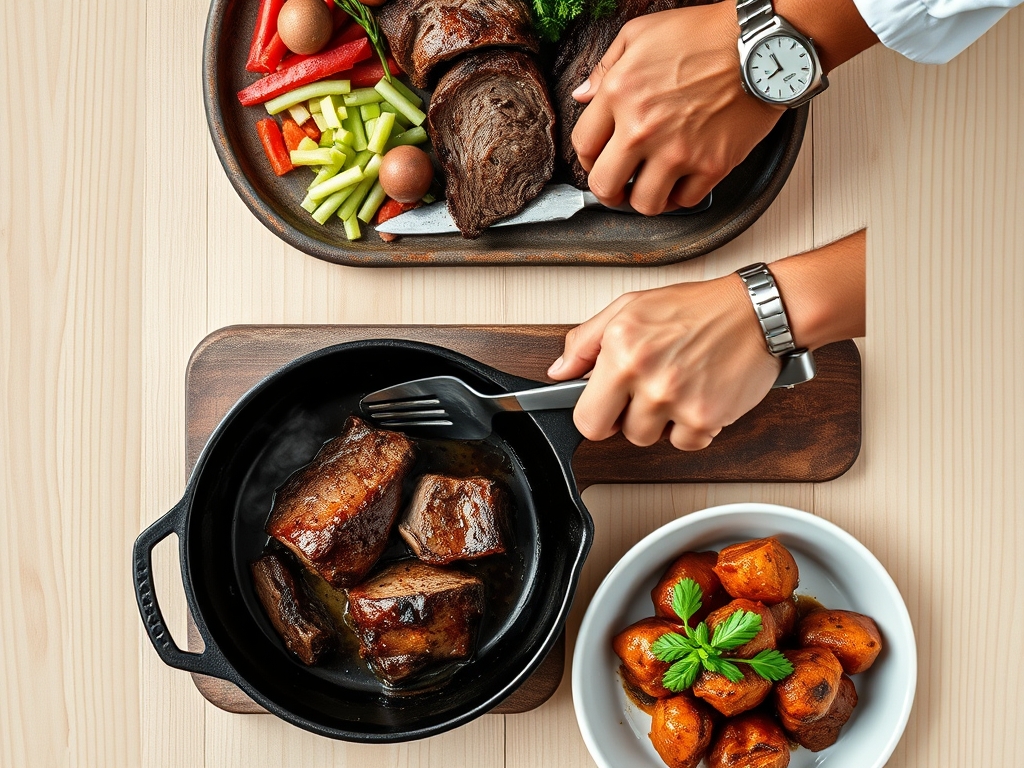
2. The Hard Sear
Heat a large, heavy-bottomed skillet or Dutch oven over medium high heat. Add a high smoke point oil like avocado oil. Sear the brisket until a dark, mahogany crust forms on all sides. Do not rush this step; you want a thick crust.
Pro Tip: This is the Maillard Reaction. This chemical reaction between amino acids and reducing sugars creates hundreds of different flavor compounds. Without a proper sear, your brisket will lack the complex, savory depth found in professional oven roasted brisket beef recipes.
3. Sautéing the Aromatics
Remove the meat and set it aside. In the same pot, add your sliced onions. Use a wooden spoon to scrape up the brown bits (the fond) from the bottom. Sauté until the onions are translucent and golden. Add minced garlic and tomato paste, stirring until fragrant.
Pro Tip: When you deglaze the pan with wine or broth, you are dissolving the caramelized proteins back into the liquid. This creates a built in sauce base that is incredibly rich in umami.
4. The Low and Slow Braise
Place the brisket back into the pot, fat side up. Pour in your liquids until they reach halfway up the side of the meat. Cover tightly with a lid or heavy duty foil. Slide it into a 300 degree Fahrenheit oven.
Pro Tip: Cooking at a low temperature prevents the muscle fibers from tightening too quickly. This allows the collagen to slowly transform into gelatin. Gelatin provides that silky, melt in your mouth texture that defines a perfect roast.
5. The Temperature Check
Start checking the internal temperature at the four hour mark using a reliable meat thermometer. You are not just looking for a number; you are looking for "probe tenderness." The thermometer should slide into the meat like it is softened butter.
Pro Tip: Be aware of thermal carryover. The internal temperature of the meat will continue to rise by five to ten degrees after you remove it from the oven. Pulling the meat at 195 degrees often results in a perfect 202 degree finish.
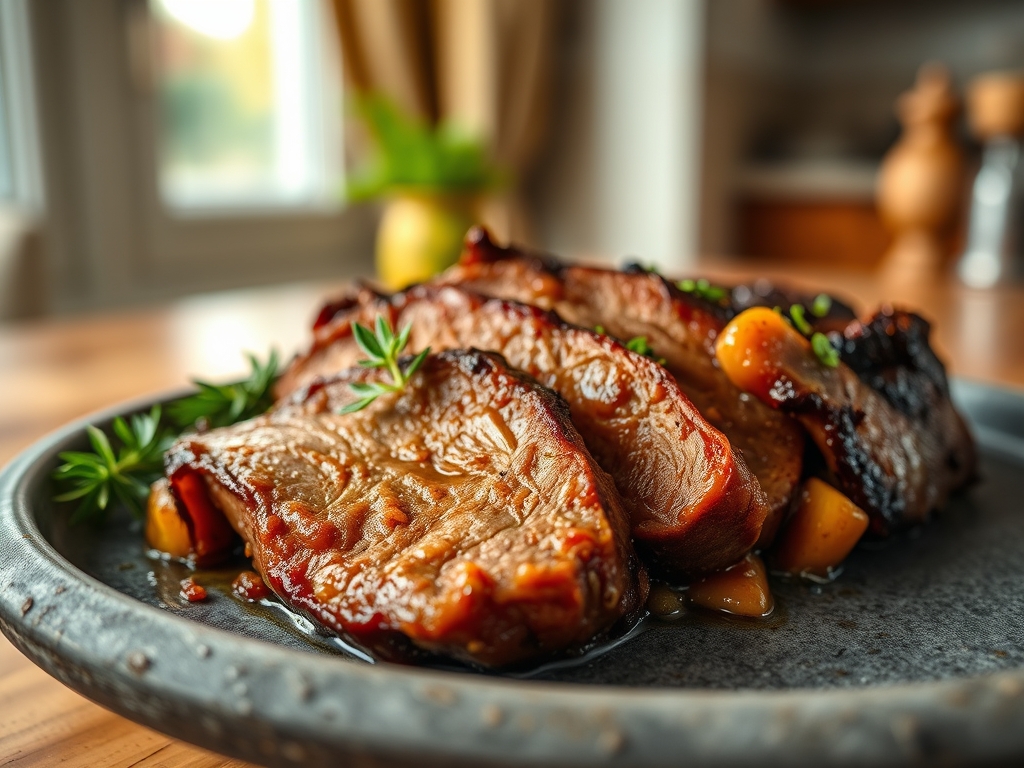
6. The Rest and Slice
Transfer the brisket to a cutting board with a juice groove. Tent it loosely with foil. Once rested, use a long carving knife to slice the meat against the grain. Slicing against the grain is mandatory for a tender chew.
Pro Tip: Resting allows the viscosity of the internal juices to increase as they cool slightly. If you slice too early, the steam will escape and the liquid will run out, leaving you with dry, stringy meat.
The Deep Dive:
Macro Nutrition: Brisket is a protein powerhouse. A standard six ounce serving provides roughly 45 grams of protein and 30 grams of fat. It is rich in B vitamins, zinc, and iron. To keep it leaner, trim more of the fat cap before cooking.
Dietary Swaps: For a Keto version, ensure your broth has no added sugars and skip the flour if you usually thicken your gravy. For a Vegan alternative, this cooking method works beautifully with large "steaks" of lion's mane mushrooms or roasted cabbage wedges. For GF diners, simply ensure your Worcestershire sauce is certified gluten free.
The Fix-It:
- Tough Meat: If it is still chewy, it simply needs more time. Put it back in. The collagen hasn't melted yet.
- Salty Sauce: If the braising liquid reduced too much and became salty, drop in a peeled potato for 20 minutes to absorb excess sodium.
- Greasy Gravy: Use a fat separator or a chilled spoon to skim the rendered tallow off the top of the liquid before serving.
Meal Prep: Brisket is actually better on day two. To reheat, slice the cold meat and place it in a shallow dish with leftover braising liquid. Cover with foil and heat at 300 degrees until warmed through. This prevents the "warmed over flavor" caused by lipid oxidation.
The Wrap-Up:
Mastering oven roasted brisket beef recipes is a rite of passage for any home cook. It requires a blend of technical precision and sensory intuition. By focusing on the Maillard reaction, proper deglazing, and the science of collagen breakdown, you have elevated a humble cut of beef into a culinary triumph. Serve this with creamy polenta or roasted root vegetables, and watch your guests marvel at your skills. You've got this!
The Kitchen Table:
How do I know which way the grain runs?
Look for the direction of the long muscle fibers before cooking. Take a small notch out of the corner of the raw meat to mark the "against the grain" direction. This ensures a tender slice after the meat is dark and crusty.
Can I cook brisket at a higher temperature to save time?
No. High heat causes muscle fibers to contract violently, squeezing out moisture before the collagen can melt. You will end up with meat that is both tough and dry. Low and slow is the only path to success here.
Do I really need to sear the meat first?
Yes. Searing creates the "fond" which is the foundation of your sauce flavor. It also develops the complex crust that provides a textural contrast to the tender interior. Skipping the sear results in a gray, one dimensional roast.
What is the best way to store leftovers?
Store the brisket submerged in its own braising liquid in an airtight container. This prevents the meat from drying out and allows the flavors to continue to develop. It will stay fresh in the fridge for up to four days.