
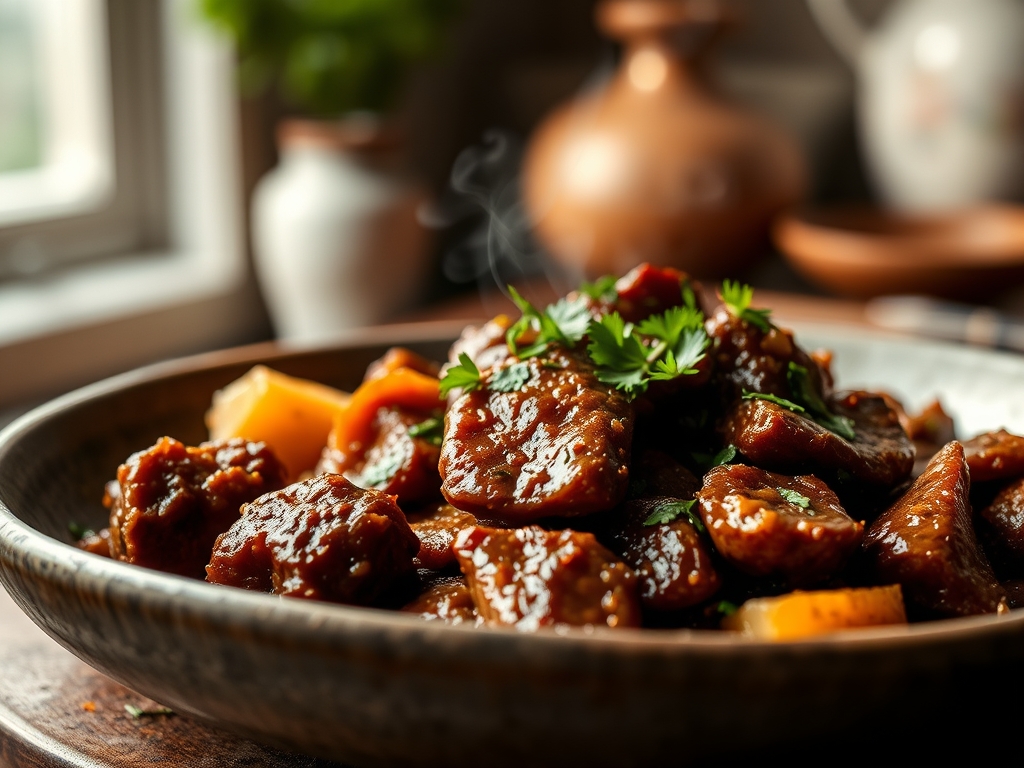
Imagine the scent of searing protein hitting a heavy bottomed skillet; that sharp, metallic aroma of raw iron transforming into the deep, nutty perfume of caramelized beef. You have a pack of pre-cut cubes in the fridge, but you are bored to tears by the thought of another thick, potato-heavy gravy. When searching for stew beef recipes not stew, you are looking for a culinary transformation that respects the connective tissue while elevating the texture beyond the mushy. We are talking about high-heat searing, rapid pressure-cooking, and delicate slicing that turns a humble cut into a five-star centerpiece.
The magic of stew beef lies in its collagen content. Unlike a ribeye, which relies on intramuscular fat for flavor, stew beef is a puzzle of tough protein fibers that requires a specific thermal strategy to unlock. If you treat it like a steak, it will fight back. If you treat it with a bit of scientific curiosity, it becomes the most versatile tool in your kitchen arsenal. We are going to bypass the slow cooker sludge and move straight into crispy tacos, silky ragus, and charred kebabs that will make your guests wonder if you secretly attended Le Cordon Bleu over the weekend.
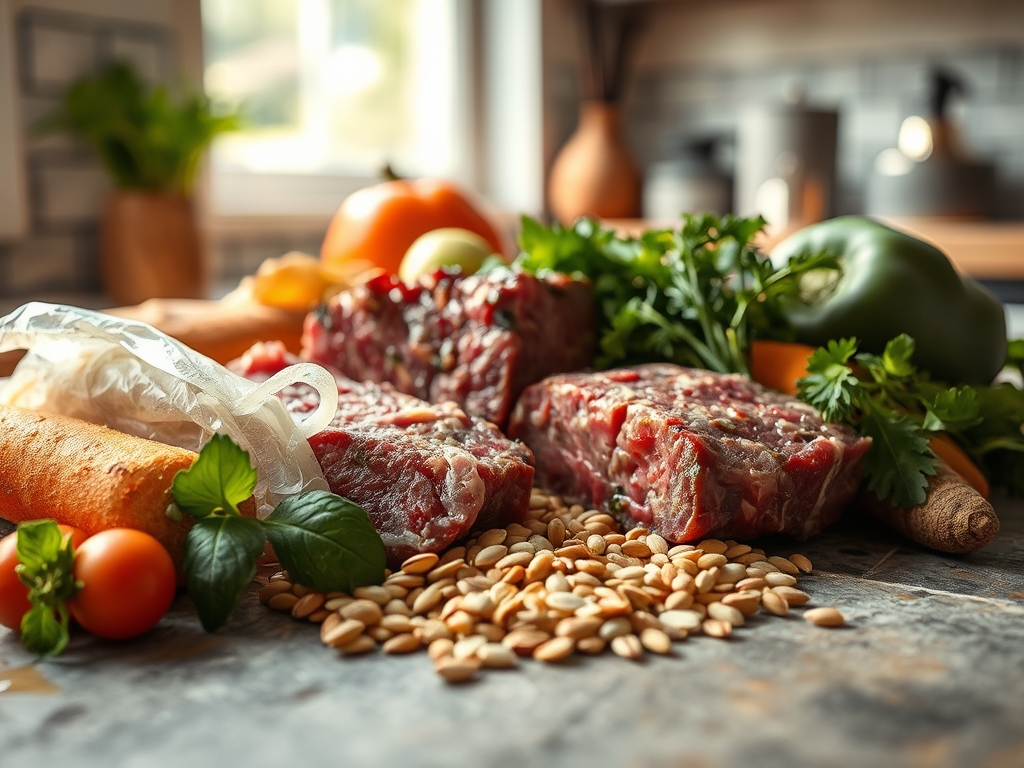
The Gathers:
Your mise-en-place is the foundation of success. Before the heat even touches the pan, you need to organize your workspace to ensure a seamless flow. Start with your beef; look for deep red coloring and visible white marbling. Use a digital scale to ensure uniform portions if you are meal prepping. You will also need a high-smoke-point oil like avocado or grapeseed oil to facilitate the Maillard reaction without scorching.
Smart Substitutions:
If you cannot find traditional chuck-based stew meat, look for bottom round or brisket. For a piquant kick, swap standard black pepper for toasted Szechuan peppercorns or smoked paprika. If you are looking for an acid to brighten the dish, use a microplane to zest fresh lime or lemon over the finished product. To add a deep umami base without extra sodium, a splash of fish sauce or a teaspoon of tomato paste can act as a flavor catalyst.
The Clock
Efficiency in the kitchen is about understanding the "Chef's Flow." Prep time for these recipes usually clocks in at 20 minutes, primarily focused on trimming excess silver skin and patting the meat dry. The cooking time varies significantly based on your method: 25 minutes for a high-pressure electric cooker or up to 2 hours for a low-temperature braise in a saucier.
The secret to mastering the clock is "dead time" management. While the beef is undergoing its molecular transformation, use that window to prep your garnishes, clean your bench scraper, and set the table. Always allow for a 10-minute resting period post-cook; this allows the internal juices to redistribute, preventing the meat from becoming dry and stringy the moment you bite into it.
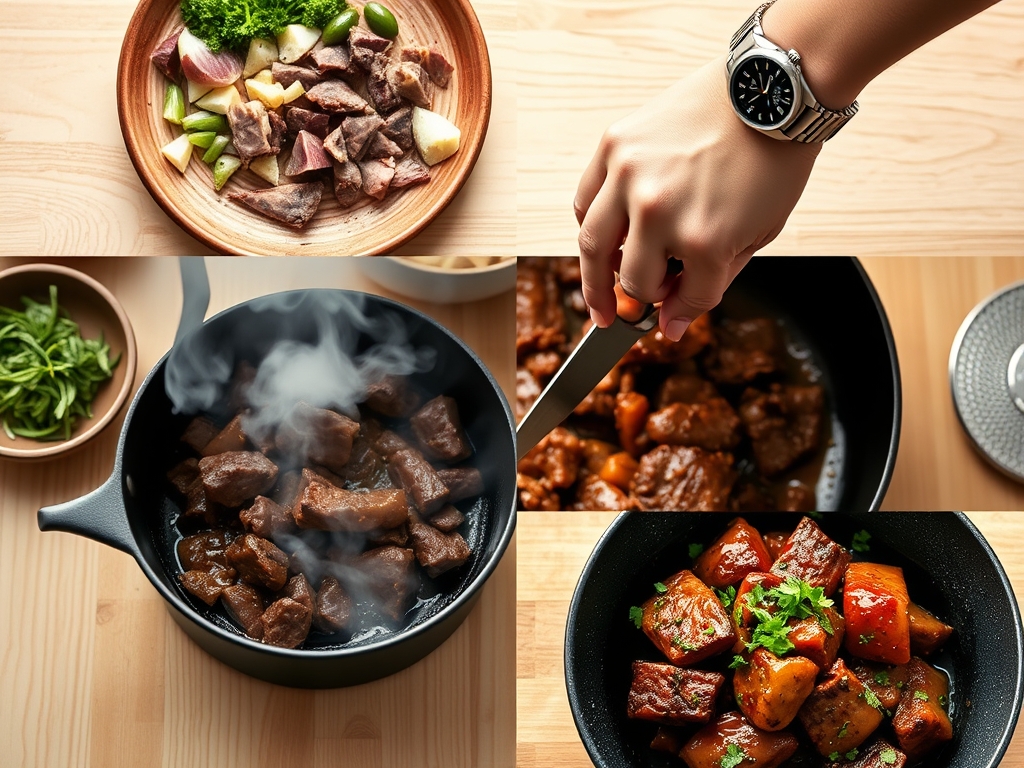
The Masterclass
1. The Surface Dehydration
The first rule of a perfect sear is removing moisture. Use paper towels to pat every single cube of beef until the surface is bone dry. Moisture is the enemy of browning; if the meat is wet, it will steam rather than sear.
Pro Tip: This is the science of the Maillard Reaction. By removing surface water, you allow the temperature to rise above 300 degrees Fahrenheit instantly, triggering the chemical reaction between amino acids and reducing sugars that creates that savory, brown crust.
2. The High-Heat Sear
Heat your heavy-bottomed skillet until the oil shimmers. Use tongs to place the beef in a single layer, ensuring there is space between each piece. Do not crowd the pan, or the temperature will drop precipitously.
Pro Tip: Avoid the temptation to move the meat too soon. Wait for "natural release." When the proteins have sufficiently denatured and caramelized, the meat will lift easily from the pan without sticking.
3. The Deglaze and Infuse
Once the meat is browned, remove it and look at the bottom of the pan. That brown film is called "fond." Pour in a splash of wine, stock, or even water to deglaze the surface, scraping up those flavor crystals with a wooden spoon.
Pro Tip: This step utilizes solvent extraction. The liquid dissolves the concentrated flavor compounds stuck to the pan, creating a viscous and complex base for whatever sauce or seasoning you add next.
4. The Pressure Transformation
For recipes like beef tacos or shredded sliders, move the seared meat to a pressure cooker. Add aromatics like garlic, bay leaves, and peppercorns. Cook under high pressure for 35 minutes to break down the tough collagen into gelatin.
Pro Tip: This is hydrolytic cleavage. Under pressure, the triple-helix structure of collagen melts into gelatin, which provides that rich, lip-smacking mouthfeel that defines high-quality beef dishes.
5. The Final Reduction
After the meat is tender, remove it and simmer the remaining liquid. You want to reduce the volume by half to concentrate the flavors and create a natural glaze.
Pro Tip: As water evaporates, the concentration of solutes increases. This creates a hypertonic environment where the flavors become more intense and the liquid gains a glossy, professional sheen.
6. The Textural Contrast
Take your tender beef and give it a quick flash-fry in a pan or a few minutes under the broiler. This adds a crispy exterior to the melt-in-your-mouth interior.
Pro Tip: This creates textural layering. The contrast between the crispy "bark" and the gelatinous interior provides a more satisfying sensory experience than uniform softness.
7. The Resting Phase
Transfer the beef to a warm plate and tent it loosely with foil. Let it sit for at least five to ten minutes before serving or shredding.
Pro Tip: This accounts for thermal carryover. The internal temperature will continue to rise slightly, finishing the cook gently while allowing the muscle fibers to relax and reabsorb moisture.
The Deep Dive
Macro Nutrition: Stew beef is a protein powerhouse, typically offering about 25-30 grams of protein per 4-ounce serving. It is rich in Vitamin B12, Zinc, and Iron. To keep it lean, trim the external fat caps before cooking, though leaving some fat is essential for flavor and fat-soluble vitamin absorption.
Dietary Swaps:
- Vegan: Substitute beef with large chunks of king oyster mushrooms or seitan. Use soy sauce and smoked paprika to mimic the savory depth.
- Keto: Focus on butter-based sauces and serve over cauliflower rice or sautéed greens.
- GF: Ensure your beef broth is certified gluten-free and use cornstarch or arrowroot powder instead of flour for thickening.
The Fix-It:
- Tough Meat: If it is still chewy, it simply hasn't cooked long enough. Put it back in the heat; collagen needs time and temperature to melt.
- Too Salty: Add a splash of acid (vinegar or lemon) or a pinch of sugar to balance the palate.
- Greasy Sauce: Use a chilled spoon to skim the fat off the top, or drop in an ice cube; the fat will cling to the cold surface for easy removal.
Meal Prep: To maintain "day-one" quality, reheat your beef in a covered dish with a tablespoon of water or stock. This creates a mini-steam chamber that prevents the proteins from becoming rubbery in the microwave.
The Wrap-Up
Mastering stew beef recipes not stew is all about reclaiming a "budget" cut and treating it with the respect of a prime steak. By understanding the science of collagen and the power of the Maillard reaction, you turn a simple grocery store staple into a gourmet foundation. Whether you are shredding it for spicy bao buns or tossing it in a bright, herbaceous chimichurri, remember that technique always trumps price tag. Now, grab your tongs and get searing!
The Kitchen Table
Can I use frozen stew beef for these recipes?
Yes, but you must thaw it completely in the refrigerator first. Pat the meat extremely dry with paper towels before searing to ensure you achieve a proper crust rather than steaming the protein in its own juices.
Why is my stew beef still tough after cooking?
Toughness usually indicates the collagen hasn't fully converted to gelatin. This requires sustained heat. If the meat is "rubbery," it needs more time; if it is "dry and crumbling," it has been overcooked at too high a temperature.
How do I get a good sear on small cubes?
Use a high-smoke-point oil and a pre-heated heavy-bottomed skillet. Work in small batches to avoid crowding. If the pan temperature drops, the meat will boil in its own liquid instead of developing a dark, flavorful crust.
What is the best way to store leftovers?
Store beef in an airtight container with a bit of its cooking liquid. This prevents the meat from oxidizing and drying out. It will stay fresh in the refrigerator for up to four days or three months in the freezer.