
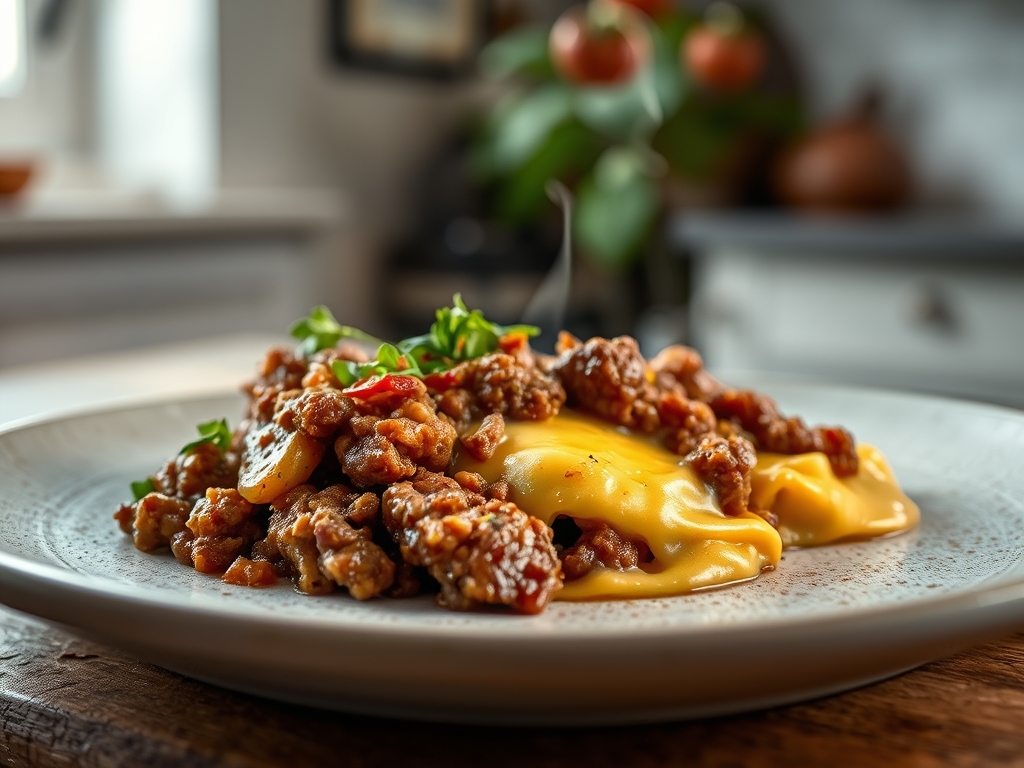
Imagine the scent of searing beef hitting a hot cast iron skillet; that sharp, savory aroma is the Maillard reaction working its magic. Now, imagine folding in a golden, molten river of cheese that refuses to break or separate. Mastering velveeta cheese ground beef recipes is about more than just comfort food; it is a lesson in perfect emulsification and texture.
The secret to these dishes lies in the chemistry of the melt. Unlike aged cheddars that often split into oily puddles when heated, Velveeta contains sodium phosphates that act as stabilizers. This ensures your sauce remains glossy and viscous, providing the ultimate velvety mouthfeel for everything from taco bakes to cheesy shells. Whether you are whipping up a midweek skillet meal or a game day dip, the combination of high-protein ground beef and a stable cheese sauce is a culinary powerhouse. It is the kind of cooking that feels like a warm hug but tastes like a professional kitchen achievement. We are going to dive deep into the mechanics of browning, the science of fat ratios, and the art of the perfect melt. Grab your favorite heavy-bottomed skillet and let us transform these humble ingredients into something truly spectacular.
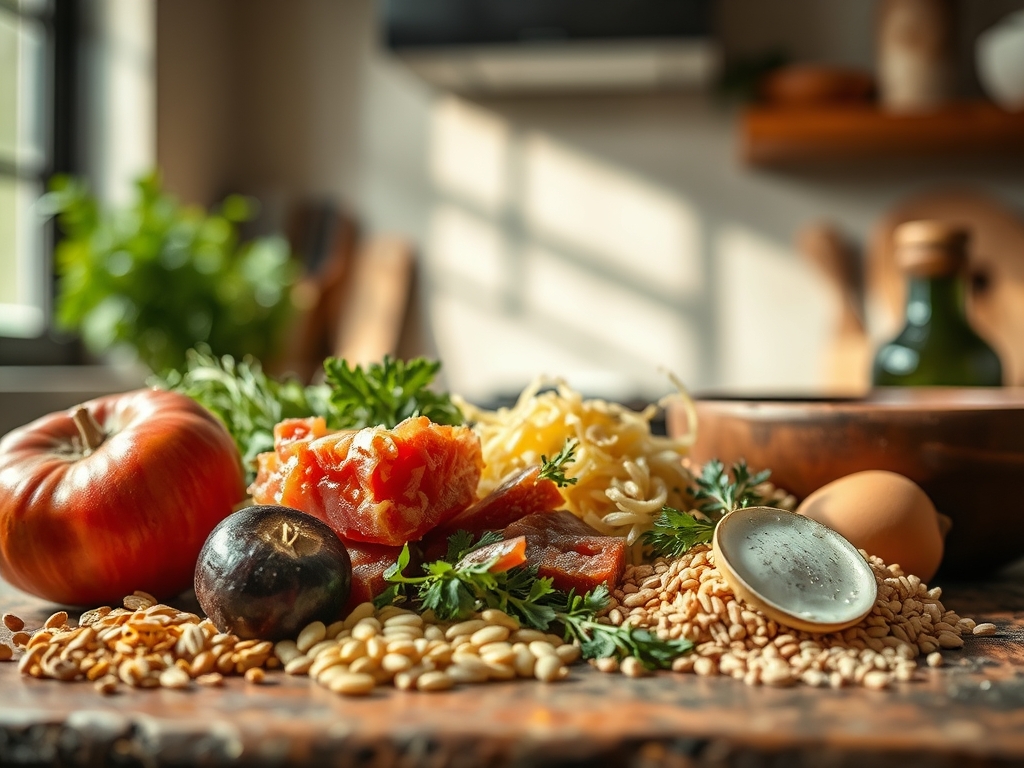
The Gathers:
Before we ignite the burners, we must assemble our mise-en-place with precision. Start with your protein; I recommend an 80/20 ground chuck. This ratio provides enough fat to render down and carry flavor without drowning the dish in grease. Use a digital scale to portion your beef into one-pound blocks for consistent cooking times.
Next, focus on the cheese. You want the classic gold block, cubed into uniform one-inch pieces to ensure even heat distribution. For the aromatics, reach for yellow onions and fresh garlic. Use a microplane to grate your garlic into a fine paste; this increases the surface area and allows the pungent oils to infuse the fat more rapidly. You will also need a liquid base to adjust the viscosity of your sauce. Whole milk or a splash of heavy cream works best, as the fat content prevents the sauce from thinning out too much.
Smart Substitutions:
If you are looking to lighten the profile, swap the beef for ground turkey or bison. Bison is exceptionally lean, so you may need to add a teaspoon of avocado oil to the pan to prevent sticking. For a piquant kick, incorporate canned green chilis or a dash of liquid smoke to mimic a charcoal grill finish. Always have a bench scraper nearby to tidy your workspace; it is the most underrated tool for moving chopped aromatics from board to pan.
The Clock:
Efficiency in the kitchen is all about the Chef's Flow. For most velveeta cheese ground beef recipes, you are looking at a total time of 30 minutes. The breakdown is simple: 10 minutes for prep and 20 minutes for active cooking.
The flow begins with the sear. Do not rush the browning process. It takes approximately 6 to 8 minutes for the beef to fully render and develop a crust. While the beef cooks, use that time to cube your cheese and measure your spices. This overlapping technique ensures that by the time the meat is drained, your melting components are ready to go. If you are incorporating pasta or rice, start your boiling water the moment your skillet hits the heat. This synchronization means your starch and your sauce finish simultaneously, preventing the pasta from becoming gummy while waiting for the beef.
The Masterclass:
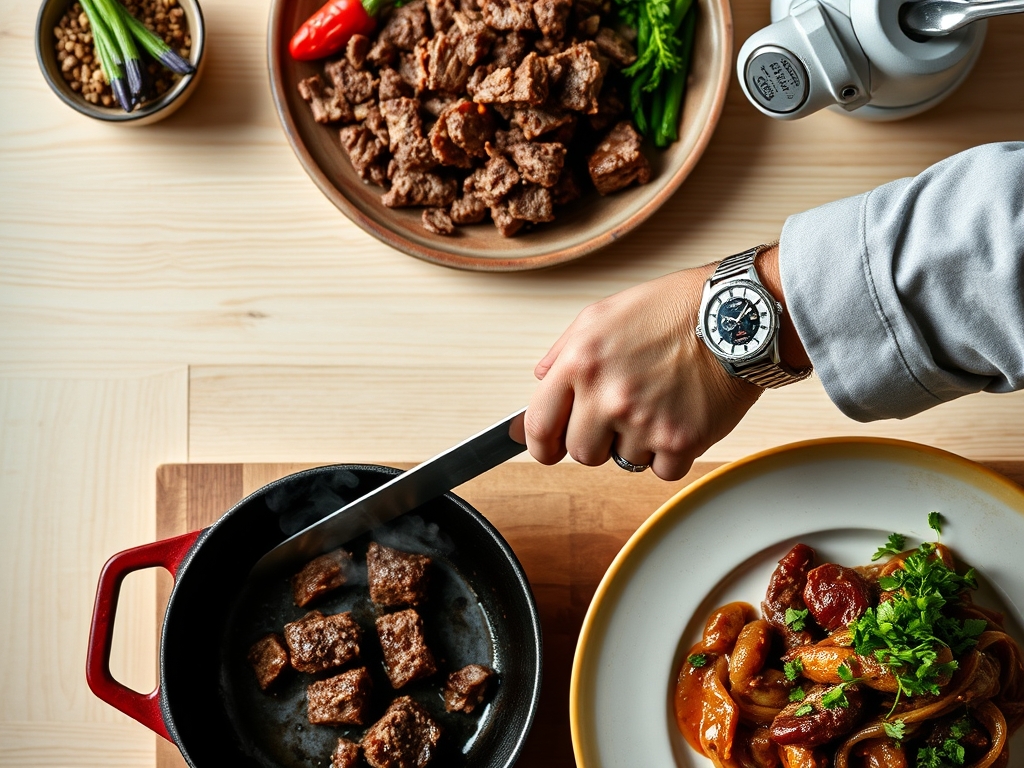
1. The High-Heat Sear
Place your ground beef into a preheated heavy-bottomed skillet. Use a sturdy wooden spoon or a meat masher to break the protein into small, uniform crumbles. Allow the meat to sit undisturbed for at least three minutes to develop a deep brown crust.
Pro Tip: This stage relies on the Maillard reaction. If you crowd the pan or stir too frequently, the meat will steam in its own moisture rather than sear, resulting in a gray texture and loss of savory depth.
2. Degreasing and Aromatics
Once the beef is fully browned, tilt the pan and use a spoon to remove excess rendered fat, leaving about one tablespoon for flavor. Add your diced onions and garlic paste directly to the pan.
Pro Tip: Adding aromatics after the meat is browned prevents the garlic from burning. Burned garlic becomes bitter due to the degradation of its natural sugars at high temperatures.
3. The Deglaze
Pour in a small amount of beef broth or water to loosen the brown bits stuck to the bottom of the pan. Use your spoon to scrape these bits into the mixture.
Pro Tip: These bits are known as "fond." They contain concentrated flavor compounds that, when reincorporated into the sauce, provide a professional, layered taste profile.
4. The Emulsification Phase
Reduce the heat to medium-low and add your cubed Velveeta and a splash of milk. Stir constantly in a circular motion until the cheese is completely melted and the sauce is glossy.
Pro Tip: Keeping the heat low prevents the proteins in the cheese from tightening. If the heat is too high, the sauce may become grainy; low and slow ensures a perfectly smooth emulsion.
5. Final Seasoning and Rest
Turn off the heat and fold in your spices, such as smoked paprika, cumin, or black pepper. Let the dish sit for two minutes before serving.
Pro Tip: This resting period allows for thermal carryover. The residual heat finishes the cooking process gently and allows the sauce to thicken slightly as it stabilizes.
The Deep Dive:
When we look at the macro nutrition of these dishes, we are dealing with a high-protein, high-fat profile. A standard serving typically contains 25g of protein and 30g of fat. To balance this, I always suggest serving with a high-fiber side like roasted broccoli or a crisp arugula salad.
Dietary Swaps:
For those following a Keto lifestyle, these recipes are naturally low-carb if you omit the pasta and serve the beef and cheese over cauliflower rice. For a Gluten-Free version, ensure your spices and cheese brand are certified, and use GF-certified corn pasta. Vegan options are trickier, but high-quality plant-based crumbles and cashew-based "cheese" sauces can mimic the texture, though the melting point will differ.
The Fix-It:
If your sauce is too thick, do not add more cheese. Instead, whisk in a tablespoon of warm milk at a time until the desired viscosity is reached. If the sauce looks broken or oily, a teaspoon of mustard powder can act as a secondary emulsifier to pull it back together. If the beef feels tough, you likely overcooked it during the sear; next time, pull it off the heat the moment the pink disappears.
Meal Prep and Reheating:
To maintain "day-one" quality, store leftovers in airtight glass containers. When reheating, the microwave can be the enemy of cheese. Use a small saucepan over low heat and add a teaspoon of water to rehydrate the sauce. This prevents the cheese from becoming "plastic" in texture.
The Wrap-Up:
There you have it; the science of the perfect melt is now in your hands. Mastering velveeta cheese ground beef recipes is a gateway to endless kitchen creativity. By understanding how to manage heat, emulsify sauces, and maximize the Maillard reaction, you have leveled up from a home cook to a culinary scientist. Now, go grab that skillet and start stirring; your tastiest masterpiece is only twenty minutes away!
The Kitchen Table:
How do I keep the cheese sauce from getting thin?
Control your liquid ratios carefully. Start with only two tablespoons of milk per pound of cheese. You can always add more, but you cannot easily thicken the sauce once it is over-hydrated without adding more solids.
Can I freeze ground beef and Velveeta dishes?
Yes, but do so with caution. While the beef freezes well, the cheese sauce may change texture upon thawing. Reheat slowly on the stovetop while whisking constantly to re-incorporate any moisture that separated during the freezing process.
What is the best beef-to-cheese ratio?
For a perfectly balanced skillet meal, use a 1:1 ratio by weight. One pound of ground beef paired with 16 ounces of Velveeta creates a rich, decadent sauce that coats every morsel without overwhelming the savory flavor of the meat.
Why did my ground beef turn gray instead of brown?
Your pan was likely not hot enough, or you overcrowded it. If the moisture cannot evaporate quickly, the meat boils in its own juices. Use a larger skillet and ensure it is shimmering hot before adding the protein.