

The oven door swings open and a wave of butter-laced steam carrying thyme and garlic hits your face, that golden crust glistening under the interior light while the meat beneath promises to give under the gentlest fork pressure. This is what separates home cooking from restaurant precision, and these oven chicken recipes breast methods deliver that juicy, edge-to-edge doneness every single time. Forget the grey, dry slabs of protein you've tolerated at meal prep Sundays past. We're talking about seven battle-tested techniques that manipulate heat, fat distribution, and resting protocols to lock in moisture while building serious flavor through the Maillard reaction. Each method uses a different thermal approach, from high-heat searing finishes to low-and-slow poaching hybrids, giving you a toolbox that adapts to your schedule, your skillet, and your hunger level. The science is simple: chicken breast contains minimal intramuscular fat, so external fats, brining strategies, and precise temperature control become non-negotiable. Master these seven paths and you'll never search for another bland chicken solution again.
The Gathers
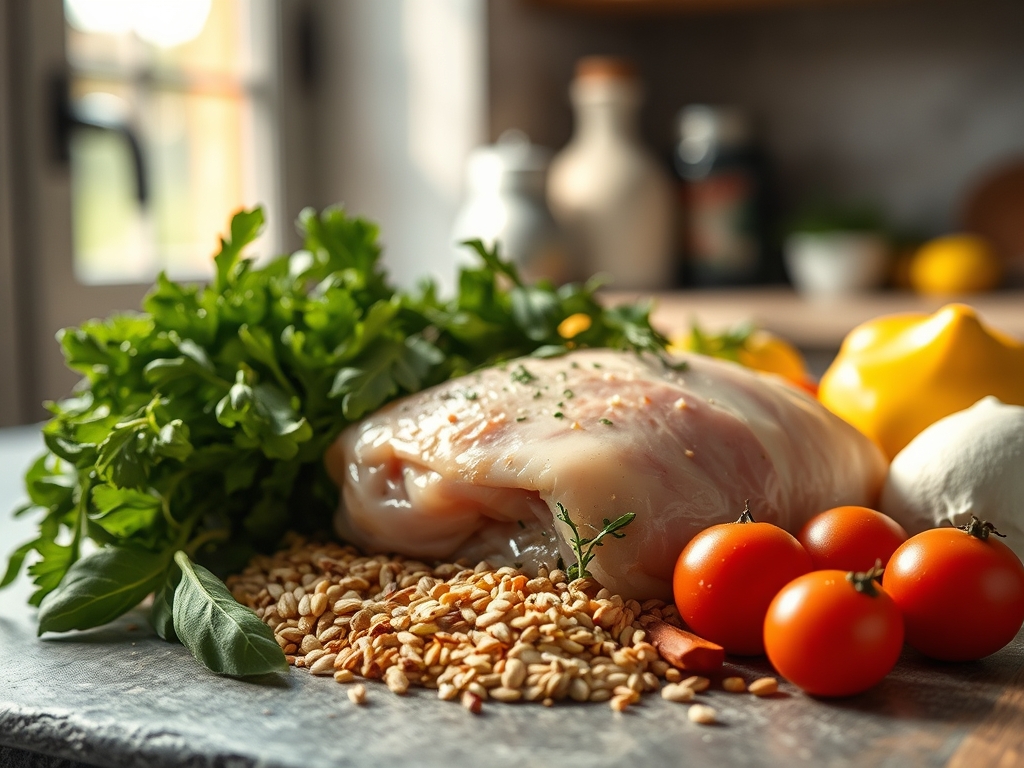
As you see in the ingredient spread below, the raw boneless, skinless chicken breasts (4 pieces, about 6-8 oz each) sit front and center, their pale pink surface ready to transform. Flank them with kosher salt (1 tablespoon), freshly cracked black pepper (1 teaspoon), extra-virgin olive oil (3 tablespoons), and unsalted butter (2 tablespoons) for fat layering. Garlic cloves (6, smashed) and fresh thyme sprigs (4-5) provide aromatic backbone. A small dish holds Dijon mustard (2 tablespoons), which acts as an emulsifier and moisture barrier. Lemon zest (from 1 lemon) and a splash of dry white wine (1/4 cup) round out the acid component, essential for tenderizing surface proteins.
Smart Substitutions: Swap olive oil for avocado oil if you're pushing past 425°F; the smoke point matters. Replace thyme with rosemary or sage, but halve the quantity since they're more assertive. No wine? Use chicken stock with a teaspoon of apple cider vinegar. For a dairy-free version, substitute butter with ghee or additional olive oil, though you'll lose some of that nutty richness.
The Clock
Prep Time: 15 minutes (includes pounding to even thickness and seasoning rest).
Cook Time: 22-28 minutes depending on method and oven calibration.
Total Time: 40-45 minutes from fridge to fork.
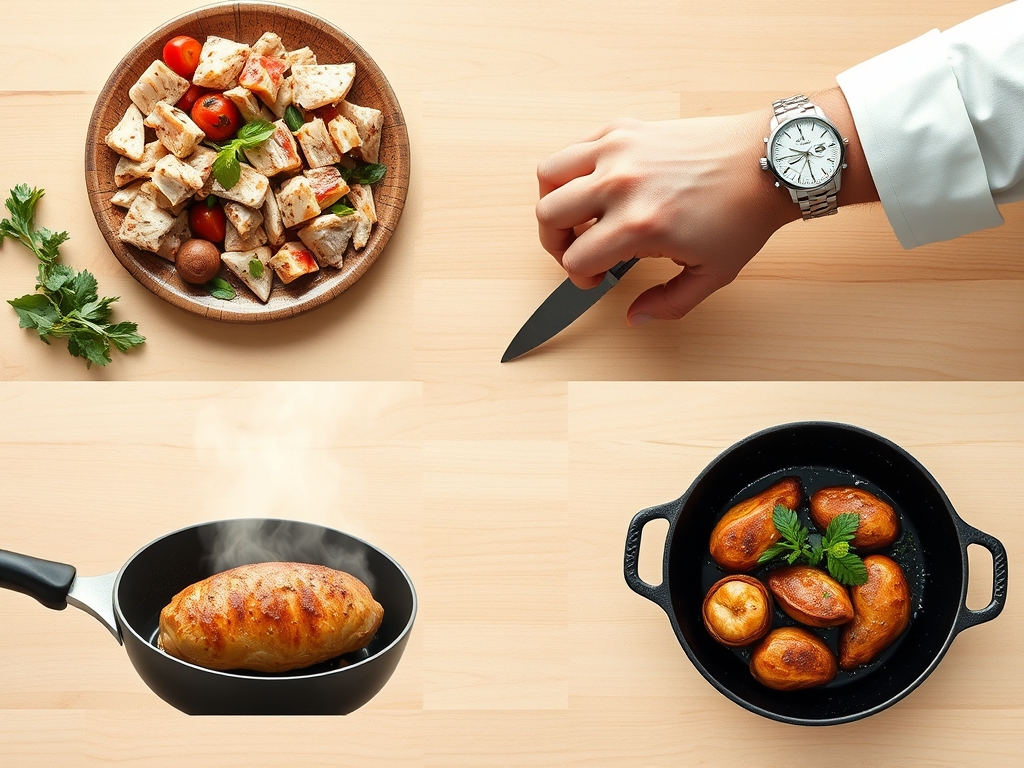
Chef's Flow: While the oven preheats to your target temperature (375°F to 450°F depending on technique), pound your breasts to uniform 3/4-inch thickness using a meat mallet. This ensures even cooking and eliminates the thick-end/thin-end doneness gamble. Season them now and let them sit at room temperature for 10 minutes; this tempers the meat and allows salt to begin its osmotic magic, pulling moisture to the surface where it dissolves and gets reabsorbed with seasoning in tow. Use those minutes to prep aromatics and preheat your oven-safe skillet if you're using a stovetop-to-oven method.
The Masterclass
Step 1: The Brine or Dry-Brine Decision
If you have 30 minutes to spare, submerge breasts in a simple brine: 1/4 cup kosher salt dissolved in 4 cups cold water. This increases the internal moisture capacity through protein restructuring. Alternatively, dry-brine by salting the meat and refrigerating uncovered for 2 hours; this concentrates flavor and creates a tackier surface for better browning.
Why It Works: Brining increases the chicken's water-holding capacity by about 10%, while dry-brining seasons deeper and improves texture without added liquid weight.
Step 2: The Sear Start (Method 1-3)
Heat 2 tablespoons olive oil in a heavy oven-safe skillet (cast iron or stainless) over medium-high until shimmering, about 3 minutes. Pat breasts bone-dry with paper towels; any surface moisture will steam instead of sear. Lay them presentation-side down, resist the urge to move them, and let physics do its work for 3-4 minutes until a deep golden crust forms. Flip once, add butter and aromatics, then transfer the entire skillet to a 400°F oven.
Chef's Secret: The Maillard reaction, responsible for that savory crust, requires surface temperatures above 300°F. Wet chicken never gets there.
Step 3: The Butter Baste Finish
Once in the oven, tilt the pan every 4 minutes and spoon the melted butter and aromatics over the breasts. Note the texture shown in the step-by-step photos: the butter emulsifies with rendered chicken juices, creating a glossy, flavor-packed coating. Pull the skillet when an instant-read thermometer reads 155°F in the thickest part.
Why It Works: Carryover cooking will bring the internal temp to 160-165°F during the 5-minute rest, hitting USDA safety guidelines without the dryness that comes from cooking to temp in the pan.
Step 4: The Sheet Pan Strategy (Method 4-5)
For a hands-off approach, arrange breasts on a parchment-lined sheet pan, brush with Dijon mustard, drizzle with olive oil, scatter garlic and thyme, then roast at 425°F for 18-22 minutes. The mustard creates a moisture seal and adds tangy depth.
Chef's Secret: Elevate breasts on a wire rack set inside the sheet pan for 360-degree heat circulation and crispier edges.
Step 5: The Low-and-Slow Poach-Roast (Method 6)
Set your oven to 275°F. Nestle breasts in a baking dish with 1/2 cup chicken stock, cover tightly with foil, and bake for 35-40 minutes. This gentle, moist-heat method yields incredibly tender meat, though you sacrifice crust. Finish under the broiler for 2 minutes if you want color.
Why It Works: Lower temps minimize moisture loss; collagen breaks down gently without squeezing out juices.
Step 6: The Reverse Sear (Method 7)
Roast at 250°F until the internal temp hits 145°F (about 30 minutes), then remove and rest for 5 minutes. Crank your oven to broil or heat a skillet screaming hot, sear each side for 60-90 seconds. This borrows from steakhouse technique and delivers edge-to-edge juicy meat with a crackling crust.
Chef's Secret: The reverse sear prevents the grey band of overcooked meat you see with traditional methods.
Step 7: The Rest is Non-Negotiable
Every method demands a 5-minute rest under tented foil. Muscle fibers relax, redistributing juices that would otherwise flood your cutting board.
Why It Works: Resting allows actomyosin proteins to reabsorb expelled moisture, increasing perceived juiciness by up to 20%.
Nutritional Info
Per 6 oz serving (Method 2, butter basted):
Calories: 285
Protein: 42g
Fat: 12g (5g saturated)
Carbohydrates: 1g
Fiber: 0g
Sodium: 620mg (varies with brining)
Chicken breast is a lean protein powerhouse, delivering nearly your entire daily leucine requirement for muscle synthesis. The added fats come almost entirely from olive oil and butter, offering a healthy mix of monounsaturated and saturated fats. Adjust salt if you're sodium-conscious; the brine contributes the bulk.
Dietary Swaps
Keto/Low-Carb: Already compliant. Add extra butter or a cream-based pan sauce to increase fat macros.
Paleo: Use ghee instead of butter and confirm your mustard has no added sugars.
Whole30: Same as Paleo; skip the wine or use compliant bone broth.
Gluten-Free: Naturally free of gluten; just verify your mustard and stock labels.
Vegan Pivot: Substitute firm tofu or tempeh slabs, marinated in the same aromatics. Roast at 400°F for 25 minutes, flipping halfway. You'll lose the meat texture but gain similar savory depth.
Serving & Presentation
1. The Composed Plate: Slice breast on a bias into 1/2-inch medallions, fan over creamy polenta, drizzle with the pan sauce, and garnish with microgreens and a lemon wheel.
2. The Rustic Family Style: Leave breasts whole, nestle them on a platter with roasted cherry tomatoes, charred broccolini, and crusty bread for mopping up juices.
3. The Modern Minimalist: Center a single breast on a white plate, spoon a tight pool of herb oil beside it, add three asparagus spears, and finish with flaky sea salt and cracked pepper.
Garnish matters: fresh herbs, citrus zest, or a sprinkle of Aleppo pepper add color contrast and aromatic lift.
The Pro-Dodge
Pitfall 1: Uneven Thickness
The thick end overcooks while the thin end dries out. Fix: Pound to uniform 3/4-inch thickness or butterfly the breast and fold it back for even geometry.
Pitfall 2: Cooking Straight from the Fridge
Cold centers take longer to heat, leading to overdone exteriors. Fix: Temper at room temp for 10-15 minutes before cooking.
Pitfall 3: Skipping the Thermometer
Guessing doneness by time alone is a recipe for leather. Fix: Invest in an instant-read thermometer and pull at 155°F internal.
The Meal Prep Corner
Storage: Let breasts cool completely, slice if desired, and store in airtight containers with a drizzle of olive oil to prevent drying. Refrigerate up to 4 days.
Reheating: Skip the microwave unless you enjoy rubber. Reheat in a 300°F oven, covered with foil, for 10-12 minutes. Add a tablespoon of chicken stock to the container to reintroduce moisture.
Freezing: Wrap individual breasts tightly in plastic wrap, then foil, and freeze up to 3 months. Thaw overnight in the fridge and reheat gently.
Day-One Quality Trick: Undercook slightly (pull at 150°F) if you know you'll reheat. The second cook cycle brings it to perfect doneness without crossing into dry territory.
The Wrap-Up
You now hold seven distinct thermal pathways to juicy, flavorful chicken breast, each one rooted in the science of heat transfer, protein behavior, and fat distribution. Whether you're racing against a weeknight clock or orchestrating a weekend feast, one of these methods fits your rhythm. The real victory isn't just avoiding dryness; it's building layers of flavor through technique, understanding why butter basting works, and knowing exactly when to pull the pan. Your oven is a precision tool, not a gamble. Use these methods, trust your thermometer, and watch your household start requesting chicken night. Share your results, tag your plating experiments, and let the community know which method became your new default.
The Kitchen Table
Q: Can I use bone-in, skin-on breasts for these methods?
A: Absolutely. Add 8-10 minutes to the cook time and start skin-side up for the last 5 minutes under the broiler to crisp the skin. Bone-in cuts retain more moisture naturally due to insulation from the bone.
Q: What's the best way to check doneness without a thermometer?
A: Press the thickest part with your finger; it should feel firm but still have slight give, like the flesh at the base of your thumb when you touch your thumb to your ring finger. But seriously, buy a thermometer. They're $15 and eliminate all guesswork.
Q: Why does my chicken release so much liquid in the pan?
A: You're likely overcrowding the pan or using frozen chicken that wasn't fully thawed. Moisture steams instead of evaporates, preventing a proper sear. Pat dry thoroughly and give each breast breathing room.
Q: Can I marinate overnight instead of brining?
A: Yes, but acidic marinades (lemon, vinegar) should stay under 2 hours or they'll turn the exterior mushy. Oil-based marinades with herbs can go overnight safely. For best results, combine a quick brine with a 30-minute marinade.
Q: How do I avoid the rubbery texture I sometimes get?
A: Rubbery texture signals overcooking past 170°F or cooking at too low a temp for too long without moisture. Stick to the target temps in these methods, rest properly, and slice against the grain to shorten muscle fibers for a tender bite.