
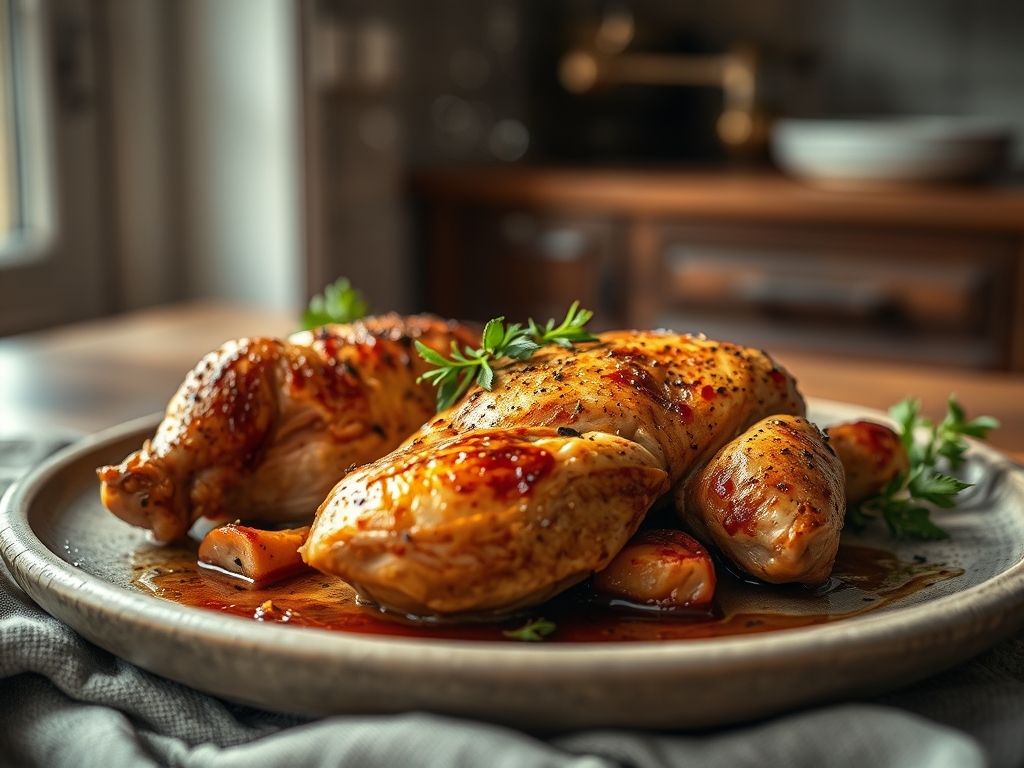
Picture the scene. The air in your kitchen is thick with the scent of rendered fat and woody thyme. It is a heavy, golden aroma that signals comfort. Finding the ultimate oven roast chicken recipes is about more than just heat; it is about mastering the delicate chemistry of protein and fire to achieve that glass-shattering skin.
The secret to a perfect bird lies in the tension between moisture and evaporation. You want a succulent, dripping interior paired with a crust so crisp it crackles under the blade of your chef knife. Whether you are prepping for a quiet Sunday or a loud dinner party, these oven roast chicken recipes provide the blueprint for culinary consistency. We are moving beyond basic roasting. We are diving into the molecular mechanics of the Maillard reaction and the structural integrity of connective tissues. Grab your apron; we are about to turn your kitchen into a high-end rotisserie.
The Gathers:
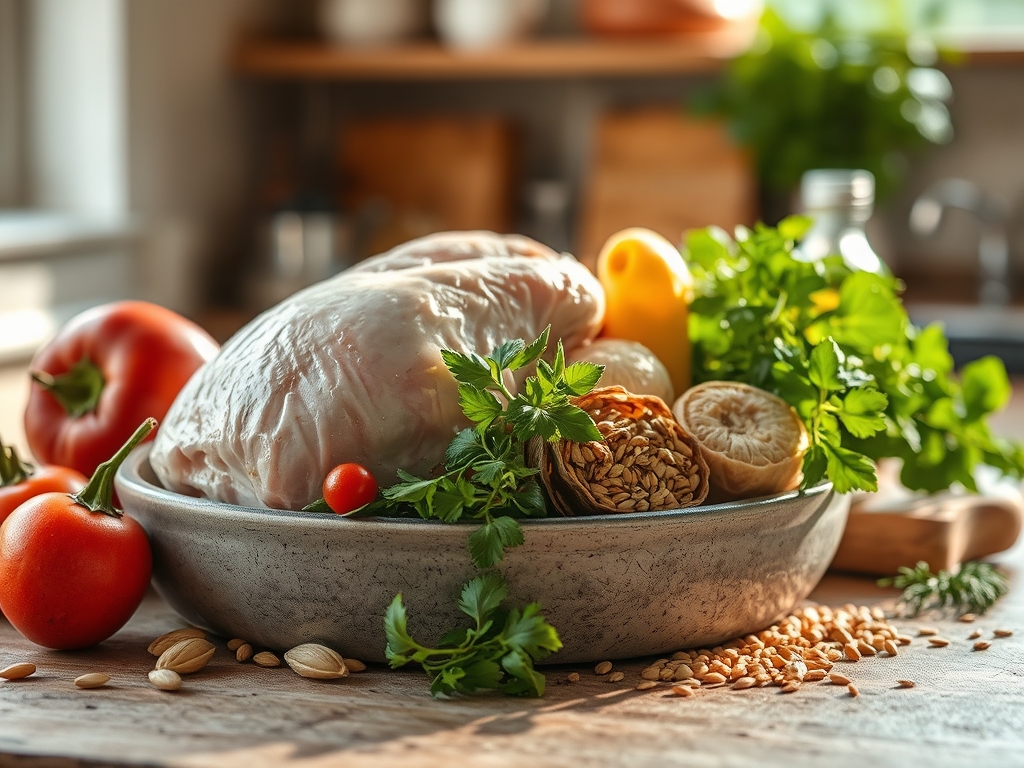
Before you even preheat the oven, your mise-en-place must be flawless. Start with a five-pound bird, preferably air-chilled. Air-chilling is superior because it prevents the meat from absorbing excess water, which leads to steam rather than a sear. You will need high-quality fats; unsalted European butter provides a higher milk-solid content for browning, while avocado oil offers a high smoke point.
Your aromatic profile should be piquant and layered. Gather fresh sprigs of rosemary and thyme, a whole head of garlic sliced crosswise to expose the cloves, and several lemons. For the seasoning, use a coarse kosher salt. The large grains allow for better tactile control and even distribution. If you want to elevate the umami, keep a small jar of anchovy paste or white miso nearby to rub under the skin.
Smart Substitutions: If you are out of fresh herbs, a concentrated poultry seasoning works, but ensure it is not salt-based to avoid over-seasoning. Instead of butter, use duck fat for a richer, more viscous mouthfeel. If lemons are missing, a splash of dry white wine or verjuice in the bottom of the pan provides the necessary acidity to cut through the lipids.
The Clock
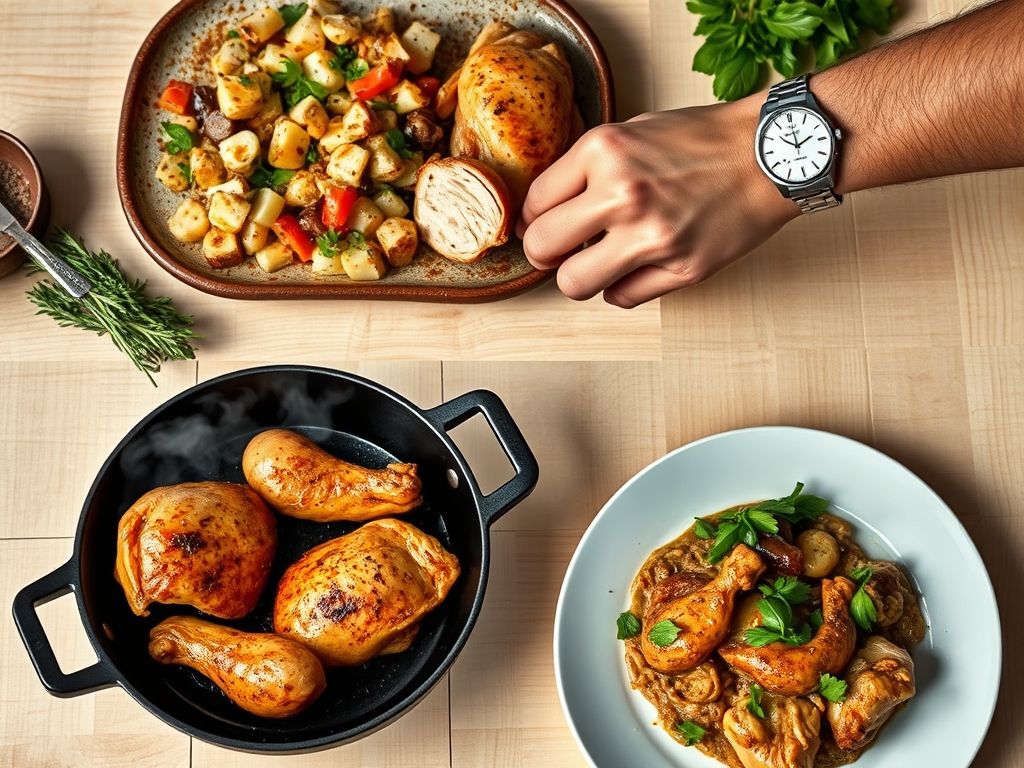
The "Chef's Flow" is all about timing and temperature management. Total preparation takes about 20 minutes of active labor, but the bird requires a crucial 24-hour dry-brine period in the refrigerator for optimal results. Once it hits the heat, expect a cook time of 15 minutes per pound at 425 degrees Fahrenheit.
Always factor in a 20-minute rest period post-roast. This is non-negotiable. During this time, the muscle fibers relax and reabsorb the juices. If you carve too early, the moisture will flood the cutting board, leaving the meat dry and fibrous. Your total commitment from fridge to table is roughly 90 minutes on the day of the feast.
The Masterclass
1. The Surface Prep
Use a stack of paper towels to pat the chicken until it is bone-dry. Any residual surface moisture will create a layer of steam, preventing the skin from reaching the 310 degree Fahrenheit threshold required for the Maillard reaction.
Pro Tip: This is known as hygroscopic desiccation. By removing surface water, you allow the heat to immediately begin rendering the subcutaneous fat rather than wasting energy evaporating water.
2. The Trussing Technique
Using butcher's twine, secure the legs and wings close to the body. A compact shape ensures the bird cooks evenly. Use a bench scraper to clear your station of any trimmings before moving to the next phase.
Pro Tip: Trussing reduces the surface area exposed to direct air, which prevents the delicate breast meat from overcooking before the dark meat of the thighs reaches its safe internal temperature.
3. The Fat Infusion
Create a compound butter using a microplane to zest lemon and grate garlic into the fat. Gently lift the skin from the breast and shove the butter underneath, spreading it evenly. Coat the exterior with a thin layer of oil.
Pro Tip: This creates an emulsified moisture barrier. The fat under the skin bastes the meat from the inside out, while the exterior oil facilitates rapid heat transfer.
4. The High-Heat Blast
Place the bird in a heavy-bottomed skillet or a roasting pan. Start at 450 degrees Fahrenheit for the first 15 minutes to kickstart the browning, then drop the temperature to 400 degrees.
Pro Tip: This initial blast triggers thermal radiation, causing the skin to tighten and trap internal steam, which keeps the meat tender through the remainder of the cycle.
5. The Aromatic Deglaze
Halfway through, toss your garlic bulbs and lemon halves into the pan. As the fat renders, it will infuse with these aromatics. Use tongs to rotate the lemons so they caramelize.
Pro Tip: This is a form of lipid-solubilization. The essential oils in the herbs and citrus are fat-soluble; they dissolve into the rendered chicken fat, creating a flavored baste.
6. The Precision Check
Use a digital scale or, more importantly, a digital probe thermometer. Insert it into the thickest part of the thigh without hitting the bone. You are looking for 160 degrees Fahrenheit.
Pro Tip: This accounts for thermal carryover. The internal temperature will continue to rise by 5 to 10 degrees after the bird is removed from the oven due to residual kinetic energy.
7. The Rest and Jus
Move the chicken to a warm platter. Place the roasting pan over a burner and use a saucier or whisk to deglaze the brown bits (the fond) with a splash of stock or wine.
Pro Tip: The fond is a concentrated collection of denatured proteins and sugars. Dissolving them creates a complex, savory sauce that anchors the entire dish.
The Deep Dive
From a macro perspective, oven roast chicken is a nutritional powerhouse. It is high in lean protein and contains essential vitamins like B12 and minerals such as selenium. For those on a Keto diet, this is a staple dish due to its high fat-to-protein ratio when the skin is consumed. Gluten-Free diners need not worry as long as the seasoning rub is pure. For a Vegan alternative, use this same aromatic roasting method on a large head of cauliflower or a "lion's mane" mushroom to mimic the texture.
The Fix-It:
- Soggy Skin: If the skin isn't crisping, crank the broiler for the last 3 minutes. Keep a close eye to prevent carbonization.
- Dry Breast Meat: If the breasts are finishing too fast, cover them with a small piece of aluminum foil to deflect heat while the legs finish.
- Burnt Aromatics: If your garlic is turning black, add a splash of water or stock to the pan to lower the surface temperature of the fat.
Meal Prep Science: To reheat without losing quality, avoid the microwave. The microwave agitates water molecules, which toughens the protein. Instead, place slices in a covered skillet with a tablespoon of water over medium heat. This creates a mini-steamer that rehydrates the fibers without overcooking them.
The Wrap-Up
Mastering oven roast chicken recipes is a rite of passage for any serious home cook. It is the perfect marriage of scientific precision and soulful intuition. Once you understand how fat, heat, and salt interact, you can stop following recipes and start following your senses. Go ahead and get that bird in the oven; your future self will thank you when that first crispy bite hits.
The Kitchen Table
How do I get the skin extra crispy?
Dry the chicken in the fridge uncovered for 24 hours. This process, called dry-brining, removes moisture from the skin cells, allowing them to crisp faster and more deeply during the roasting process.
What is the best temperature for roasting?
A dual-temperature approach is best. Start high at 450 degrees Fahrenheit to blister the skin, then drop to 400 degrees to cook the meat through. This ensures a juicy interior and a golden, crunchy exterior.
Should I wash my chicken before roasting?
No. Washing poultry spreads bacteria around your sink and counters. Instead, use paper towels to pat the bird dry. The high heat of the oven will effectively kill any surface pathogens during the cooking process.
How long should the chicken rest?
Rest your chicken for at least 15 to 20 minutes. This allows the internal pressure to stabilize and the juices to redistribute into the muscle fibers, ensuring the meat stays moist when you finally carve it.