
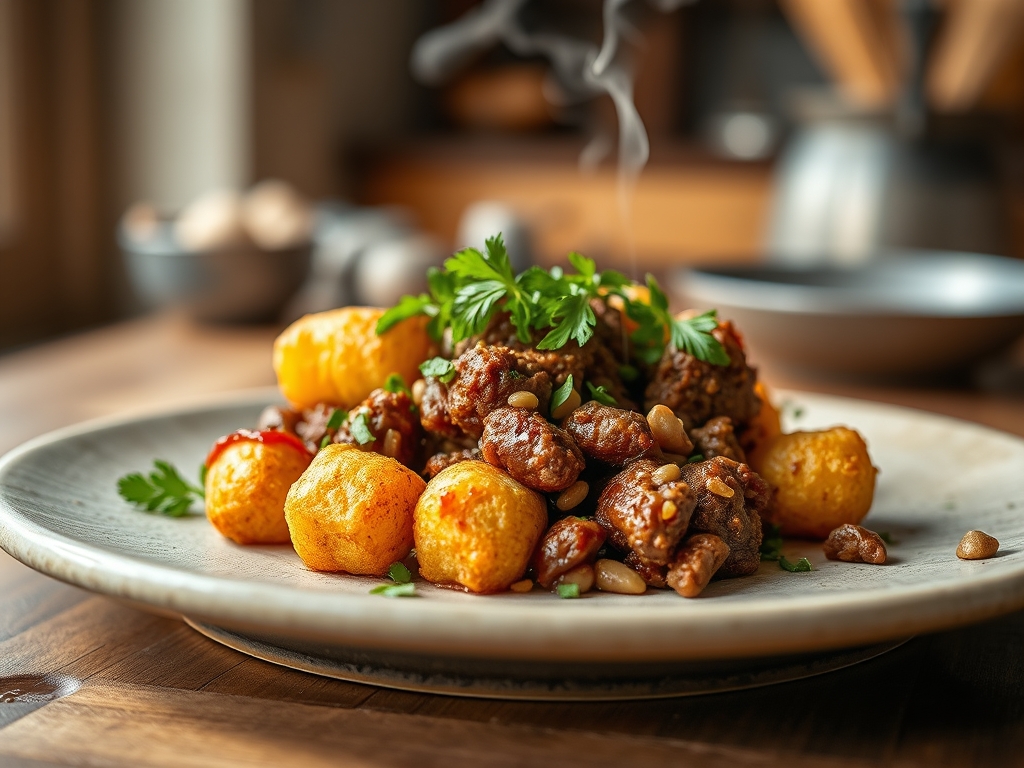
Imagine the sound of a heavy bottomed skillet hitting the burner; a resonant, metallic ring that signals the start of something legendary. There is a specific, visceral joy in the sizzle of fat rendering from high quality chuck. When you are hunting for the ultimate tater tot and ground beef recipes, you are searching for that perfect intersection of nostalgic crunch and savory, beefy depth. It is the culinary equivalent of a cashmere blanket.
We are moving beyond the basic "dump and bake" methods of the past. Today, we are treating these ingredients with the respect they deserve by using molecular principles to elevate a humble weeknight staple into a masterpiece of texture and flavor. We will explore nine variations that range from piquant taco inspired bakes to sophisticated mushroom infused delights. Grab your favorite apron and a glass of wine; we are about to turn your kitchen into a high end bistro that happens to serve the best comfort food on the planet.
The Gathers:
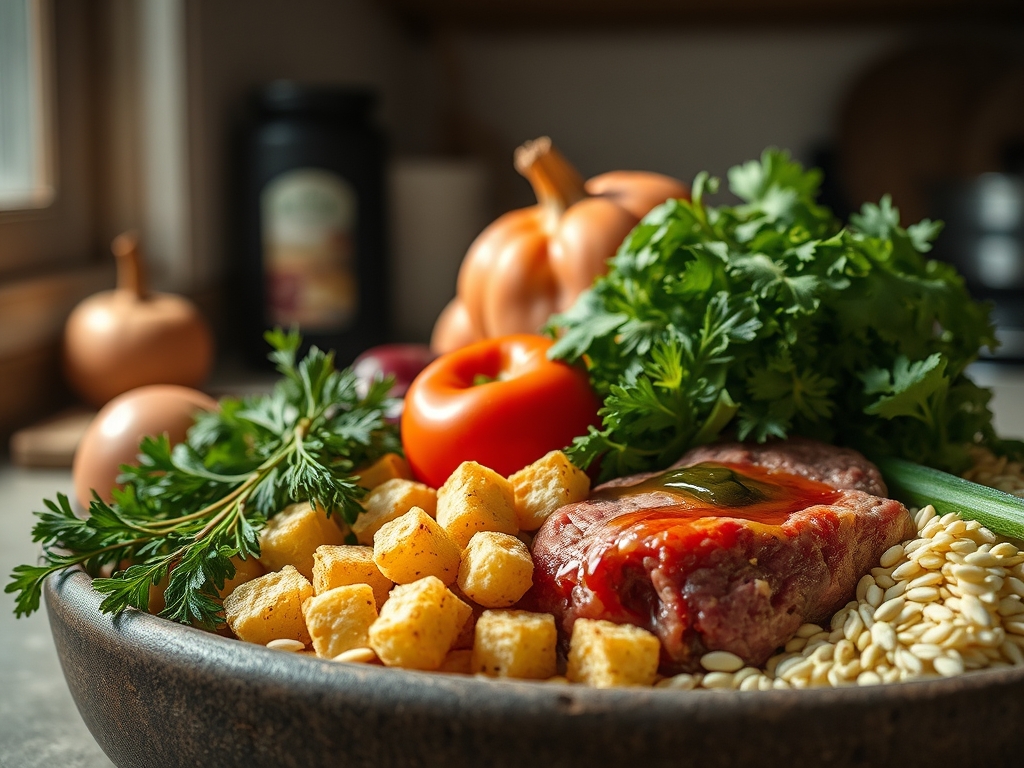
To achieve a professional result, your mise-en-place must be precise. Start with 2 pounds of ground beef, ideally an 80/20 blend. This ratio is critical because the 20 percent fat content provides the lipids necessary to emulsify with your aromatics, creating a rich base that prevents the meat from becoming granular or dry. You will also need a 32 ounce bag of frozen potato nuggets. Look for brands that list "extra crispy" on the packaging; these often contain a light dusting of rice flour or potato starch which aids in evaporative cooling and results in a superior crunch.
Your aromatics should include finely diced yellow onions and cloves of garlic. Use a microplane to grate the garlic into a paste; this increases the surface area, allowing the allicin to release more effectively and infuse the fat more deeply. For the viscous element, you will need a high quality beef stock or a homemade saucier style reduction.
Smart Substitutions:
If you are looking to lighten the profile, swap half the beef for ground turkey or bison. Bison is leaner but possesses a high concentration of iron, giving it a deep, mineral flavor. For the dairy component, if you are avoiding heavy creams, a dollop of Greek yogurt provides the necessary acidity to cut through the richness of the beef while maintaining a creamy mouthfeel.
The Clock
Efficiency in the kitchen is about mastering the "Chef's Flow." This is the art of overlapping tasks so that no second is wasted. Total preparation time for these recipes generally clocks in at 15 minutes, with a total bake time of 40 to 45 minutes.
While your oven preheats to a steady 425 degrees Fahrenheit, you should be browning your meat. Do not rush this. The goal is to achieve the Maillard reaction, a chemical reaction between amino acids and reducing sugars that gives browned food its distinctive flavor. While the beef renders, use your bench scraper to clear your cutting board of vegetable scraps, keeping your workspace pristine. By the time the oven chime sounds, your skillet should be deglazed and ready for the assembly phase.
The Masterclass
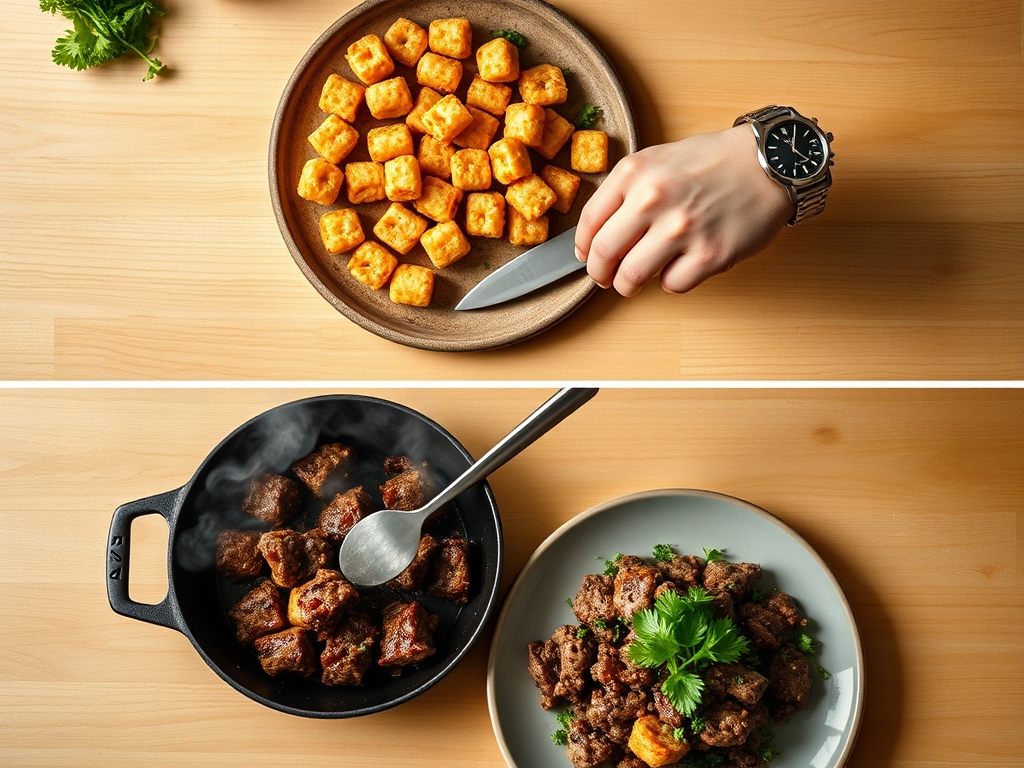
1. The Sear and Render
Heat your skillet over medium high heat before adding the beef. Use a wooden spoon to break the meat into uniform pieces. Allow it to sit undisturbed for three minutes to develop a deep crust.
Pro Tip: This is known as enzymatic browning. By leaving the meat still, you allow the heat to penetrate and transform the proteins into savory flavor compounds that cannot be replicated by boiling or steaming.
2. Deglazing the Fond
Once the meat is browned, remove it and drain the excess fat, leaving about a tablespoon in the pan. Add your onions and cook until translucent. Pour in a splash of beef stock or dry red wine to scrape up the brown bits (the fond) at the bottom of the pan.
Pro Tip: Deglazing is a thermodynamic process that captures concentrated flavor. The liquid acts as a solvent, pulling the caramelized proteins back into the sauce for a more complex flavor profile.
3. Creating the Suspension
Whisk in your thickening agent, whether it is a traditional roux or a cornstarch slurry. Slowly incorporate your liquid until the sauce is thick enough to coat the back of a spoon.
Pro Tip: This creates a stable emulsion. A well emulsified sauce ensures that the fat does not separate during the high heat of the baking process, preventing a greasy finished product.
4. The Architectural Layering
Transfer the beef mixture to a baking dish. Arrange the tater tots in neat, concentric circles or straight rows. Do not just dump them on top; airflow is your friend here.
Pro Tip: Spacing the tots allows for better convection. When air can circulate around each individual potato cylinder, the moisture evaporates more quickly, leading to maximum crispiness.
5. The Final Bake and Rest
Place the dish on the center rack. Bake until the tots are golden brown and the sauce is bubbling at the edges. Once removed, let the casserole sit for five minutes.
Pro Tip: This allows for thermal carryover. The internal temperature will continue to rise slightly, and the starches in the potatoes will set, ensuring the layers stay intact when you slice into it.
The Deep Dive
From a nutritional standpoint, a standard serving provides roughly 450 calories, 28 grams of protein, and 35 grams of carbohydrates. To make this Keto friendly, replace the potato tots with roasted cauliflower florets tossed in parmesan. For a Vegan version, utilize a pea protein crumble and a cashew based "cheese" sauce to mimic the creamy texture.
The Fix-It: Three Common Pitfalls
- Soggy Tots: This happens when the sauce is too thin. Ensure your sauce is highly viscous before topping with potatoes.
- Bland Beef: You likely under seasoned during the searing phase. Always season with salt early to draw out moisture and concentrate flavor.
- Broken Sauce: If your sauce looks oily, it has broken. Whisk in a teaspoon of warm water or a splash of cream to re-emulsify the fats.
Meal Prep Science:
To maintain "day-one" quality, reheat portions in an air fryer or toaster oven rather than a microwave. The microwave vibrates water molecules, which can turn the potato starch into a gummy mess. Dry, circulating heat re-crisps the exterior lipids while gently warming the protein center.
The Wrap-Up
Mastering tater tot and ground beef recipes is about more than just filling a dish; it is about understanding how heat, fat, and starch interact to create the ultimate sensory experience. Whether you are feeding a crowd of hungry teenagers or just looking for a sophisticated take on a childhood favorite, these techniques ensure a perfect result every single time. Now, go forth and conquer that kitchen; your perfectly crisped, savory masterpiece is waiting!
The Kitchen Table
How do I keep the tater tots from getting soggy?
Ensure your base sauce is thick and viscous before adding the potatoes. Arrange the tots in a single layer with slight gaps between them to allow steam to escape, which prevents the starch from absorbing excess moisture during the baking process.
Can I make this casserole ahead of time?
Yes; however, store the beef mixture and the frozen tots separately. Assemble and bake just before serving to ensure the potatoes maintain their structural integrity and do not become hydrated by the sauce while sitting in the refrigerator.
What is the best beef to use for casseroles?
An 80/20 ground chuck is ideal. The fat content is high enough to provide moisture and flavor through the Maillard reaction, but it can be easily drained before the final assembly to prevent the dish from becoming overly greasy.
What tools do I need for a perfect casserole?
A heavy bottomed skillet is essential for even browning. A microplane is perfect for incorporating aromatics like garlic or zest, and a digital scale ensures your meat to potato ratio is perfectly balanced for consistent results every time.