
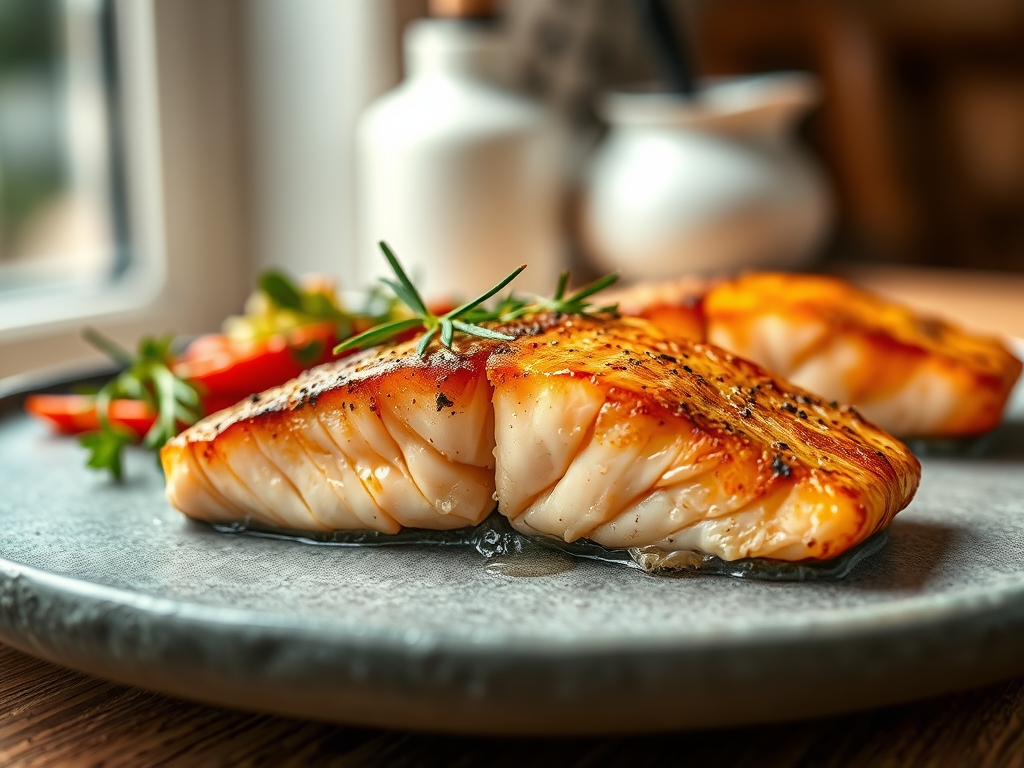
Picture the sound of a heavy-bottomed skillet meeting a cold burner. Now, imagine the sudden, aggressive hiss as a cold fillet of King Salmon hits shimmering oil. That sound is the overture to the perfect meal. When you dive into the world of food network salmon recipes, you are not just cooking dinner; you are conducting a masterclass in heat transfer and protein denaturation. We have all been there: staring at a piece of fish that is either a rubbery disappointment or a soggy mess. But today, we are changing the narrative. We are going to treat that fillet like the crown jewel it is. We are talking about achieving that glass-like skin crackle while keeping the interior as buttery as a slow-poached confit. It is about the intersection of high-heat chemistry and gentle, intuitive timing. Grab your apron and your favorite tongs because we are about to turn your kitchen into a professional line. We will explore the nuances of fat rendering and the precise moment of thermal equilibrium that separates a home cook from a culinary artist.
The Gathers:
Your mise-en-place is the foundation of your success. For this masterclass, you need high-quality Atlantic or Sockeye salmon. Look for fillets that are firm to the touch with no visible "gaping" or separation of the muscle fibers. You will also need high-smoke-point fats like avocado oil or clarified butter. Avoid extra virgin olive oil for the initial sear; its low smoke point will result in a bitter, acrid crust.
Gather your aromatics: fresh sprigs of thyme, smashed garlic cloves, and a cold knob of unsalted butter for the final baste. You will need a high-quality sea salt (Maldon is the gold standard for texture) and freshly cracked black pepper. For the bright, acidic finish, keep a few lemons and a bunch of flat-leaf parsley nearby.
Smart Substitutions: If you are avoiding dairy, swap the butter for a high-quality vegan ghee or a splash of viscous coconut aminos to add umami. If you cannot find fresh salmon, frozen "flash-chilled" fillets are a scientific marvel; they often retain more cellular integrity than "fresh" fish that has sat in a display case for three days. Just ensure they are fully thawed and patted bone-dry with a lint-free towel.
The Clock
Efficiency in the kitchen is about Chef's Flow. This is the rhythmic sequence of tasks that ensures nothing sits getting cold while you scramble for a garnish. Total prep time is exactly 10 minutes: 5 minutes for portioning and 5 minutes for tempering.
The cooking phase is a precise 8 to 12 minute window depending on the thickness of your fillets. The "Flow" looks like this: Start by tempering your fish on the counter. While the chill leaves the protein, prep your aromatics and preheat your skillet. The actual active cooking time is fast. You will spend 90 percent of the time on the skin side to render the subcutaneous fat, followed by a quick "kiss" of heat on the flesh side to reach an internal temperature of 125 degrees Fahrenheit.
The Masterclass
1. The Tempering Phase
Take your salmon out of the refrigerator 20 minutes before cooking. If you drop a cold fillet into a hot pan, the muscle fibers will contract violently, squeezing out moisture and leaving you with a tough texture.
Pro Tip: This allows for thermal uniformity. By bringing the internal temperature closer to room temperature, you ensure the outside does not overcook before the center reaches its target.
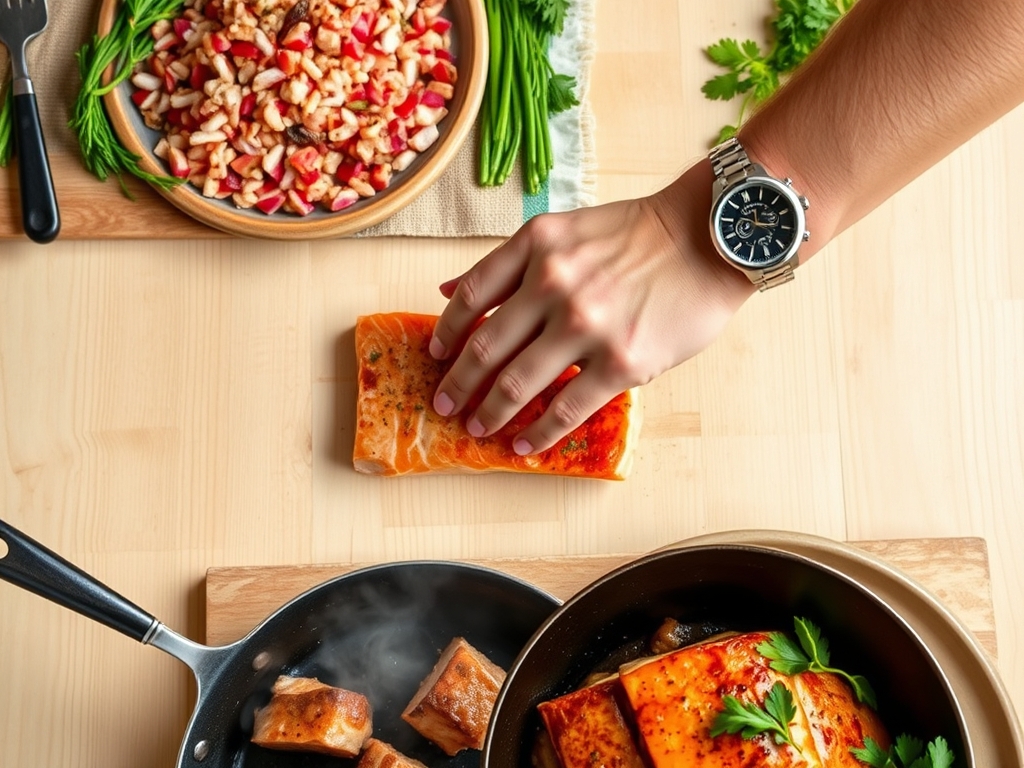
2. The Desiccation Ritual
Use a paper towel to press firmly onto the skin. You want it bone-dry. Moisture is the enemy of the Maillard reaction. If there is water on the surface, the heat of the pan will spend its energy evaporating that water (steaming) rather than browning the protein.
Pro Tip: Use the edge of a bench scraper to gently squeegee the skin. This removes deep-seated moisture from the scales for a superior crunch.
3. The Seasoning Height
Season your fish from at least 12 inches above the fillet. This ensures an even distribution of salt crystals, preventing "salty hotspots." Do not season the skin until the very last second before it hits the oil, as salt draws out moisture via osmosis.
Pro Tip: Salt acts as a protein denaturant, breaking down tight bonds to make the fish more tender as it cooks.
4. The Skillet Ignition
Heat your heavy-bottomed skillet (cast iron or stainless steel) until the oil begins to shimmer and just barely wisps with smoke. You need high initial energy to prevent the fish from sticking to the metal lattice of the pan.
Pro Tip: This is known as the Leidenfrost effect, where a thin layer of vapor prevents the protein from bonding to the cooking surface.
5. The Press and Hold
Place the salmon skin-side down and immediately press it with a flexible fish spatula for 30 seconds. Salmon skin curls when it hits heat; pressing it ensures the entire surface area maintains contact with the pan.
Pro Tip: Constant contact ensures even conduction, leading to a uniform, golden-brown crust across the entire fillet.
6. The Fat Render
Turn the heat down to medium-high. Leave the fish alone. You want to see the color change creeping up the side of the fillet. When the cooked portion reaches about three-quarters of the way up, you are ready to flip.
Pro Tip: Slow rendering of the fat creates a "self-basting" environment that keeps the flesh moist.
7. The Flip and Kiss
Flip the fish gently using your tongs. It should only need 30 to 60 seconds on the flesh side. This is just to set the proteins and add a hint of color.
Pro Tip: Overcooking the flesh side leads to the expulsion of albumin, that white "gunk" that ruins the aesthetic of your dish.
8. The Butter Baste
Toss in your butter, garlic, and thyme. Tilt the pan so the foaming butter pools at the bottom. Use a large spoon to rapidly infuse the fish with this aromatic fat.
Pro Tip: This adds a layer of lipid-based flavor and provides a final burst of heat to finish the cooking process.
9. The Deglaze Finish
Remove the fish to a warm plate. Squeeze fresh lemon juice into the hot pan. The acid will deglaze the brown bits (fond) and create a light, piquant pan sauce.
Pro Tip: Acid balances the richness of the salmon fats, providing a "clean" finish on the palate.
10. The Carryover Rest
Let the salmon rest for 3 minutes before serving. Heat continues to move from the exterior to the center even after the fish leaves the pan.
Pro Tip: This is thermal carryover. Resting allows the internal juices to redistribute, ensuring every bite is succulent rather than leaky.
The Deep Dive
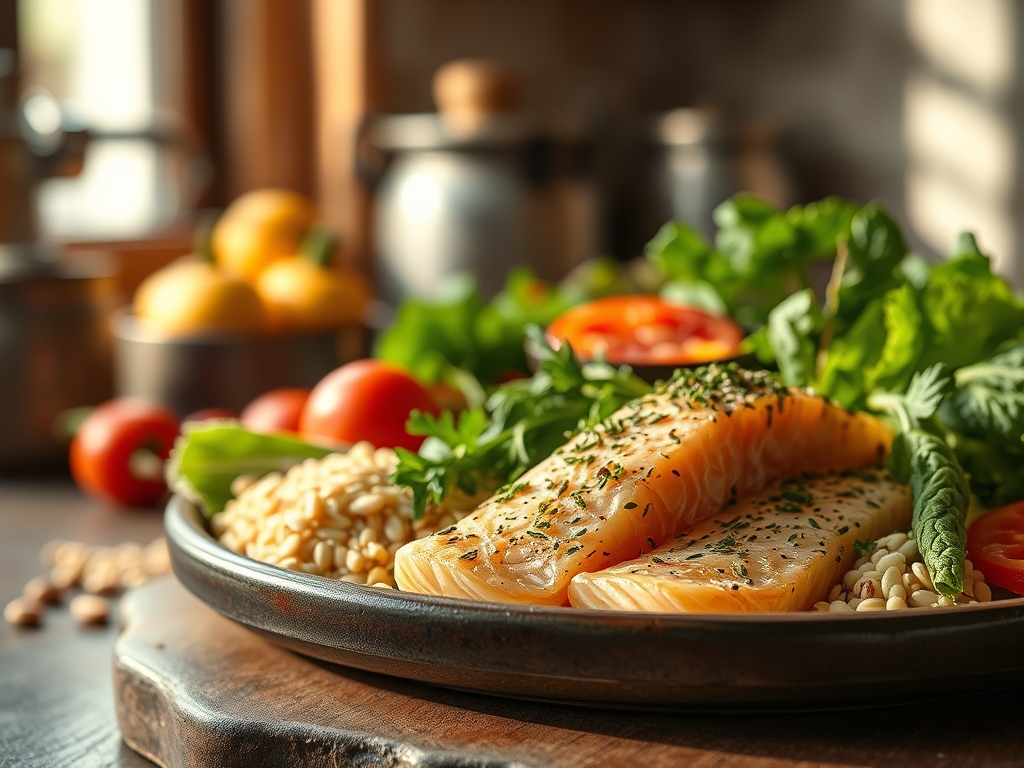
Macro Nutrition: Salmon is a powerhouse of Omega-3 fatty acids (EPA and DHA), which are essential for brain health. A standard 6-ounce fillet provides roughly 34 grams of high-quality protein and zero carbohydrates, making it a staple for metabolic health.
Dietary Swaps: For a Keto version, double down on the butter baste. For Vegan guests, this same searing technique works beautifully with thick-cut "steaks" of cauliflower or king oyster mushrooms; just add a dash of liquid smoke to mimic the salmon's depth.
The Fix-It:
- Fish Sticking: If the fish won't budge, it is not ready to flip. Wait another 30 seconds for the proteins to naturally release.
- Albumin Bleed: If you see white bubbles, your heat is too high. Pull it off the burner immediately.
- Soggy Skin: You likely crowded the pan. Cook in batches to maintain the temperature of the oil.
Meal Prep: To reheat without drying it out, avoid the microwave. Use a toaster oven at 275 degrees with a teaspoon of water covered by foil to create a gentle steam chamber.
The Wrap-Up
Mastering food network salmon recipes is about more than following a list of steps; it is about understanding the physics of your kitchen. When you hear that sear and see that perfect golden hue, you are witnessing chemistry in action. You now have the technical prowess to turn a simple piece of seafood into a restaurant-quality experience. Go ahead; show off those skills and enjoy the most buttery, crispy, and flavorful salmon you have ever tasted.
The Kitchen Table
How do I know when salmon is perfectly cooked?
Use a digital thermometer to pull the fish at 125 degrees Fahrenheit. The flesh should be opaque on the outside but still slightly translucent and flaky in the very center. It will finish cooking while resting.
Why does my salmon always have white stuff on it?
That white substance is albumin, a protein that pushes to the surface when the fish is cooked too fast or too long. To minimize it, cook the fish more gently and avoid overcooking.
Can I cook salmon with the skin off?
You can, but the skin acts as a protective thermal barrier that prevents the delicate flesh from drying out. If you prefer no skin, sear the "skin side" first to create a protective crust.
What is the best pan for searing salmon?
A heavy stainless steel or cast iron skillet is best. These materials hold heat exceptionally well, ensuring the pan temperature does not drop when the cold fish is added, resulting in a better sear.