
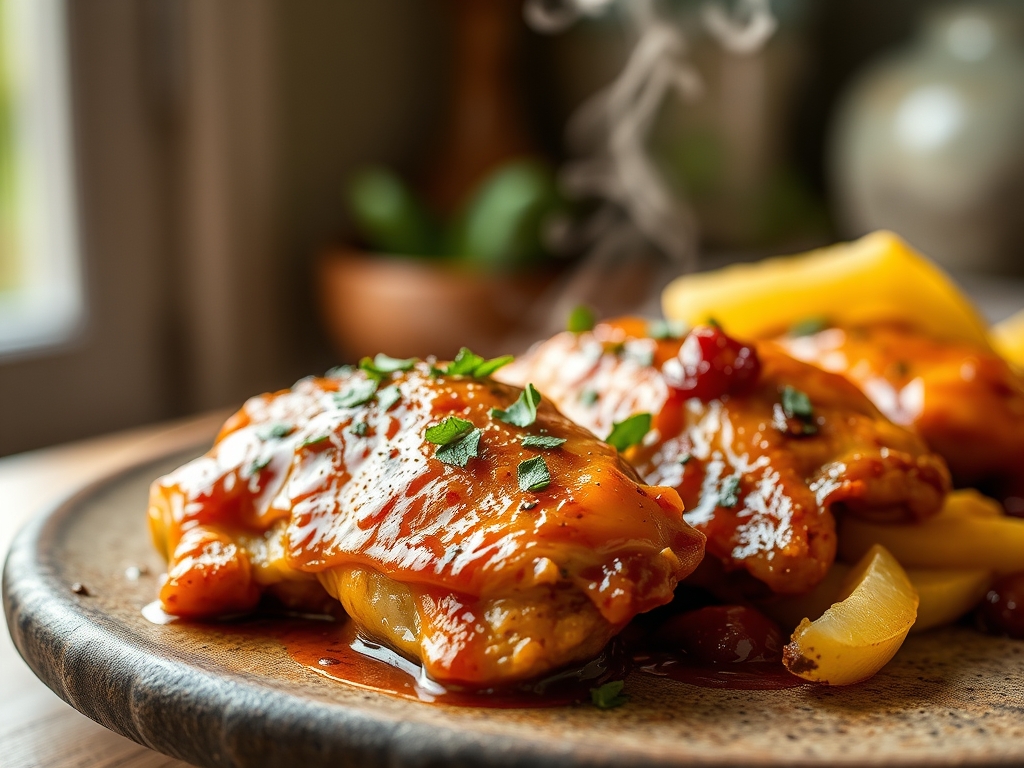
Close your eyes and listen for that distinct, high-frequency shatter of a perfectly pressurized crust. We have all chased that elusive, golden-brown dragon of the perfect bird. When you search for authentic kentucky chicken recipes, you are not just looking for dinner; you are looking for a chemical masterpiece of salt, fat, and heat. This is the ultimate comfort food, re-engineered for your home kitchen with professional precision.
The secret to that iconic crunch is not just a blend of herbs; it is a meticulous dance of moisture management and protein denaturation. We are going to transform humble poultry into a structural marvel that stays juicy while providing a tectonic snap in every bite. Grab your apron and your digital scale; we are going to get scientific with our seasoning.
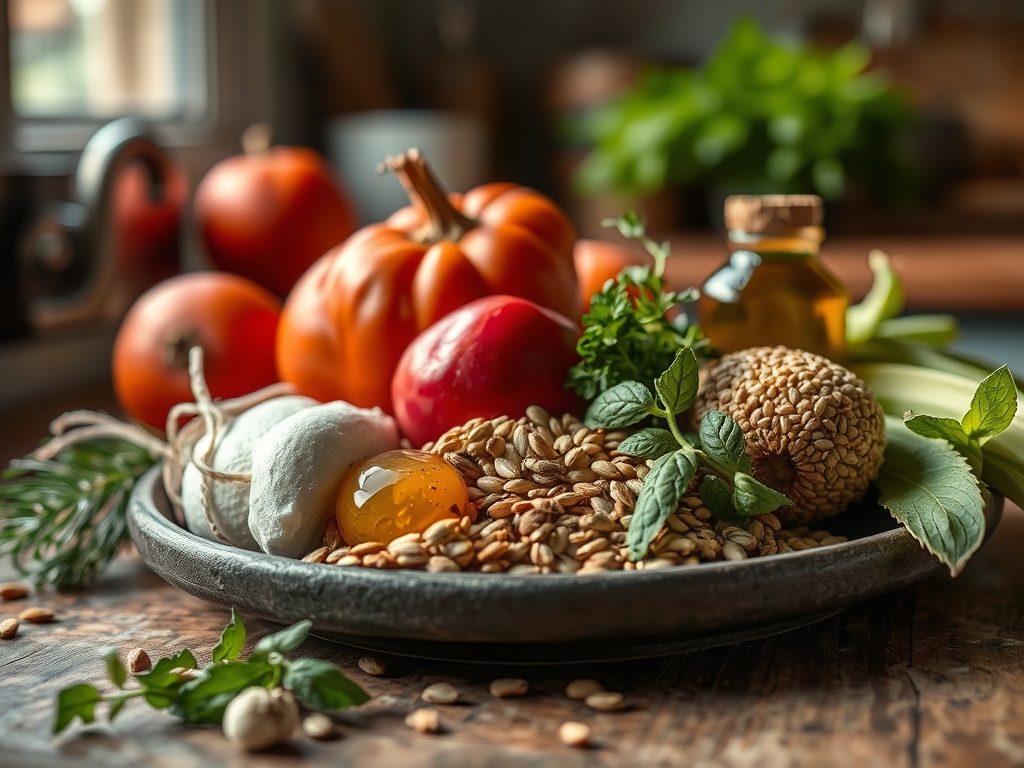
The Gathers:
To achieve a professional result, your mise-en-place must be exact. We are dealing with a viscous buttermilk brine and a complex dry dredge. Start with a whole bird broken down into eight pieces; keeping the bone in is non-negotiable for flavor retention. You will need high-quality buttermilk, which provides the lactic acid necessary to tenderize the muscle fibers. For the dredge, use all-purpose flour supplemented with cornstarch to lower the gluten content, ensuring a crispier, less bready texture.
Your spice cabinet is about to get a workout. You need fine-ground white pepper for that signature piquant heat, celery salt for umami, and smoked paprika for a hint of color. Use a microplane to zest a hint of lemon into the flour for a bright, aromatic lift.
Smart Substitutions: If you are out of buttermilk, whisk whole milk with a tablespoon of lemon juice and let it sit for ten minutes to curdle. This mimics the acidity required to break down tough proteins. For a deeper color, swap a portion of the flour for finely ground cracker meal. This increases the surface area for the Maillard reaction to occur, resulting in a darker, richer crust.
The Clock
Efficiency in the kitchen is about understanding the Chef's Flow. This is not a thirty-minute meal; it is a labor of love that requires patience. Expect ten minutes for the breakdown and seasoning, but the real work happens during the twelve-hour brine. This rest period allows the salt to penetrate the cell walls via osmosis, seasoning the meat to the bone.
The actual frying process takes about twelve to fifteen minutes per batch, depending on the size of the pieces. You must factor in a ten-minute "tempering" period before the chicken hits the oil and a ten-minute "resting" period after it emerges. Total active time is roughly forty-five minutes, but the results of this temporal investment are exponential.
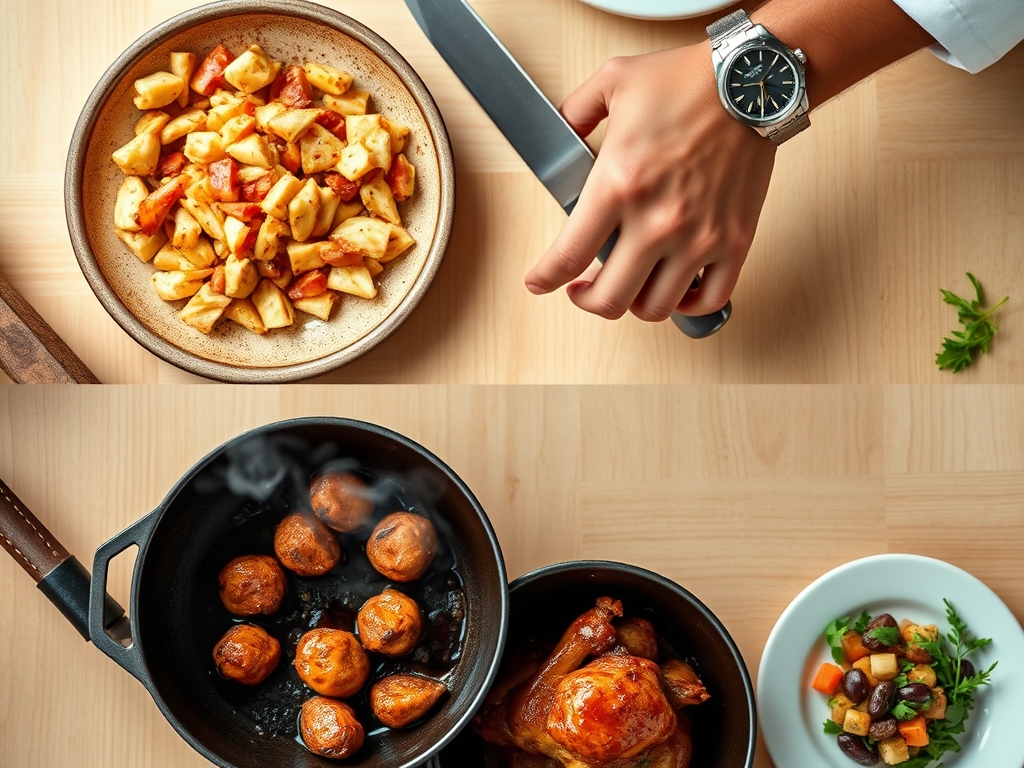
The Masterclass
1. The Acidic Immersion
Submerge your chicken pieces in a seasoned buttermilk bath. Add a splash of hot sauce to the liquid to infuse the meat with subtle heat. Ensure every crevice is coated to maximize tenderization.
Pro Tip: The lactic acid in buttermilk works as a mild brine that denatures proteins without making them mushy. This creates a viscous layer that helps the flour adhere, preventing the "skin slip" common in amateur fried chicken.
2. The Double-Dredge Protocol
Whisk your flour, cornstarch, and spices in a shallow tray. Take a piece of chicken from the brine, let the excess drip off, and press it firmly into the flour. Shake off the excess, dip it back into the buttermilk, and dredge it a second time.
Pro Tip: This creates a "shaggy" texture. Those little crags and crumbles are where the oil will sit, creating maximum surface area for the Maillard reaction. This ensures a high-crunch-to-meat ratio.
3. The Tempering Rest
Place your dredged chicken on a wire rack for at least fifteen minutes before frying. Do not skip this. The flour needs time to hydrate and form a cohesive paste with the buttermilk.
Pro Tip: Hydrating the starch prevents the coating from falling off in the fryer. It also allows the internal temperature of the meat to rise slightly, ensuring the center reaches safety levels before the exterior burns.
4. The Precision Fry
Heat neutral oil in a heavy-bottomed skillet or Dutch oven to 350 degrees Fahrenheit. Use a digital thermometer to monitor the temperature constantly. Carefully lower the chicken away from you using tongs to avoid splashes.
Pro Tip: When the chicken hits the oil, the temperature will drop. You must manage the heat to keep it between 300 and 325 degrees. This steady heat allows the fat to render out of the skin, making it crisp rather than greasy.
5. The Internal Audit
Fry the chicken until the internal temperature reaches 165 degrees Fahrenheit for breasts and 175 degrees for thighs. Use an instant-read probe to check the thickest part of the meat near the bone.
Pro Tip: Dark meat contains more connective tissue (collagen). Taking it to a higher temperature allows that collagen to melt into gelatin, resulting in a much more succulent mouthfeel than if it were pulled at the minimum safety temp.
6. The Carryover Rest
Transfer the chicken to a clean wire rack set over a baking sheet. Do not use paper towels, as they trap steam and will soften your hard-earned crust. Sprinkle with a final pinch of fine sea salt while the oil is still shimmering.
Pro Tip: Thermal carryover will cause the internal temperature to rise another three to five degrees after removal. Resting on a rack allows air to circulate, preventing the bottom from becoming soggy via condensation.
The Deep Dive
From a macro perspective, this is a protein-dense meal, though the caloric density is high due to the oil absorption. A standard breast will carry approximately 350 to 450 calories with 30 grams of protein. To lighten the load, you can air-fry these pieces at 400 degrees, though you will sacrifice some of that traditional "shatter" crunch.
Dietary Swaps: For a Gluten-Free version, use a 1:1 GF flour blend with extra cornstarch or rice flour for structural integrity. For a Keto-friendly crust, use crushed pork rinds mixed with parmesan cheese; the proteins in the cheese will aerate and crisp up beautifully. For a vegan "chicken," use oyster mushrooms or extra-firm tofu that has been frozen and thawed to create a fibrous, meat-like texture.
The Fix-It:
- The Crust is Falling Off: This happens if the meat was too wet or not rested after dredging. Ensure you pat the chicken dry before the first dip and wait the full fifteen minutes before frying.
- Burnt Outside, Raw Inside: Your oil was too hot. Use a heavy-bottomed skillet to maintain even heat distribution and lower the flame.
- Greasy Texture: Your oil was too cool. If the oil is below 300 degrees, the crust absorbs the fat instead of sealing against it.
Meal Prep: To reheat, never use a microwave. The electromagnetic waves agitate water molecules, turning your crust into a sponge. Instead, use a toaster oven or air fryer at 375 degrees for five minutes. This re-activates the fats and recrisps the starch for "day-one" quality.
The Wrap-Up
Mastering kentucky chicken recipes is a rite of passage for any serious home cook. It is the perfect marriage of organic chemistry and culinary art. When you pull that golden, bubbling bird from the oil, you aren't just making dinner; you are creating a sensory experience that defines hospitality. Remember to trust your thermometer, respect the rest time, and always season with a heavy hand. Now, go forth and shatter some crusts.
The Kitchen Table
Why does my chicken look dark but stay raw?
Your oil temperature is too high, causing the exterior sugars to caramelize before the interior heat transfers. Lower your flame and use a digital thermometer to maintain a steady 325 degrees Fahrenheit for even cooking throughout the piece.
Can I use an air fryer for this recipe?
Yes, though the texture differs. Spray the dredged chicken liberally with oil to facilitate the Maillard reaction. Cook at 380 degrees for 20 minutes, flipping halfway through, until the internal temperature reaches 165 degrees for safety.
How do I keep the breading from getting soggy?
Always rest fried chicken on a wire cooling rack rather than paper towels. Paper towels trap steam against the crust, which rehydrates the starch. A rack allows for 360-degree airflow, keeping the exterior perfectly crisp.
What is the best oil for frying chicken?
Choose a neutral oil with a high smoke point, such as peanut, canola, or grapeseed oil. These oils can withstand the high temperatures required for frying without breaking down or imparting "off" flavors to your delicate spice blend.