
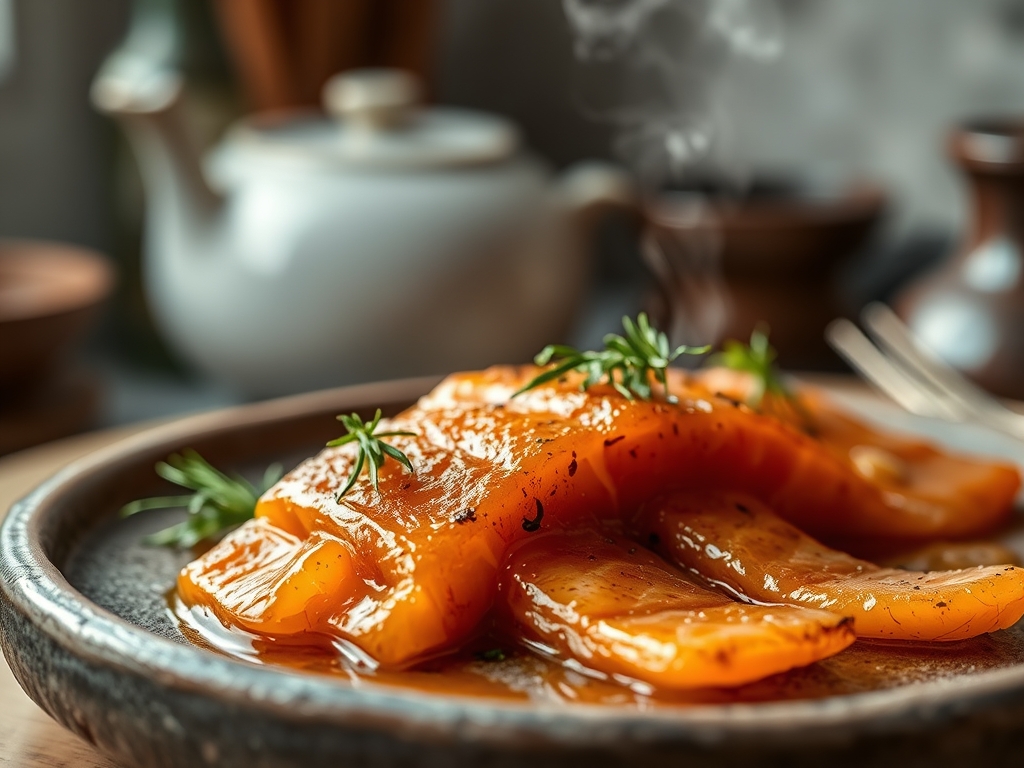
Imagine a silken ribbon of Atlantic salmon; its fat-marbled flesh glowing like a sunset against the stark, crystalline crunch of a quick-pickled shallot. That first bite is a masterclass in contrast. The acidity of the brine cuts through the fatty lipids of the fish, creating a bright, piquant harmony that lingers on the palate. If you are hunting for the ultimate pickled salmon recipes, you have stepped into the right kitchen. We are moving beyond the basic jarred snacks found in dusty deli aisles. Today, we are engineering a gourmet experience that balances acetic acid with delicate proteins to create something truly transformative.
The Gathers:
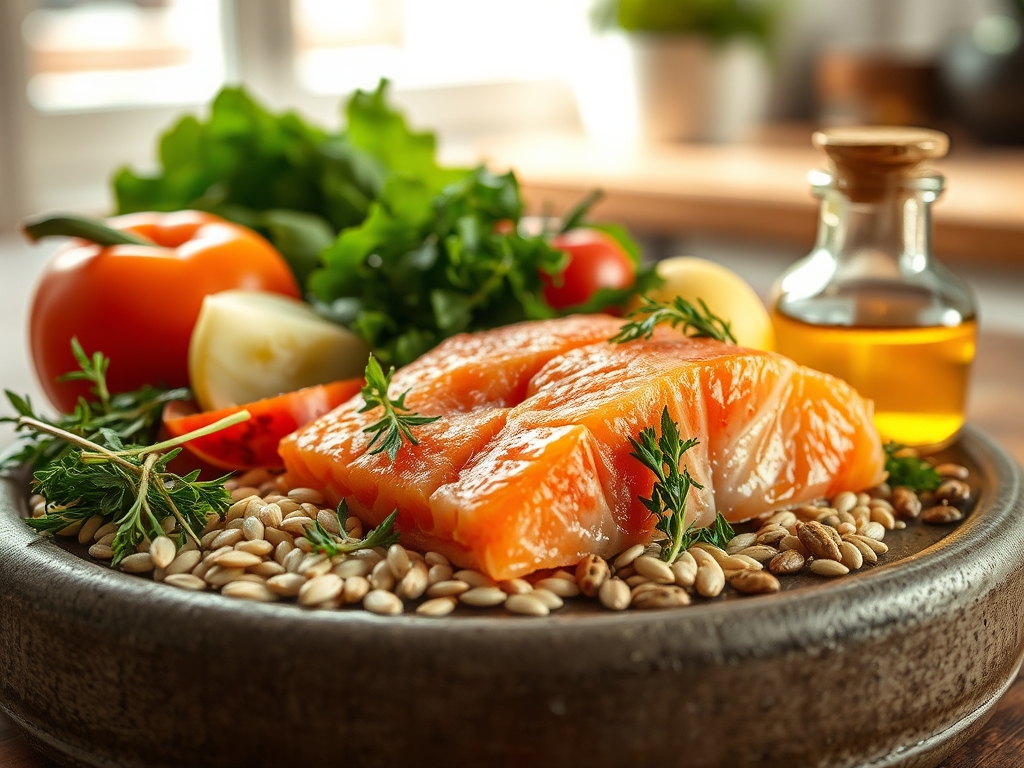
To achieve the perfect texture, your mise-en-place must be precise. Start with one pound of center-cut, sushi-grade salmon. You want the thickest part of the fillet to ensure uniform curing. For the brine, gather high-quality white wine vinegar, granulated sugar, and kosher salt. The salt is non-negotiable; its jagged crystals dissolve more predictably than iodized table salt, ensuring even osmosis.
You will also need aromatics: fresh dill, mustard seeds, peppercorns, and thinly sliced red onions. Use a microplane to zest a lemon for an infusion of citrus oils without the bitterness of the pith. If you lack white wine vinegar, a Smart Substitution is apple cider vinegar for a fruitier profile or rice vinegar for a softer, less aggressive acidity. Always measure your liquids in a saucier to ensure even heating when you dissolve the solids.
The Clock
Efficiency in the kitchen is about understanding the Chef's Flow. The active prep time for these pickled salmon recipes is a mere 20 minutes, but the magic happens during the "passive cure." You will spend 10 minutes slicing and zesting, followed by 10 minutes of brine preparation.
Once the salmon is submerged, it requires a minimum of 12 hours in the refrigerator to allow the vinegar to denature the proteins slightly. However, the sweet spot is 24 to 48 hours. This duration allows the flavors to infuse deeply into the connective tissues of the fish. Do not rush this; time is the primary ingredient that transforms raw fish into a cured delicacy.
The Masterclass
1. The Precision Slice
Using a sharp chef knife or a dedicated slicing knife, cut the salmon into half-inch cubes or thin bias-cut medallions. Ensure the pieces are uniform to allow for consistent brine penetration.
Pro Tip: The science of surface area dictates that smaller cuts cure faster. By increasing the surface area exposed to the acidic brine, you accelerate the denaturing process, which "cooks" the fish without heat.
2. The Brine Bloom
In your heavy-bottomed skillet or saucier, combine vinegar, water, sugar, and salt. Heat gently until the solids dissolve. Add your toasted mustard seeds and peppercorns to the warm liquid.
Pro Tip: This is called thermal extraction. Heating the spices in the liquid helps to release essential oils and volatile compounds that would remain trapped if the brine were cold, resulting in a more complex flavor profile.
3. The Cold Shock
Never pour hot brine directly onto raw salmon. Transfer the liquid to a glass bowl and let it cool completely. You can speed this up by placing the bowl in an ice bath.
Pro Tip: This prevents thermal carryover. If the brine is too warm, it will begin to cook the exterior of the salmon, resulting in a rubbery, opaque texture rather than the desired translucent, silky finish.
4. The Layered Infusion
In a clean glass jar, layer the salmon pieces with the sliced onions, dill sprigs, and lemon zest. Use tongs to pack the ingredients tightly but without crushing the delicate flesh.
Pro Tip: Layering creates a diffusion gradient. By sandwiching the fish between aromatics, you ensure that every millimeter of the protein is in contact with the flavoring agents, leading to a homogenous taste.
5. The Submersion
Pour the cooled brine over the salmon until it is completely submerged. Use a bench scraper to tidy your station while you wait for the bubbles to rise to the top. Tap the jar gently on the counter to release trapped air.
Pro Tip: Trapped oxygen can lead to oxidative rancidity, which spoils the fats in the fish. Ensuring a total liquid seal preserves the freshness and vibrant color of the salmon.
6. The Cure
Seal the jar tightly and place it in the coldest part of your refrigerator. Resist the urge to shake the jar; let gravity and chemistry do the work.
Pro Tip: The pH level of the brine acts as a preservative. As the acidity drops below 4.6, it inhibits the growth of spoilage bacteria, making this a traditional method of "cold preservation."
7. The Aeration
Before serving, remove the salmon from the brine and let it sit at room temperature for five minutes. This allows the cold-tightened fats to soften slightly.
Pro Tip: This is called tempering. Cold masks flavor; by slightly warming the fish, you allow the volatile aromatic compounds to aerate, making the taste more pronounced on the tongue.
8. The Final Garnish
Serve the pickled salmon on rye bread or blinis with a dollop of creme fraiche. Use a digital scale if you are portioning this for a professional catering spread.
Pro Tip: The addition of a fat like creme fraiche creates a viscous mouthfeel that balances the sharp acidity of the pickle, rounding out the flavor profile through fat-acid emulsification on the palate.
The Deep Dive
From a Macro Nutrition perspective, pickled salmon is a powerhouse. It is rich in Omega-3 fatty acids, which support heart health, and provides high-quality protein with zero trans fats. One serving typically contains about 180 calories and 20 grams of protein.
For Dietary Swaps, those on a Keto diet should replace granulated sugar with an erythritol-based sweetener. For a Vegan alternative, use blanched carrots or king oyster mushrooms; the texture is surprisingly similar once cured. This recipe is naturally Gluten-Free, provided you use a certified vinegar.
The Fix-It: Common Pitfalls
- Mushy Texture: This happens if the fish was frozen and thawed poorly. Fix: Use fresh, never-frozen salmon.
- Overly Salty: You likely used table salt instead of kosher. Fix: Rinse the salmon under cold water and re-soak in plain water for 10 minutes.
- Cloudy Brine: This is usually due to impurities in tap water. Fix: Use filtered or distilled water for a crystal-clear presentation.
Regarding Meal Prep, pickled salmon lasts up to five days in the fridge. To maintain "day-one" quality, do not freeze the finished product. Freezing causes ice crystals to puncture the cell walls of the cured fish, resulting in a grainy texture upon thawing.
The Wrap-Up
Mastering pickled salmon recipes is like learning a secret handshake in the culinary world. It is sophisticated, scientifically fascinating, and incredibly impressive to serve at brunch. By controlling the acidity and respecting the delicate nature of the fish, you have created a dish that is both ancient and modern. Now, go grab your favorite jar and get curing; your future self will thank you for that perfect, piquant bite!
The Kitchen Table
How long does homemade pickled salmon last?
When stored in an airtight glass jar in the refrigerator, pickled salmon stays fresh for five to seven days. Always ensure the fish remains fully submerged in the brine to prevent oxidation and maintain the best texture.
Can I use frozen salmon for pickling?
You can use high-quality frozen salmon if it is "sushi-grade." Thaw it slowly in the refrigerator to preserve the cell structure. Avoid cheap frozen fillets, as they often release too much moisture, leading to a mushy final result.
What is the best vinegar for pickled salmon?
White wine vinegar or champagne vinegar is ideal for its balanced acidity and clean finish. If you prefer a milder taste, rice vinegar works well. Avoid distilled white vinegar, as it can be too harsh for delicate fish.
Is pickled salmon actually cooked?
Pickled salmon is "cold-cooked" through a process called denaturing. The acetic acid in the vinegar changes the protein structure of the fish, turning it opaque and firm, similar to how heat affects protein, but without using high temperatures.